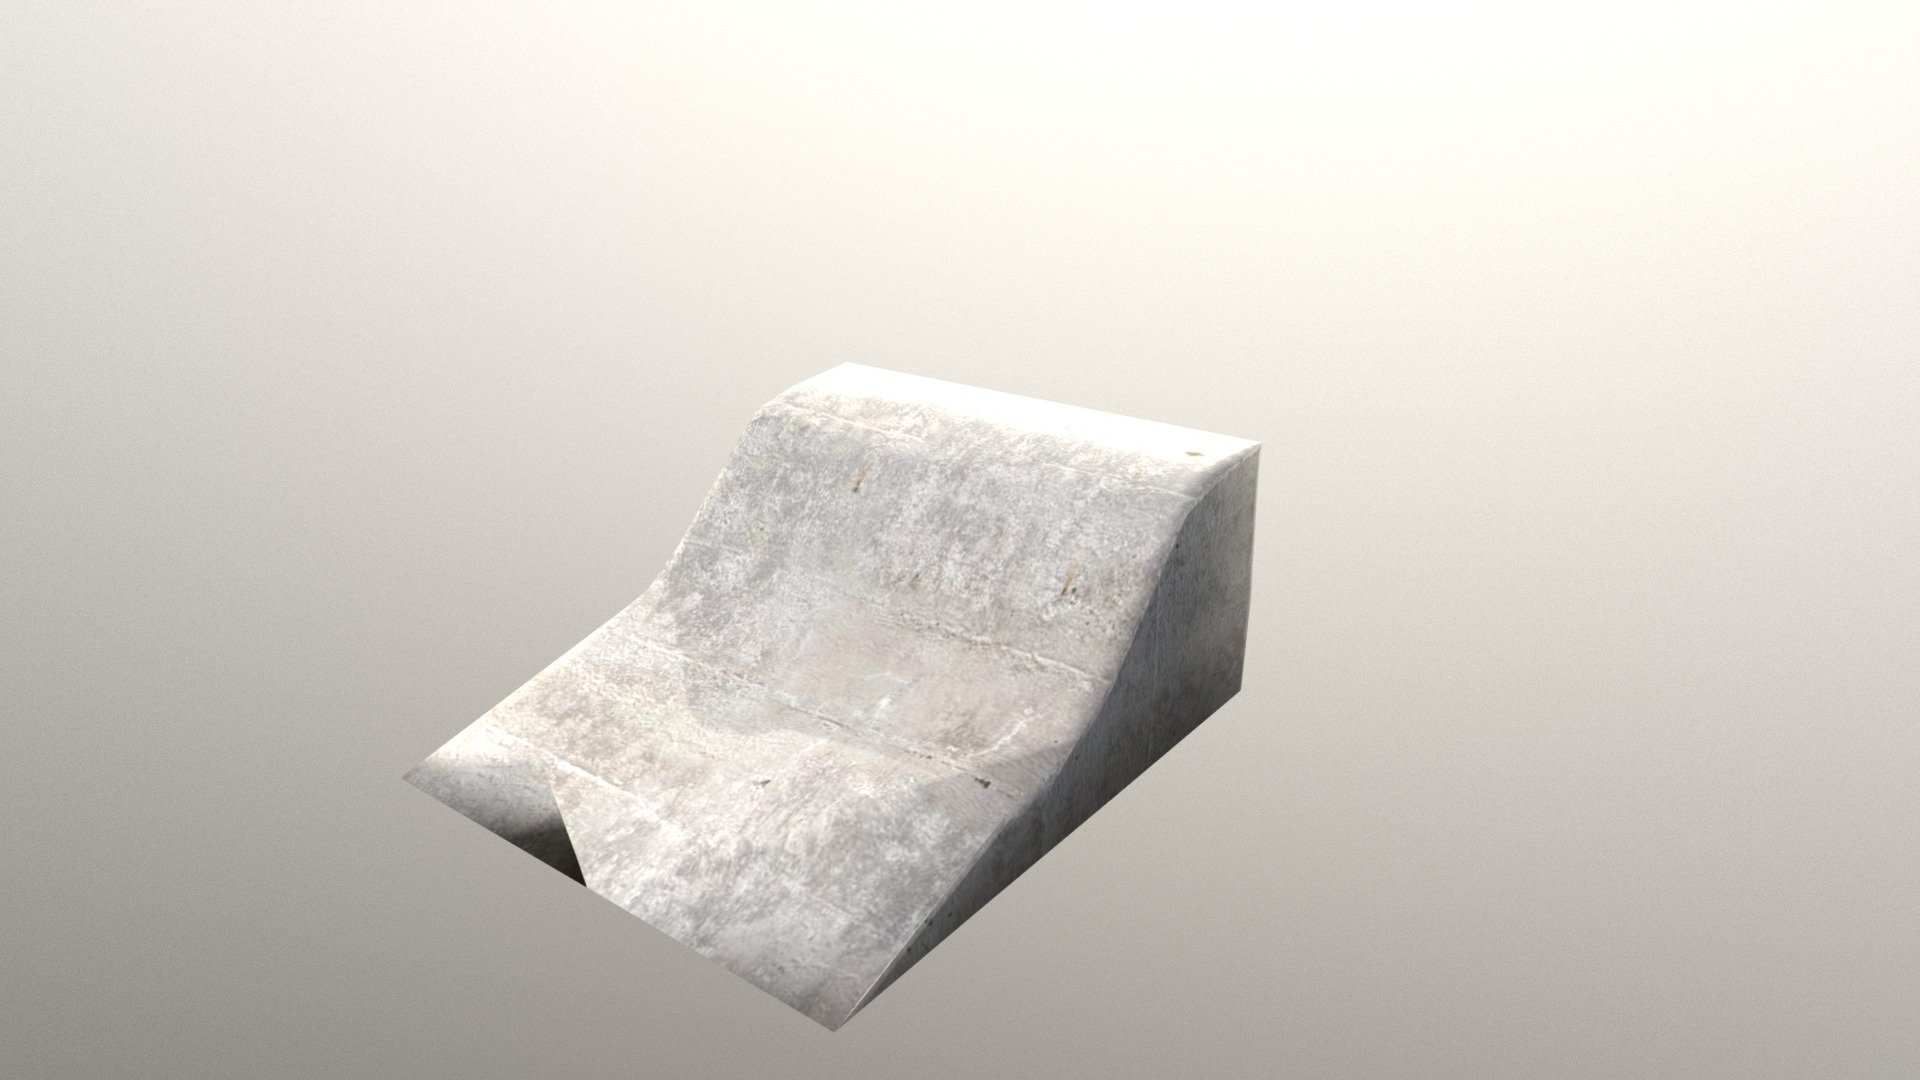
Skate Park Bump
sketchfab
I'm going to show you how to create a Skate Park Bump Map in Blender and then texture it with GIMP. First, let's get started on creating our bump map in Blender. 1. Open up Blender and navigate to the "Scene" tab at the top of your screen. Click on the "New Scene" button and name it whatever you like. 2. Next, we need to create a new mesh for our skate park. To do this, click on the "Cube" tool in the toolbar and then scale it down until it's roughly the size of your skateboard ramp. 3. Now that we have our cube, let's add some texture to it. Click on the "Texture Paint" tool in the toolbar and select a gradient texture from the library. This will give us a nice base for our bump map. 4. Next, let's add some details to our texture. We can do this by adding some noise to the texture using the "Noise" tool. Simply click on the "Noise" button and adjust the settings to your liking. 5. Now that we have our bump map created in Blender, let's export it as a PNG file so we can use it in GIMP. Open up GIMP and create a new image with the same dimensions as our bump map in Blender. Then, click on the "Layer" menu at the top of your screen and select "New Layer". Name this layer "Bump Map". 6. Now that we have our bump map layer created, let's add some texture to it. Click on the "Texture" tool in the toolbar and select our PNG file from earlier. 7. Finally, let's add some shading to our texture using the "Shading" tool. Simply click on the "Shading" button and adjust the settings to your liking. And that's it! You now have a beautifully textured skate park bump map created using Blender and GIMP.
With this file you will be able to print Skate Park Bump with your 3D printer. Click on the button and save the file on your computer to work, edit or customize your design. You can also find more 3D designs for printers on Skate Park Bump.