Skadis Mount for Sunlu S2 Dryer
prusaprinters
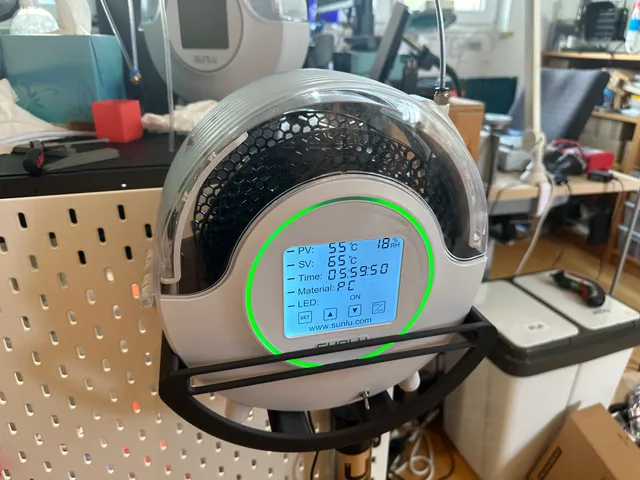
What is This?This is a holder for the Sunlu S2 filament dryer you can mount on a Skadis pegboard.Something like this is useful in many workspaces, but in my case ist was specifically designed for the Skadis board I mounted to my enclosure. Before adding these mounts to my setup, my dryers stood on the enclosure so that opening the lid always required some hardware reshuffling. Not anymore!And let me say this: This model looks terribly simple, but it took around 2 weeks to get just right and many test prints were required. This is definitely not one of those “modelled in 20 minutes, let's try to grab Prusameters” things, even though it looks like one at first glance.How to printThere are three model files and you will have to print one of each per dryer you wish to mount.My test prints were in normal PETG (one with red Sunlu, the other with white Prusament), and that material will work. It feels floppy, though, and I decided to use Prusament PC Blend Carbon fiber for that reason. That worked out perfectly, and I'd recommend to also use that stuff.In order to get the necessary strength, print this with 3 perimeters. One of my test prints used only 2, and the result was not trustworthy.I printed everything in 0.2mm SPEED. Even thicker layers should be no problem as the Holder is designed without any fine vertical structures.A great trick you'll only read here: Before printing, wipe the nozzle down with a little bit of silicone oil. It will do a fantastic job preventing filament build-up on your nozzle tip.Materials RequiredThe links are Amazon.de affiliate links, don't click them if that bothers you.4x countersunk M4x30 bolts4x M4 heat-set threaded inserts some superglueAssemblyWell, this is not rocket science. First, put the threaded inserts into the holes on the back of the bracket:Note that this is an earlier design of the bracket, but it's basically the same part. Mine are red because they were part of the early test prints I did with Sunlu PETG - and as those parts don't need to be strong, I just used those instead of reprinting them in PC-CF.Now you have to get behind your pegboard and fit the bracket into the four holes you want to use for mounting your dryer - in case of my Skadis on the enclosure, this was easy because I designed it for this. :DThe part should keep in place by itself, but if it doesn't a piece of double-sided tape can be a great helper.Next, you need to assemble the holder. Make sure you have 4 clamps handy, you'll need them in a second.The idea is to put a bit of superglue on each of the four rods. It's no problem if some drips into the hollow parts, but make sure to not drizzle anything where one could later see it. The superglue will leave nasty white stains.You want this to dry a little before attaching the front plate. If it's too liquid, it will ooze out and you'll have stains to deal with. A few seconds after applying the glue, attach the front plate and clamp it all down for a few minutes.After removing the clamps, you have to face the only slightly nasty part of the assembly. If you have gummy bears available to you, now would be the time to eat at least three of them.Insert your M4x30 bolts into the holes of the holder's backplate. Find the holes into which you put the bracket. Screw the bolts through the holder and into the threaded inserts of the bracket. Curse me because there's really no space for properly handling your screwdriver. Wish that you had a mini-ratchet and a long PH1 bit like I do:That ratchet is a game changer- I can recommend the little bit set it came with. The long PH1 bit in my case came from some hilariously expensive Proxxon kit, but a cheap one will absolutely do.Well, now you are done. Pull the power cable through the tunnel in the holder's backplate, connect it to your dryer and enjoy this beautiful view:Be Decent, Post a Make!I draw great pleasure from seeing if and how other people use my designs. I would really appreciate it if you could post a make - and you'll also get Prusameters for that, so win-win. :)
With this file you will be able to print Skadis Mount for Sunlu S2 Dryer with your 3D printer. Click on the button and save the file on your computer to work, edit or customize your design. You can also find more 3D designs for printers on Skadis Mount for Sunlu S2 Dryer.