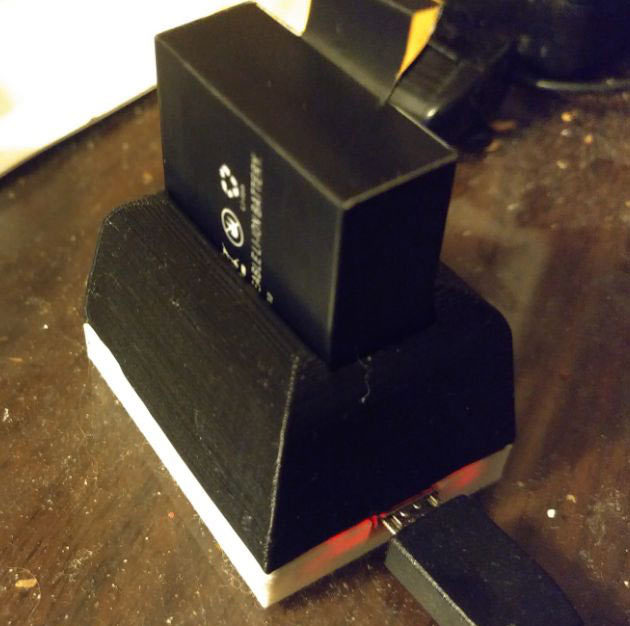
SJCam Battery Charger - TP4056
thingiverse
Hey there. Summer is here, and you want to explore abroad but are too cheap or lazy to buy a proper charger for your SJCam 4000/5000 batteries? No problem, buddy. I've got your back. What do you need for this DIY project? - A TP4056 LiPo Charging Board with a micro USB port - preferably the one with a sleek design. - An old microSD to SD card adapter - Wire - A soldering iron and some experience with it - Pliers or tongs - A lighter or hot glue gun Now, let's get started. First, print the parts you need. If you're smart, you'll print the base in transparent or white so you can see the status LEDs of the charging board clearly. Next, remove the supports from your prints carefully. One of the little overhangs is smaller than the others and might break if you're not gentle enough. Now it's time to rip apart the SD card adapter like a pro. You'll need to expose the sweet golden contacts on the SD card-side, which will serve as the battery prongs. You'll want to take three of these contacts for each prong. Two of them will have solder applied to the non-gold plated side, while one will have it on the gold plated side. Clean your soldering iron tip properly before proceeding. Using the contacts, make a 3-part sandwich with the gold plated sides facing outwards. Heat it up with your clean soldering iron until you get something that fits into the battery slot without damaging it or having too much play. Now you can try to fit these prongs into the top shell part. If everything went well during printing, they should fit snugly. You can also try fitting them through the battery side and widening that little slot enough so you have some room to work with. Grab your TP4056 charging board and insert it into the base. Use a piece of PLA or hot glue to secure the board in place. While you're at it, secure the battery prongs with your favorite molten material injected into the little bay I've left in the design. Make sure to put in your battery for a test so you know it'll fit properly. This is especially important since hot glue or molten PLA can be messy and might damage your print or the position of the prongs. Now, solder the wires from the battery contacts to the TP4056 board and try to fit them anywhere where there's space for them. Finally, press the two halves of the model together and you're done! You should have a fully functional travel charger for your SJCam batteries within an hour of printing the models.
With this file you will be able to print SJCam Battery Charger - TP4056 with your 3D printer. Click on the button and save the file on your computer to work, edit or customize your design. You can also find more 3D designs for printers on SJCam Battery Charger - TP4056.
