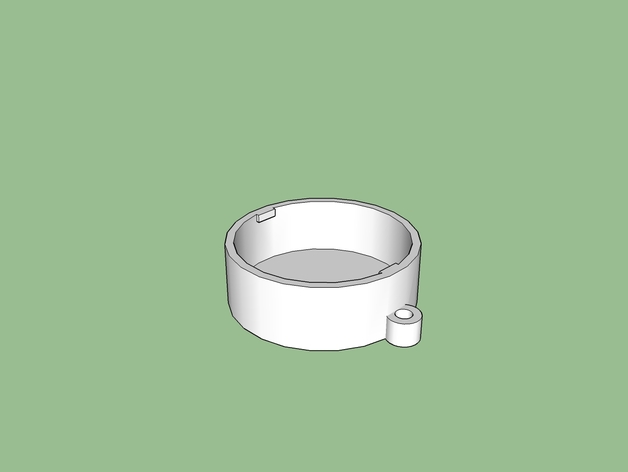
SJ4000 Lens Cover
thingiverse
Instructions for SJ4000 Lens Cover Installation using SketchUp Software: Step 1: Begin by Launching SketchUp on Your Computer System, where you have previously saved your Camera Settings file for the SJ4000. Ensure that the Application has successfully Connected to your Hardware Devices. Step 2: In SketchUp Interface, Locate the Toolbox Tab at the top Navigation Bar and Click on it. Then, Browse through Available Plug-ins and Add "SJ4000 Lens Cover" as an Integrated Feature. Step 3: Once the Component has been Successfully Added, Proceed to the Workplane where you have previously Designed Your Camera Housing Layout. Using your Mouse Cursor, Left-click on a Corner Location of the Component Area to Initiate Drag-and-drop Functions. Step 4: Holding Down your Mouse Button, Slide the Lens Cover Towards Your Desired Position within the Computer System's Workspace until it comes to Rest at a Precise Alignment with the Existing Structure. Step 5: With a Clear and Confident Stroking Motion using your Mouse Pointer, Activate "Lock-Into-Place" Option for Lens Cover Placement, allowing its Final Configuration Settings to be Permanently Saved into Your Design File.
With this file you will be able to print SJ4000 Lens Cover with your 3D printer. Click on the button and save the file on your computer to work, edit or customize your design. You can also find more 3D designs for printers on SJ4000 Lens Cover.
