Sitag Reality Pivot Mechanism
prusaprinters
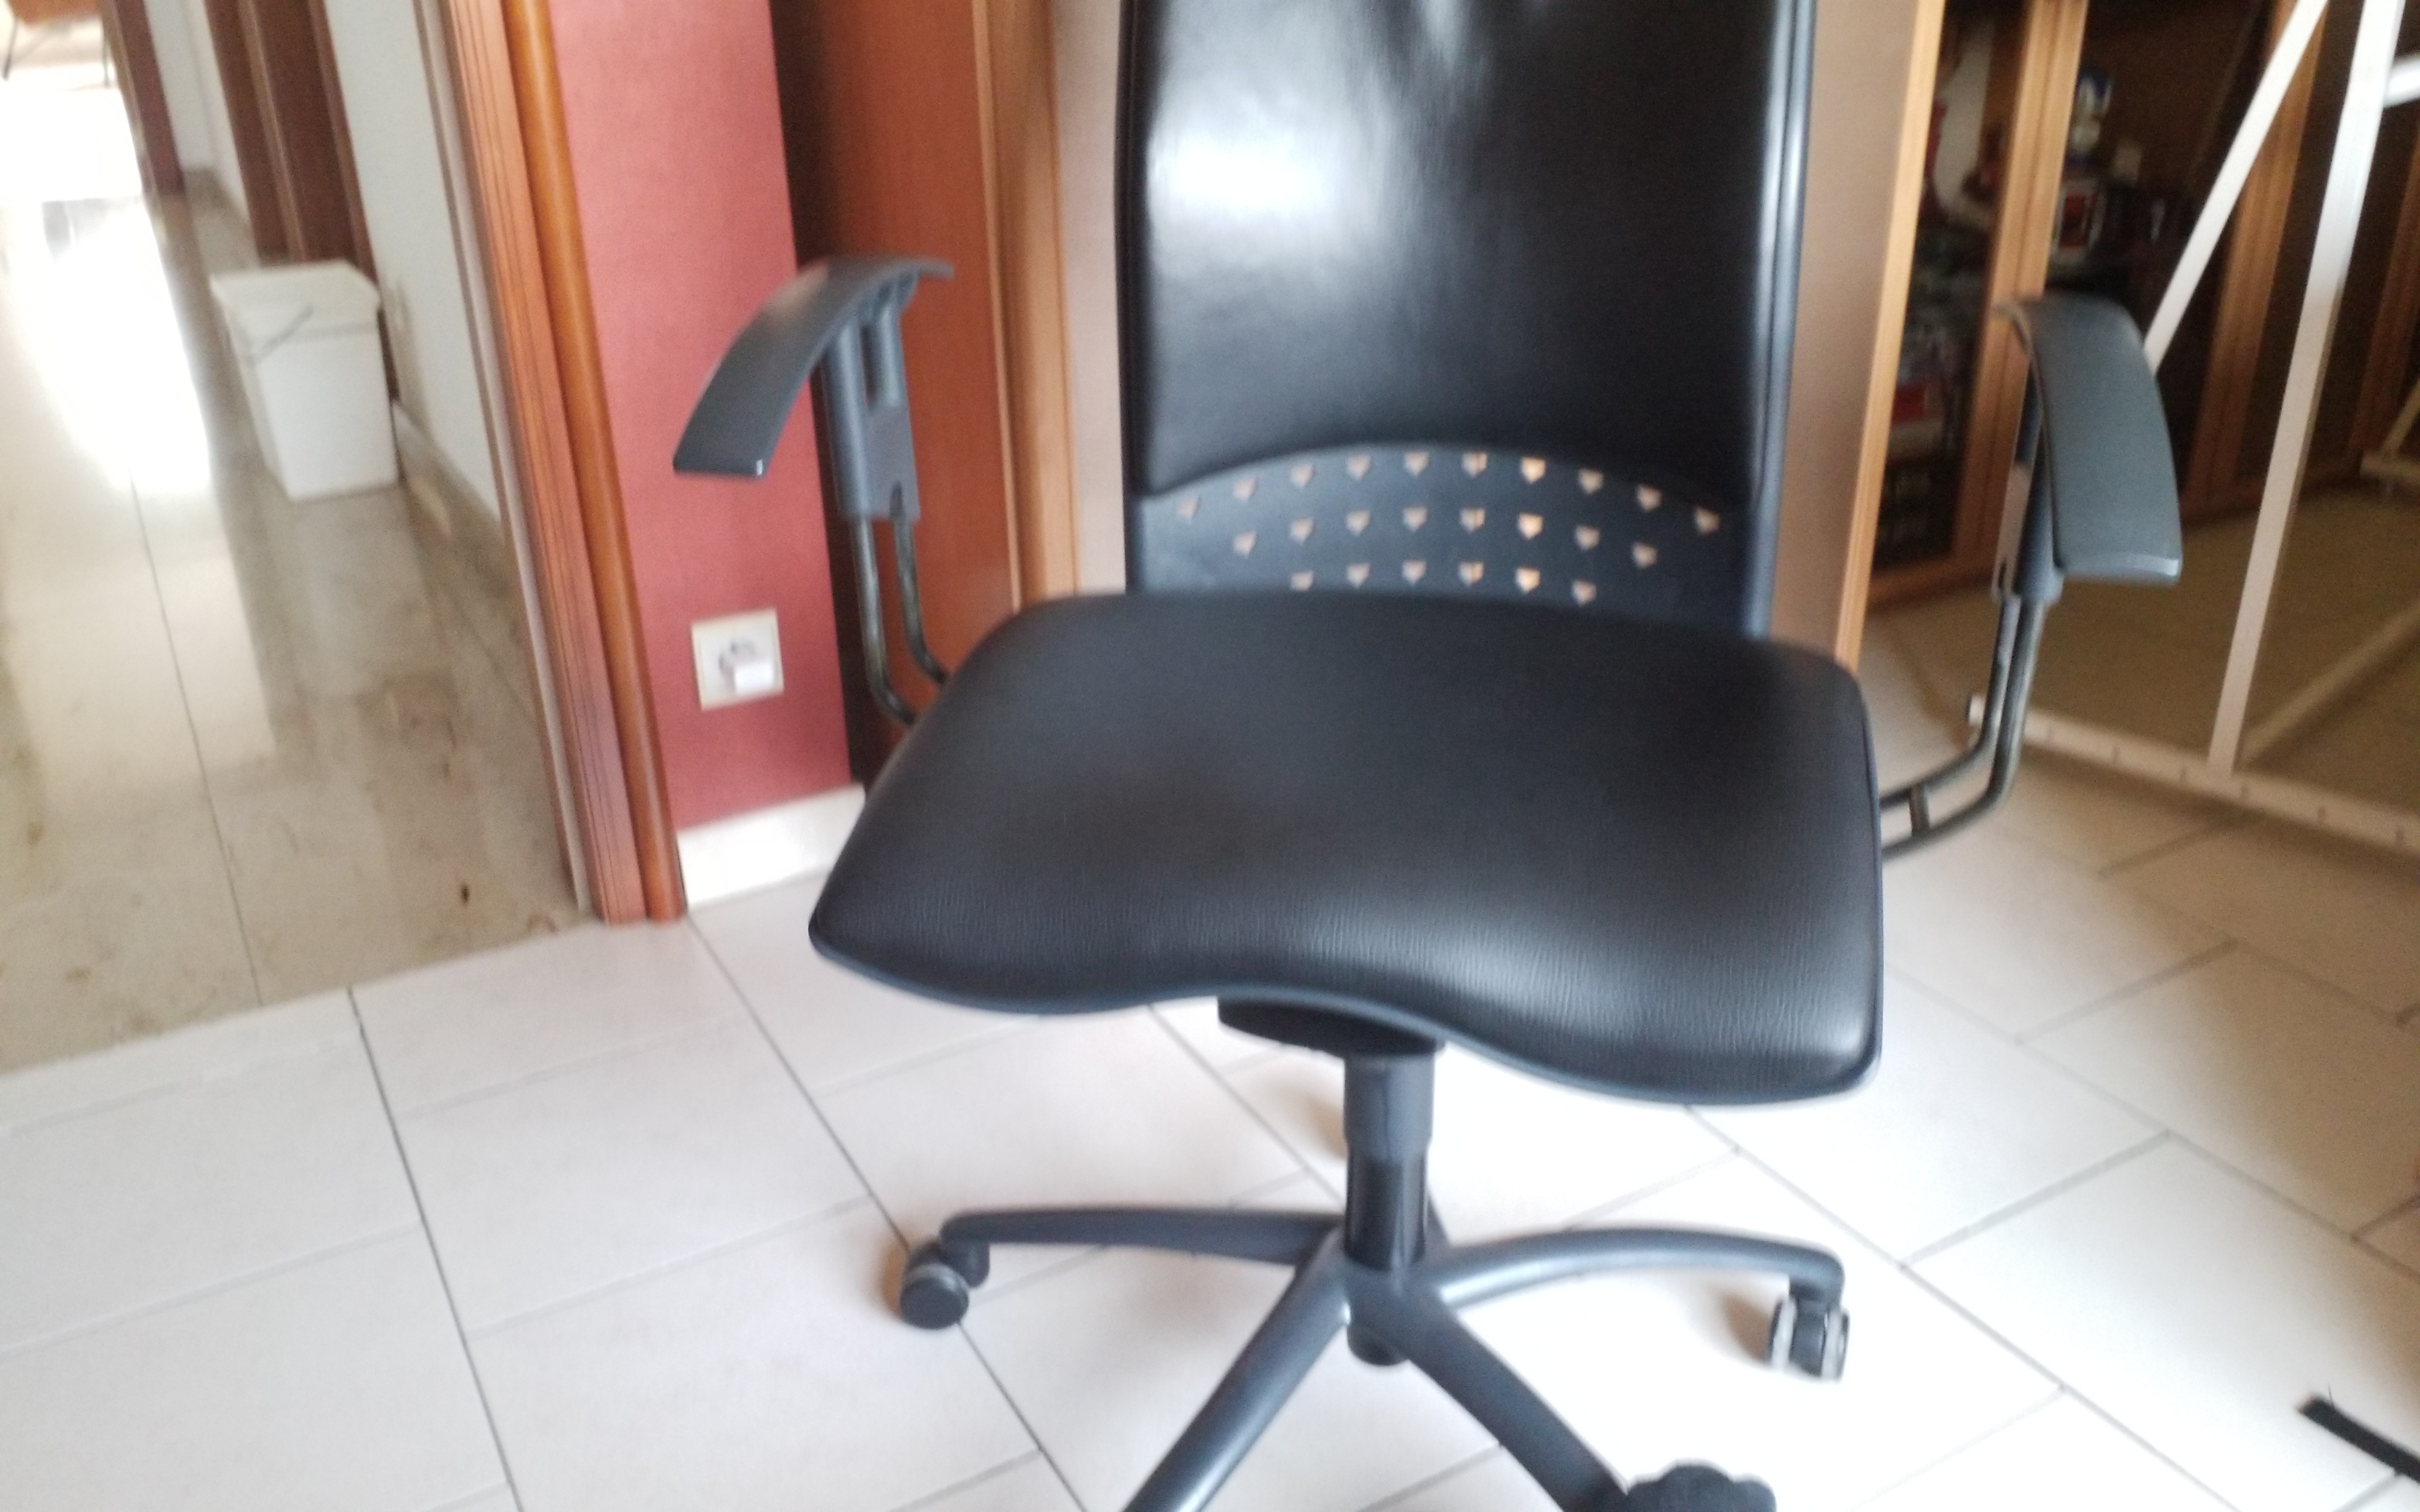
<h5><strong>1. Introduction</strong></h5><p>My office chair and me…..is a long love story !</p><p>I got my office chair, a Sitag Reality more than 20 years ago when my father brought it home for me from his company, after their local HQ had relocated from one building to another one. It was at the end of the 90's and the chair had been manufactured in 1996 (I was then 4 years old - can you imagine that ^^ ).</p><p>After more than 20 years of use in my life (college, high school, university, jobs, 2 evil cats…)…my chair had suffered from the ravages of time. The fabric was torn out, the foam was flat and destroyed and the pivot mechanism totally jammed.</p><p>Usually, I would have tried to repair it..but considering its age and state…I did not know how and from where to start….</p><p>Thus, I looked up to buy a new one. But I was quickly disabused by how a good office chair can cost: 500 - 1500€ here. Moreover….Sitag astonished me a lot because actually….they continue to make and sell the same model: the famous “Sitag Reality”…which costs now around 700€ !!!</p><p>Therefore, I decided to try a repair with my engineering skills and a big dose of will.</p><p>After some investigations, I found out that the broken mechanism was due to a broken plastic part which enables the latching process of the chair through a steel rod. The part broke in fatigue at the rod hole due to the cycling high push/pull force created by two opposite springs. All other parts being made of metal, this tiny pivot part represents the only fragile point of all Sitag Reality chair mechanisms and seems to break at first in all cases.</p><p>But this part was originally assembled on the rod with crimping process to get everything locked once and for all. What to do then without heating crimping tool for steel rod?</p><p>In short….guess what ?….I designed and printed a new version based on two parts to assemble with M3 screws to avoid the crimping process.</p><p><strong>Conclusion:</strong><i><strong> </strong></i>Printed, reassemble and fixed. So far, I have enjoyed my pivoting chair again for the last 5 months without any issues. So, if you have a broken Sitag Reality..it is your turn now !</p><p><strong>Bonus:</strong> I also reupholstered the seat with new foam for the cushion and a new faux leather for the fabric. I share the last pictures just to show you the final result. To be honest, I am kindly proud of it and all in all, it cost me around 60€ including a new electric stapler. (only 16€ of materials vs 700€ for a new Sitag chair). Also very eco-friendly in the end !</p><p> </p><h5><strong>2. Revision History</strong></h5><figure class="table" style="float:left;height:91.5625px;width:689.75px;"><table style="background-color:rgb(255, 255, 255);border:1px double rgb(179, 179, 179);"><thead><tr><th style="background-color:rgba(0, 0, 0, 0.05);border:1px solid rgb(191, 191, 191);padding:0.4em;text-align:center;"><strong>Version</strong></th><th style="background-color:rgba(0, 0, 0, 0.05);border:1px solid rgb(191, 191, 191);padding:0.4em;vertical-align:bottom;"><strong>Description</strong></th><th style="background-color:rgba(0, 0, 0, 0.05);border:1px solid rgb(191, 191, 191);padding:0.4em;text-align:center;vertical-align:bottom;"><strong>Date</strong></th></tr></thead><tbody><tr><td style="border:1px solid rgb(191, 191, 191);height:3px;padding:0.4em;text-align:center;">A.1</td><td style="border:1px solid rgb(191, 191, 191);height:3px;padding:0.4em;">Initial Release</td><td style="border:1px solid rgb(191, 191, 191);height:3px;padding:0.4em;text-align:center;">16/10/2022</td></tr><tr><td> </td><td> </td><td> </td></tr></tbody></table></figure><p> </p><h5><strong>3. Printing Instructions</strong></h5><ol><li>Element<ul><li>PETG for stiffness.</li><li>Layer Height: 0,2 mm</li><li>min 3 Perimeters</li><li>Supports on build plate only for Part1 (not required for Part2)</li><li>100% infill (Rectilinear)</li><li>Seam (retraction): random</li></ul></li></ol><p> </p><p><strong>4. Materials for Assembly (BOM)</strong></p><ul><li>Both printed parts.</li><li>1x M3x6 screw (DIN912)</li><li>1x M3x10 screw (DIN912)</li><li>2x M3 hex nuts (DIN934)</li></ul><p> </p><h5>5. Assembly Instructions</h5><ol><li>Insert both M3 hex nuts into the dedicated slots. Flat sides shall be placed laterally.<img src="https://media.printables.com/media/prints/296871/rich_content/f3960c98-3ab1-43e3-b4ff-e37a7f04d358/explodedview.png#%7B%22uuid%22%3A%2274cddd61-cd8a-47e8-831a-3773dbc9dec3%22%2C%22w%22%3A1317%2C%22h%22%3A708%7D"><img src="https://media.printables.com/media/prints/296871/rich_content/d5971b5f-06c1-40d6-91f3-66319fd45d72/assy1.png#%7B%22uuid%22%3A%22e2aefe33-6fcc-478c-b371-1030bef06404%22%2C%22w%22%3A1298%2C%22h%22%3A708%7D"></li><li>Place Part1 below the steel rod where there are two springs. (Don't forget your safety glasses !)</li><li>With some pliers, try to pull the springs apart and insert Part1 between them. I know that it is tricky ;)</li><li>Once in place, try to lock everything in some way. Normally the spring force is sufficient.</li><li>Screw Part2 on Part 1 with both screws.</li><li>Insert all other screws for the mechanism and reassemble the chair.<img src="https://media.printables.com/media/prints/296871/rich_content/b4fa939f-1e97-48b7-972e-dd55e4f6aa26/received_331378215744697.jpeg#%7B%22uuid%22%3A%223ade420f-b06b-4bc4-b9ac-84d767321da7%22%2C%22w%22%3A2048%2C%22h%22%3A1337%7D"><img src="https://media.printables.com/media/prints/296871/rich_content/00cca91c-db15-4391-9f89-a48de2e9637b/received_5691586150870001.jpeg#%7B%22uuid%22%3A%22d2181ec9-e9d9-4e75-9345-9e0311612a97%22%2C%22w%22%3A2048%2C%22h%22%3A1337%7D"></li></ol><p> </p><h5><strong>5. Notes</strong></h5><ul><li>G-code file only made for MK3S+. The file contains some custom lines to add a pre-heating before the printing to avoid oozing during the mesh bed levelling. And a timer at the end of the print to buzz a sound once the parts has cooled down. </li><li>Do not use the g-code file on other machines than MK3S+ ! In any case, I recommend you to slice the .stp files by yourself to make your own g-code files.</li></ul><p> </p><p>Have a nice print !</p><p>And don't forget to like, rate and donate !</p>
With this file you will be able to print Sitag Reality Pivot Mechanism with your 3D printer. Click on the button and save the file on your computer to work, edit or customize your design. You can also find more 3D designs for printers on Sitag Reality Pivot Mechanism.
