Single Barrel Dry Box
prusaprinters
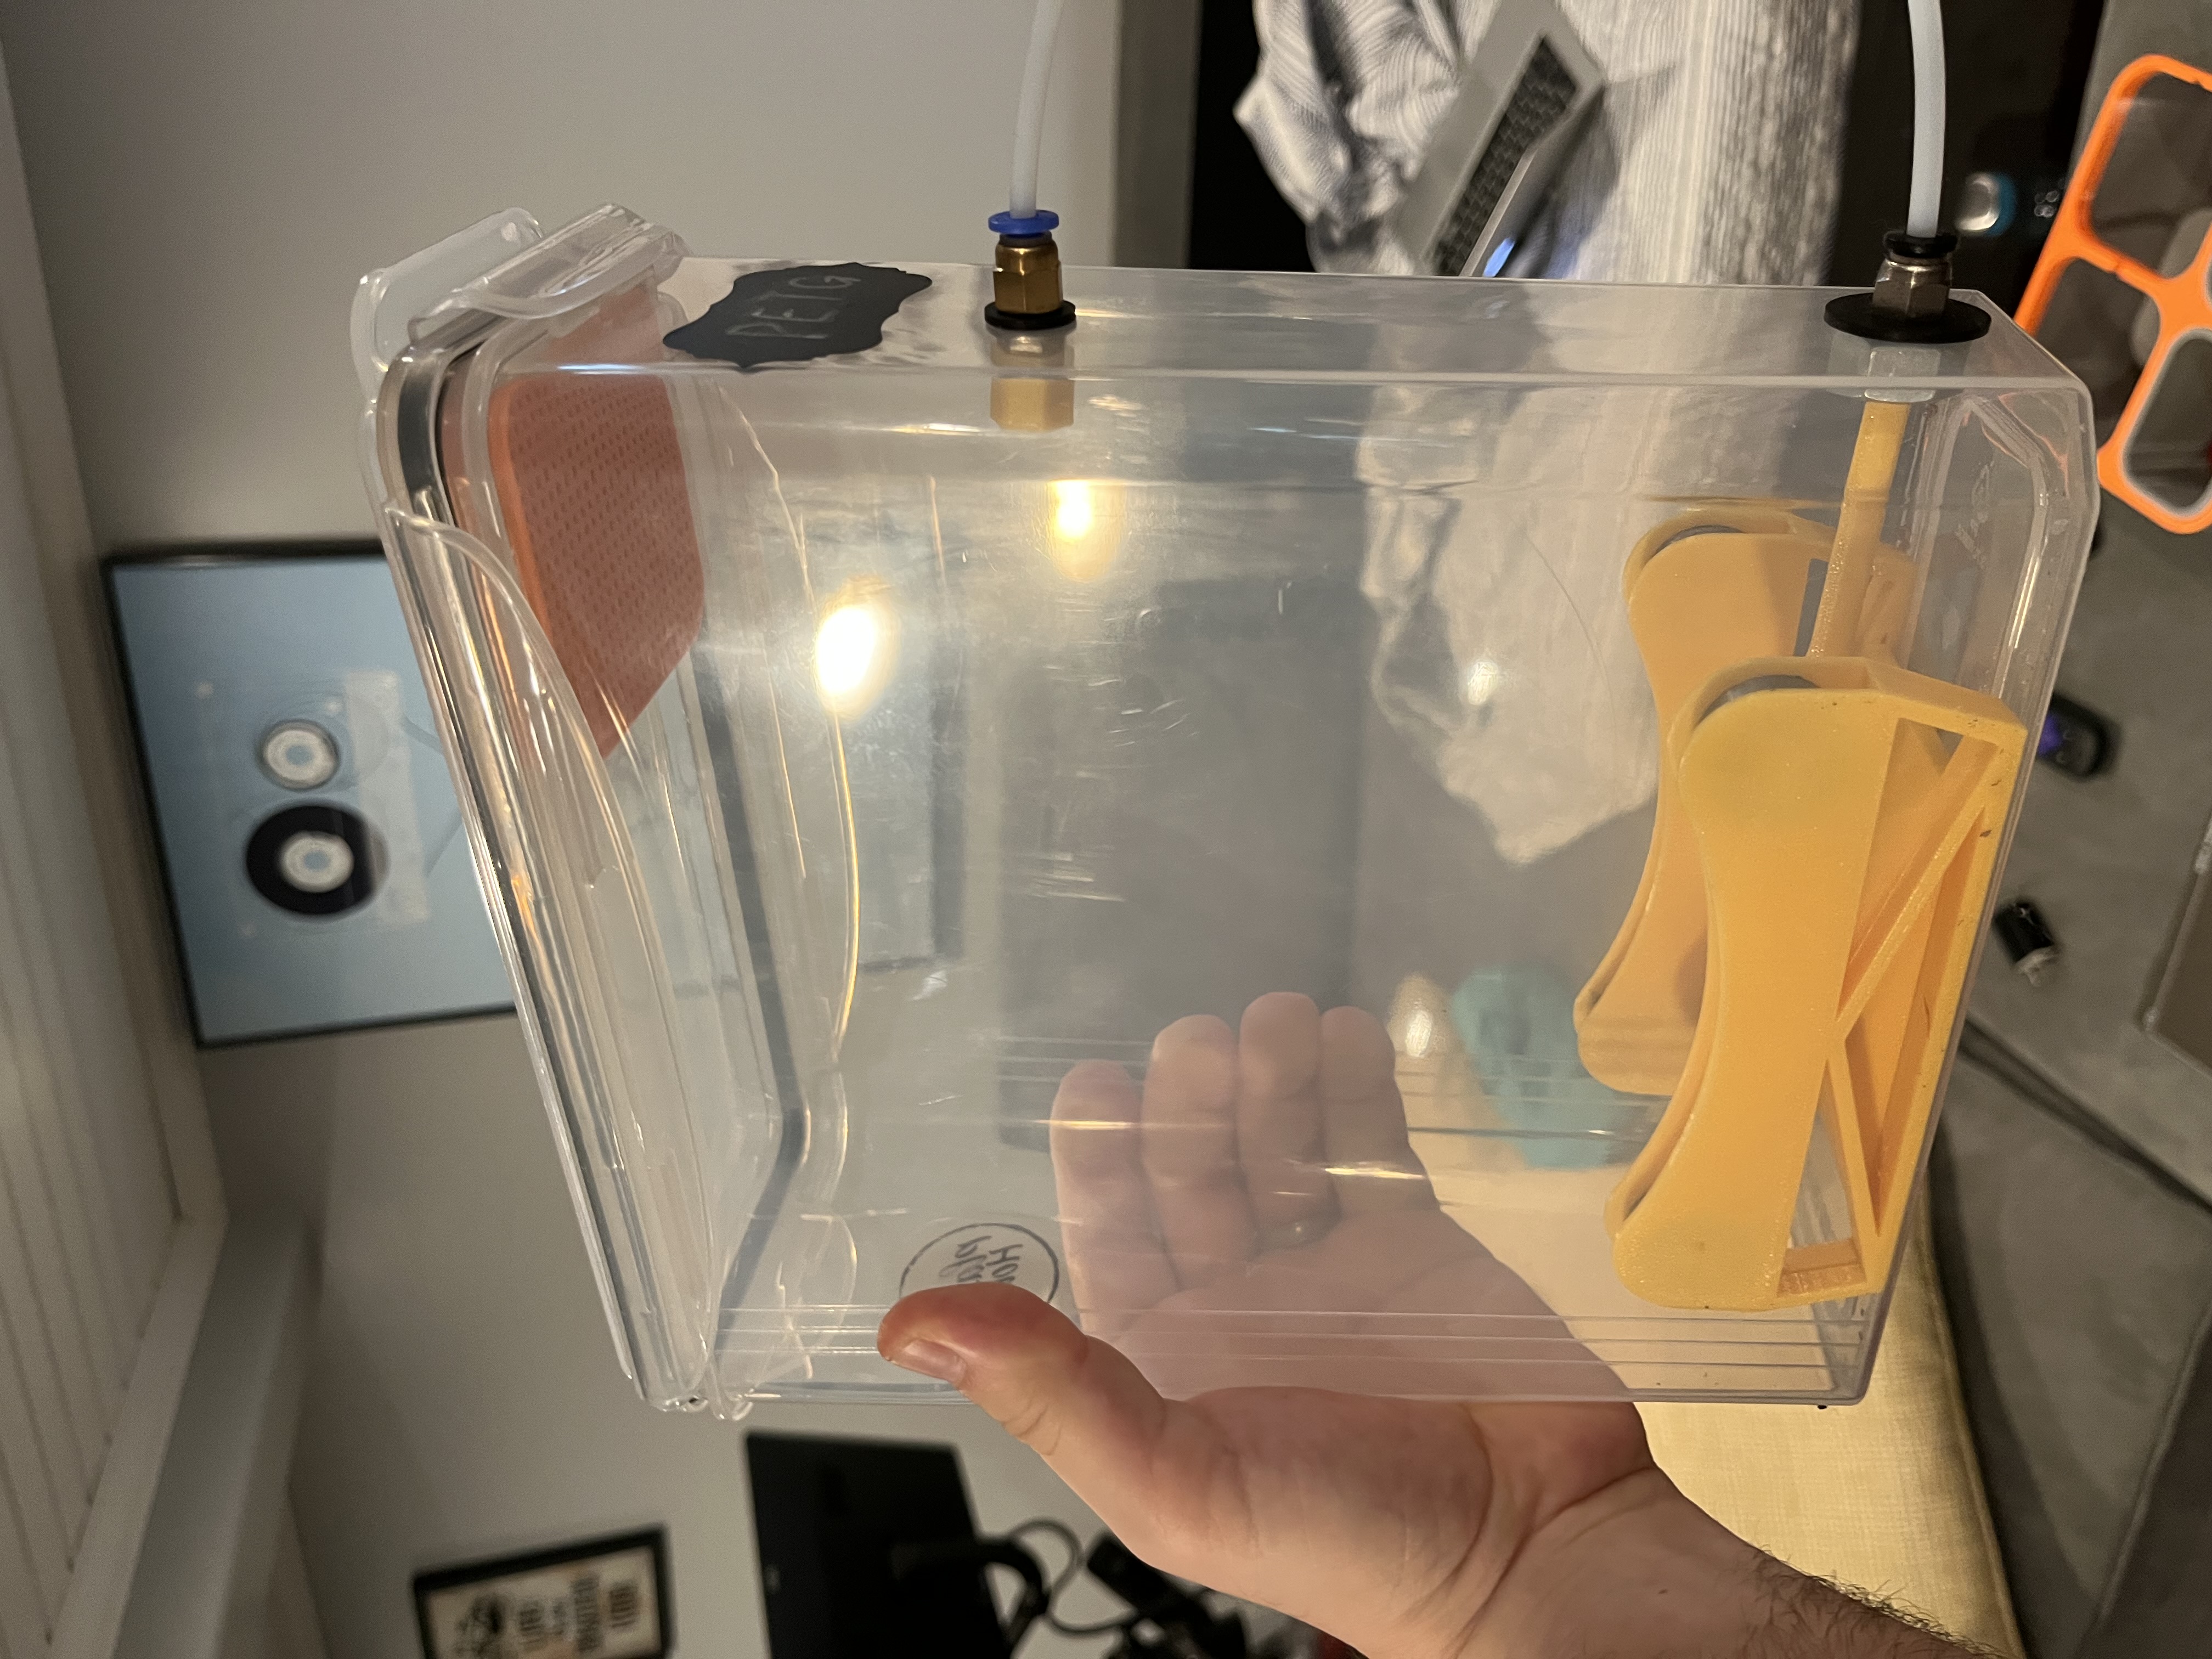
<p>Parts: Cereal containers - <a href="https://www.amazon.com/gp/product/B08YQN42HD/ref=ppx_yo_dt_b_search_asin_title?ie=UTF8&psc=1">https://www.amazon.com/gp/product/B08YQN42HD/ref=ppx_yo_dt_b_search_asin_title?ie=UTF8&psc=1</a></p><p>PTFE tubes and sockets - <a href="https://www.amazon.com/gp/product/B07L8R4SMG/ref=ppx_yo_dt_b_search_asin_image?ie=UTF8&psc=1">https://www.amazon.com/gp/product/B07L8R4SMG/ref=ppx_yo_dt_b_search_asin_image?ie=UTF8&psc=1</a></p><p>m6 lock nut, washer, and rubber washer</p><p>m10 nut and rubber washer</p><p>(4) 607 bearings</p><p>plastic bonding glue (ie LocTite)</p><p>You will need to print 4 of the modified TUSH pieces and 1 of everything else per dry box.</p><p>In my completed version, I put the top PTFE socket too low. It should be aligned with the top of the spool.</p><p>the TUSH assemblies should be glued together. The spacer which the TUSH assemblies snap into doesn't need glue, and there's no need to glue the whole thing to the bottom of the container. </p><p>Let the bendy straw sit on the TUSH spacer to determine the height of your bottom hole. The bendy straw allows for the assembly to stay “airtight” even with the PTFE tube removed while printing. You should use a dab of glue to hold this to the nut.</p><p>The nut funnel pressure fits onto the M6 locknut. It helps decrease friction.</p><p>The silica basket needs to be glued to the underside of the lid where the small opening is.</p><p>Happy printing!</p><p> </p>
With this file you will be able to print Single Barrel Dry Box with your 3D printer. Click on the button and save the file on your computer to work, edit or customize your design. You can also find more 3D designs for printers on Single Barrel Dry Box.