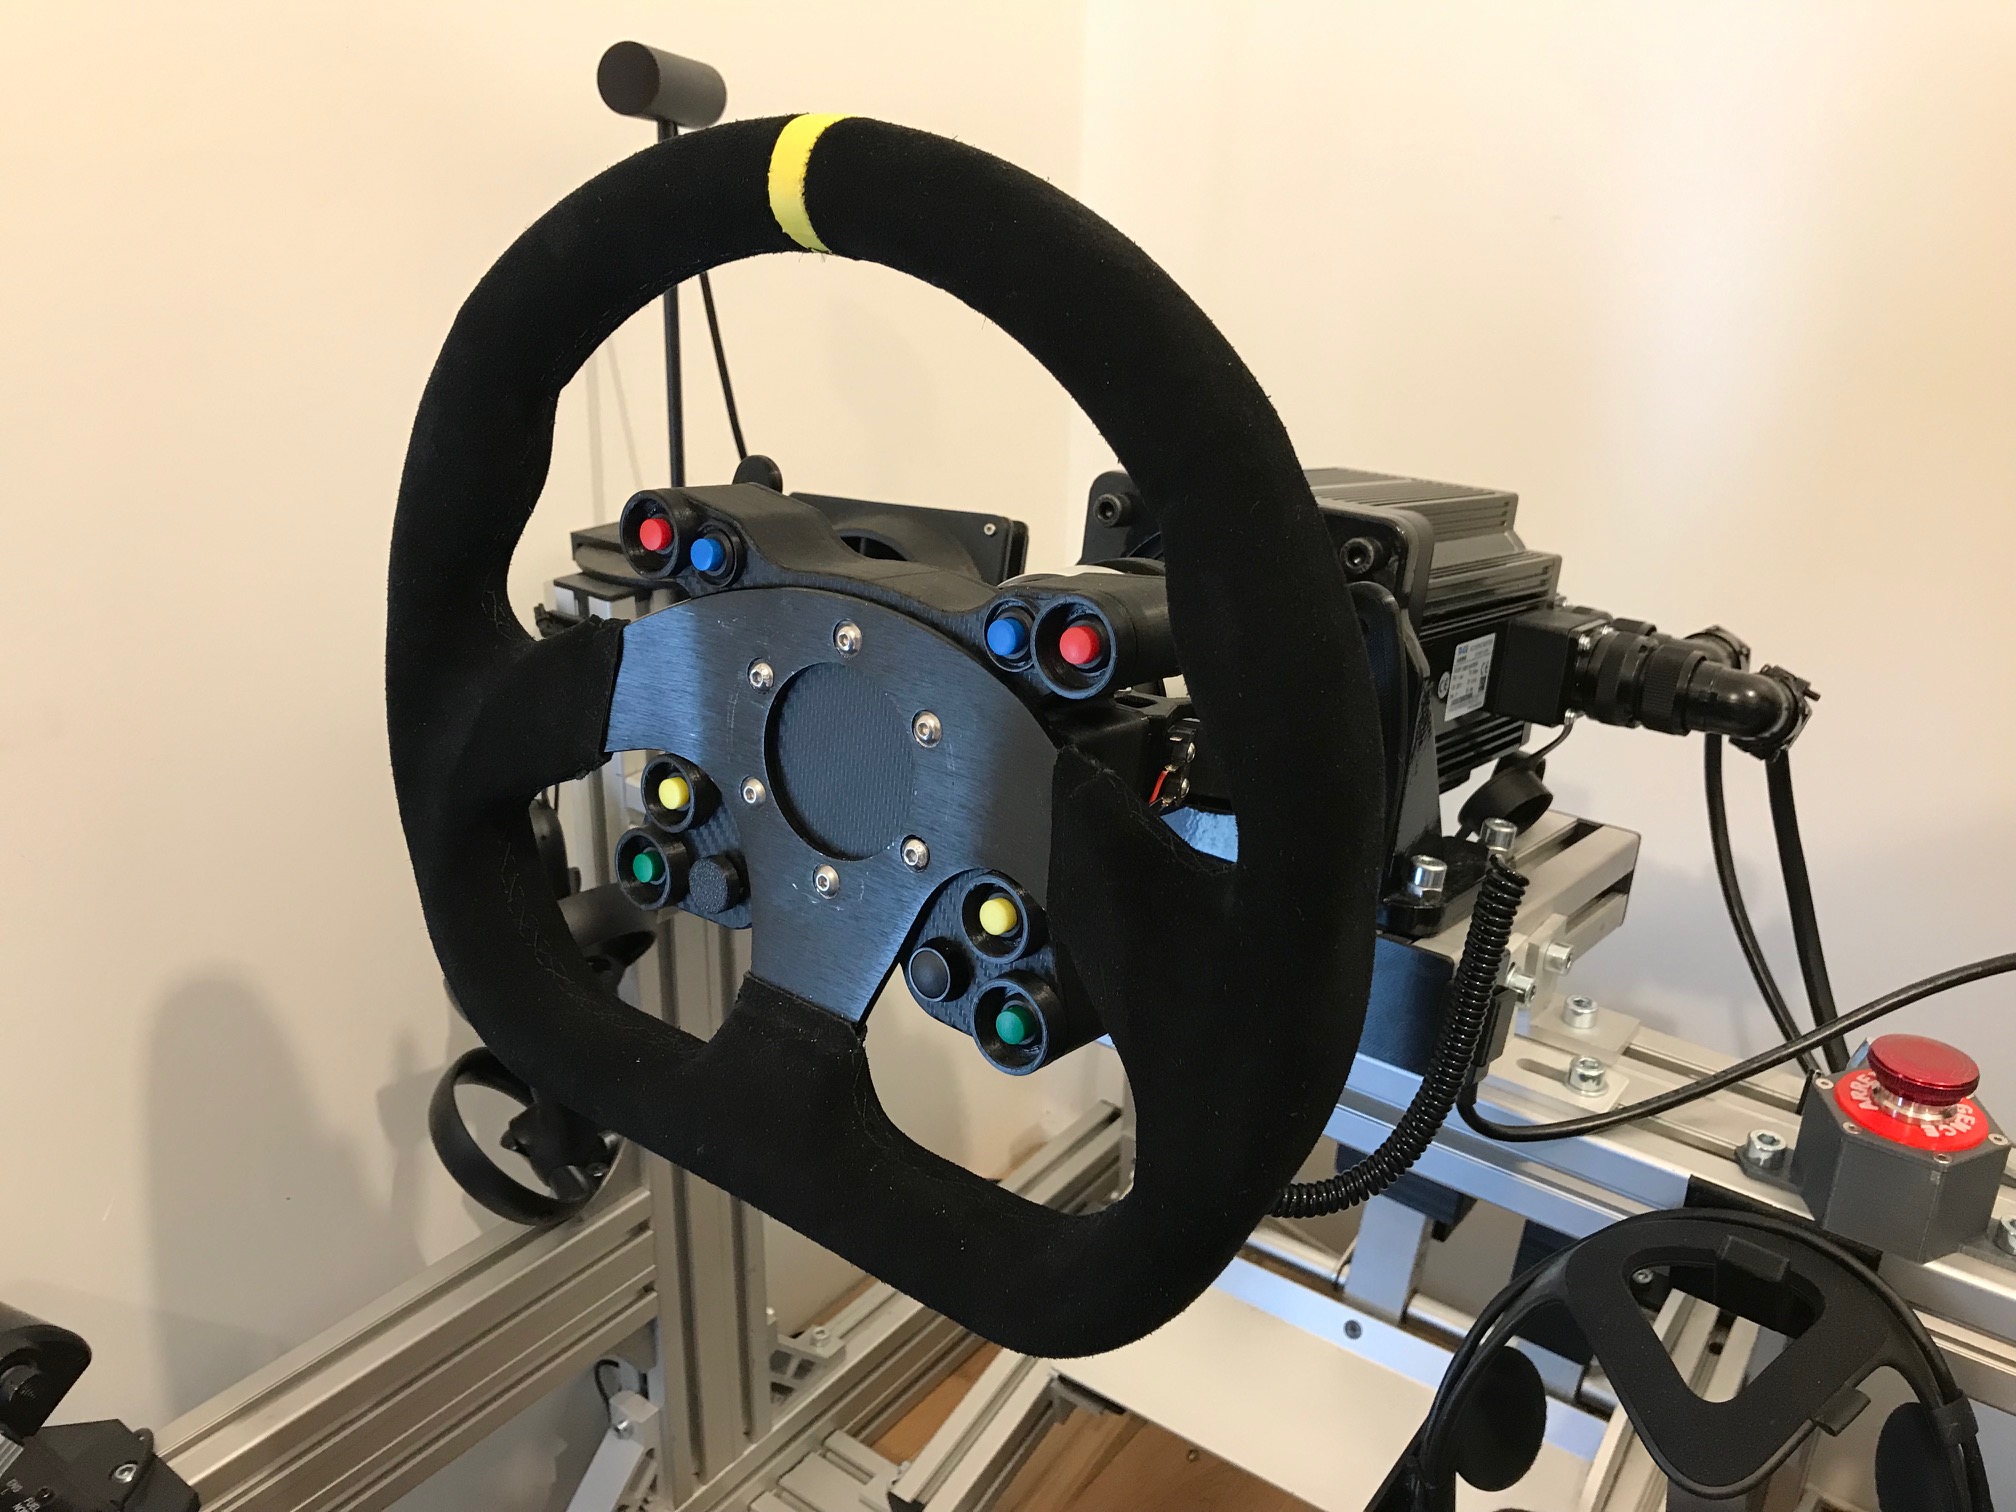
SimRacing Hub - GT Style
prusaprinters
<p>You'll need: </p><ul><li>A 330mm wheel - <a href="https://www.aliexpress.com/item/4000417198540.html?spm=a2g0s.9042311.0.0.27424c4dU2Z6Ag">https://www.aliexpress.com/item/4000417198540.html?spm=a2g0s.9042311.0.0.27424c4dU2Z6Ag</a><br> </li><li>M3 threaded inserts 4.2x5mm - <a href="https://www.aliexpress.com/item/4000513304304.html?spm=a2g0s.9042311.0.0.27424c4dhffj8O">https://www.aliexpress.com/item/4000513304304.html?spm=a2g0s.9042311.0.0.27424c4dhffj8O</a><br>M3 screws (10-12-16 -35mm)<br>M3 wahers<br>M3 nuts, nylon lock if possible<br> </li><li>M5 screws to attach the wheel/hub to your FFB base. The length of the screws depends of you setup, the case measure 35mm. <br> </li><li>12mm Push Button Switch - <a href="https://www.aliexpress.com/item/32896221862.html?spm=a2g0s.9042311.0.0.27426c37R7cspc">https://www.aliexpress.com/item/32896221862.html?spm=a2g0s.9042311.0.0.27426c37R7cspc</a><br>or <a href="https://www.aliexpress.com/item/32965803216.html?spm=a2g0s.9042311.0.0.27424c4dXE91Nf">https://www.aliexpress.com/item/32965803216.html?spm=a2g0s.9042311.0.0.27424c4dXE91Nf</a><br> </li><li>2 Micro switch for the shifters - <a href="https://www.aliexpress.com/item/1926553469.html?spm=a2g0s.9042311.0.0.27424c4dWO4Gcz">https://www.aliexpress.com/item/1926553469.html?spm=a2g0s.9042311.0.0.27424c4dWO4Gcz</a><br> </li><li>8x3mm Neodymium magnets - <a href="https://www.aliexpress.com/item/1005002209176808.html?spm=a2g0o.productlist.0.0.3a956130iYnzBO&algo_pvid=b24ac8bc-0c3f-4e0b-a47d-0dcc4cd22e31&algo_exp_id=b24ac8bc-0c3f-4e0b-a47d-0dcc4cd22e31-3&pdp_ext_f=%7B%22sku_id%22%3A%2212000019280659295%22%7D">https://www.aliexpress.com/item/1005002209176808.html?spm=a2g0o.productlist.0.0.3a956130iYnzBO&algo_pvid=b24ac8bc-0c3f-4e0b-a47d-0dcc4cd22e31&algo_exp_id=b24ac8bc-0c3f-4e0b-a47d-0dcc4cd22e31-3&pdp_ext_f=%7B%22sku_id%22%3A%2212000019280659295%22%7D</a><br> </li><li>1 Arduino Pro mini ATM32U4 5V - <a href="https://www.aliexpress.com/item/32978678381.html?spm=a2g0s.9042311.0.0.27426c37z5evzG">https://www.aliexpress.com/item/32978678381.html?spm=a2g0s.9042311.0.0.27426c37z5evzG</a><br> </li><li>1GX16 4 Pin Male-Female connector - <a href="https://www.aliexpress.com/item/32822907753.html?spm=a2g0s.9042311.0.0.27424c4dWO4Gcz">https://www.aliexpress.com/item/32822907753.html?spm=a2g0s.9042311.0.0.27424c4dWO4Gcz</a><br> </li><li>For the hat switch, i'm using this file witch works perfectly: <a href="https://www.thingiverse.com/thing:3452944">https://www.thingiverse.com/thing:3452944</a> , use it with the “tige.stl” and the “washer.stl”.<br>you'll need 6x6x5 tact switches - <a href="https://www.aliexpress.com/item/32876497528.html?spm=a2g0o.productlist.0.0.23cd7310Vh8oAD&algo_pvid=a1d6d1cc-fc32-4273-9565-8c419cc4cd77&algo_exp_id=a1d6d1cc-fc32-4273-9565-8c419cc4cd77-10&pdp_ext_f=%7B%22sku_id%22%3A%2266461505169%22%7D">https://www.aliexpress.com/item/32876497528.html?spm=a2g0o.productlist.0.0.23cd7310Vh8oAD&algo_pvid=a1d6d1cc-fc32-4273-9565-8c419cc4cd77&algo_exp_id=a1d6d1cc-fc32-4273-9565-8c419cc4cd77-10&pdp_ext_f=%7B%22sku_id%22%3A%2266461505169%22%7D</a><br> </li><li>A USB Male to micro USB cable - <a href="https://www.aliexpress.com/item/4001119441368.html?spm=a2g0s.9042311.0.0.27424c4dWO4Gcz">https://www.aliexpress.com/item/4001119441368.html?spm=a2g0s.9042311.0.0.27424c4dWO4Gcz</a> -<br>You'll have to solder the micro usb side to the GX16 - I'm using this order (<strong>Be aware to use the same order on the other side of the GX connector</strong>)<br>1 > Red<br>2 > Black<br>3 > White<br>4 > Green</li></ul><p>For the Arduino, just open the Formula_GT.ino in your favorite IDE (ArduinoIDE will do just fine, eventually add the Joystick library and upload the code to your Pro Micro). You can tweek the name of the board (see how to boards.txt, the board.txt is my example).</p><p>Optional : </p><p>I made a custom PCB, so you could send the gerber files to your pcb provider (i used jlcpcb.com) and make one. Then you'll need to solder every pins to the PCB (check the photos) and the double-end dupont line to the buttons/switches</p><p>You can download the gerber file here : <a href="https://drive.google.com/file/d/19pEmVKapCboTJWVD-D5RFSGa5o8hH_UQ/view?usp=sharing">https://drive.google.com/file/d/19pEmVKapCboTJWVD-D5RFSGa5o8hH_UQ/view?usp=sharing</a></p><p>You'll need: </p><ul><li>40 Pin 1x40 Single Row Male And Female 2.54 Breakable Pin - <a href="https://www.aliexpress.com/item/32993182990.html?spm=a2g0o.productlist.0.0.1e525e1e3FzFCP&algo_pvid=dfd6228a-4eb3-4700-87db-5f6feb7b8b92&algo_exp_id=dfd6228a-4eb3-4700-87db-5f6feb7b8b92-0&pdp_ext_f=%7B%22sku_id%22%3A%2266952136433%22%7D">https://www.aliexpress.com/item/32993182990.html?spm=a2g0o.productlist.0.0.1e525e1e3FzFCP&algo_pvid=dfd6228a-4eb3-4700-87db-5f6feb7b8b92&algo_exp_id=dfd6228a-4eb3-4700-87db-5f6feb7b8b92-0&pdp_ext_f=%7B%22sku_id%22%3A%2266952136433%22%7D</a><br> </li><li>2.54mm Single Row Female for the arduino pro connection to the PCB - <a href="https://www.aliexpress.com/item/4000783921467.html?spm=a2g0s.9042311.0.0.27426c37z5evzG">https://www.aliexpress.com/item/4000783921467.html?spm=a2g0s.9042311.0.0.27426c37z5evzG</a><br> </li><li>2P and 5P double-end Dupont Line female-Female (<a href="https://www.aliexpress.com/item/32496338704.html?spm=a2g0s.9042311.0.0.27426c37R7cspc">https://www.aliexpress.com/item/32496338704.html?spm=a2g0s.9042311.0.0.27426c37R7cspc</a>)<br> </li></ul>
With this file you will be able to print SimRacing Hub - GT Style with your 3D printer. Click on the button and save the file on your computer to work, edit or customize your design. You can also find more 3D designs for printers on SimRacing Hub - GT Style.
