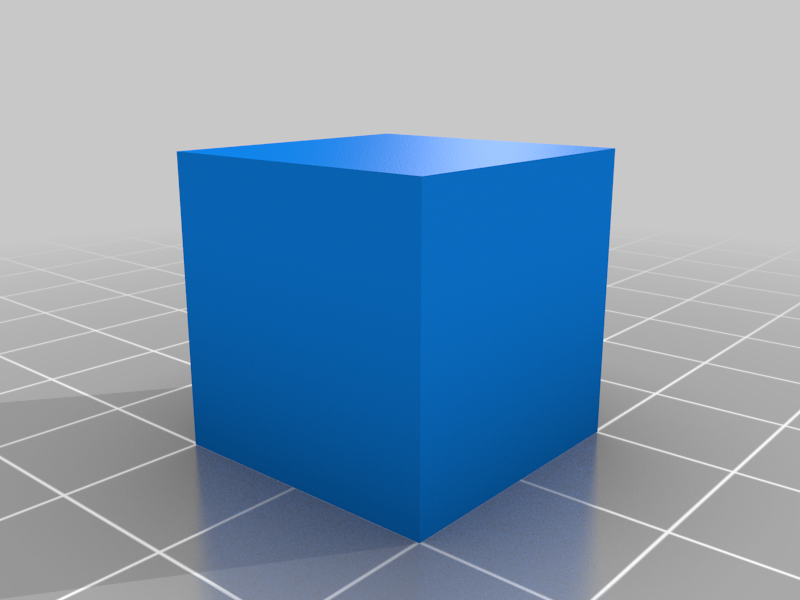
Simplify3d Extrusion Multiplier Calibration Cube
thingiverse
I made this to adjust my extrusion multiplier because I needed a calibration cube with straight edges, which is crucial for calibrating it. I do this for each type of filament (such as brand and color) and for every layer height I need. After printing a temperature tower to determine the optimal print temperature, I do this. Here are the steps: To use Ballpark Extrusion Multiplier: 1. Import the STL into Simplify3D. 2. Edit your profile and set: a) Extrusion Multiplier = 1 b) Extrusion Width = Manual, 0.96 c) Primary Layer Height = desired layer height d) Top Solid Layers = 0 e) Bottom Solid Layers = 0 f) Outline/Perimeter Shells = 1 g) Infill Percentage = 0% h) Choose start point closest to specific location = X0 Y0 3. Save and print. 4. After printing, let it cool down and measure the center of each side with vernier calipers. 5. Enter your measurements into this formula: 0.96/((Side1+Side2+Side3+Side4)/4) 6. This gives you a ballpark figure for the extrusion multiplier for the filament variant. To Fine Tune Extrusion Multiplier: 1. Undo the previous settings. 2. Set the extrusion multiplier to the figure calculated above. 3. Change the model scale to X20mm, Y20mm, Z<(number of top layers+number of bottom layers+3)xdesired layer height>. 4. Save and print. 5. Examine the print. If the top layer lines have gaps, increase the multiplier in 0.01 or 0.02 increments and repeat the print. If the ends of the lines are rough (too much material extruded on direction change), reduce the multiplier in 0.01 or 0.02 increments and repeat.
With this file you will be able to print Simplify3d Extrusion Multiplier Calibration Cube with your 3D printer. Click on the button and save the file on your computer to work, edit or customize your design. You can also find more 3D designs for printers on Simplify3d Extrusion Multiplier Calibration Cube.
