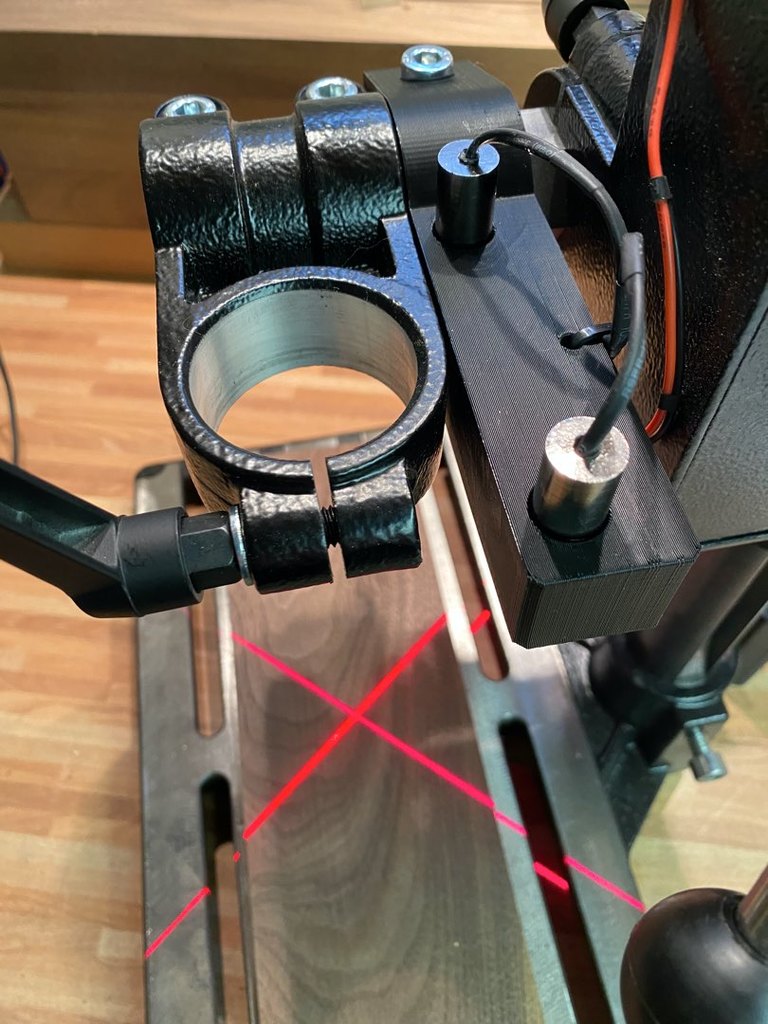
simplified laser cross-hair for Wabeco™ drill press
thingiverse
This model is for mounting a cross-hair laser to your Wabeco™ drill-press. Inspired by this video by "Offys Werkstatt" (https:// www.youtube.com/watch?v=0oZdQoxT2HQ), and the design by Magnetic (https://www.thingiverse.com/thing:4607189), I opted to design a simplified version. Key features: - only a single part to print - laser modules can be aligned flush with the bottom so you do not accidentally mess up your focal adjustment - sufficient accuracy if the distance to your workpiece is reasonable (if your requirements sup) - cut-out in the back and holes for cable management (for hiding your solder joints or simply using the holes for cable ties) Required hardware: - two line-laser modules (Ø12mm) Note: I suggest adding a strain relief with some heat shrink tubing - 1 bolt M8 x 30mm with nut (the size is mainly for aesthetics) - electrical wires and a battery box or usb connector to supply 3V-5V to the laser modules (I use some velcro to attach a battery box to the body of the drill press) - optional: two small machine screws to keep up the clamping force required to hold the laser modules in place Calibration: - do the main focal adjustment of the laser modules before mounting them - install a small size drill bit to your drill press and use some pliers to gently rotate the laser modules so their lines meet right at the tip of the drill bit
With this file you will be able to print simplified laser cross-hair for Wabeco™ drill press with your 3D printer. Click on the button and save the file on your computer to work, edit or customize your design. You can also find more 3D designs for printers on simplified laser cross-hair for Wabeco™ drill press.
