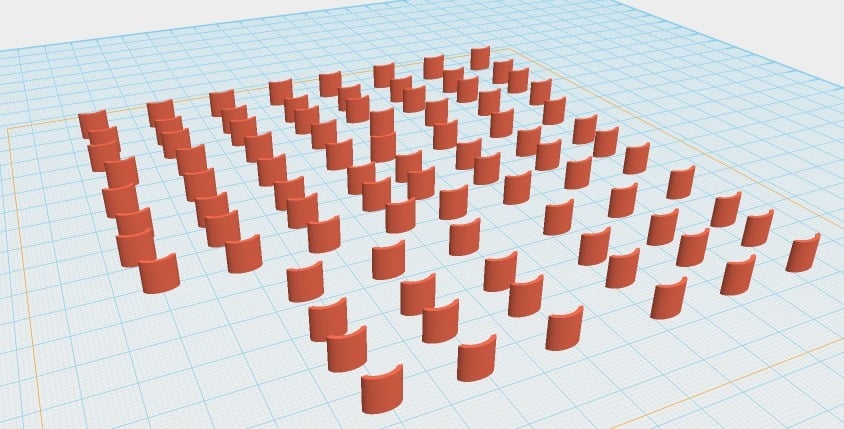
simple roof tiles
thingiverse
Crafting Simple Roof Tiles for Tabletop Terrain Enhancements Creating a realistic and immersive tabletop terrain setup requires attention to detail and creative problem-solving skills. One essential element that can elevate your miniature landscapes is adding simple yet effective roof tiles. To get started, gather the following materials: cardboard or cardstock sheets, scissors, glue, and a craft knife or X-Acto blade. Begin by cutting out rectangular shapes from the cardboard or cardstock to serve as the base of your roof tiles. Next, use your craft knife or X-Acto blade to carefully cut along the edges of each tile, creating a slightly weathered appearance. You can also add subtle texture to the tiles using a fine-tip marker or a small brush and some watercolor paint. Once you have your tiles cut out and textured, it's time to assemble them onto your tabletop terrain. Use a small amount of glue to secure each tile in place, starting from one corner and working your way across the roofline. Make sure to space the tiles evenly apart to achieve a natural-looking pattern. As you continue building your miniature landscape, consider adding other details such as windows, doors, and chimneys to create a more realistic and engaging environment for your miniatures. With these simple roof tiles, you'll be well on your way to crafting an immersive tabletop terrain that will transport your players to new and exciting worlds.
With this file you will be able to print simple roof tiles with your 3D printer. Click on the button and save the file on your computer to work, edit or customize your design. You can also find more 3D designs for printers on simple roof tiles.
