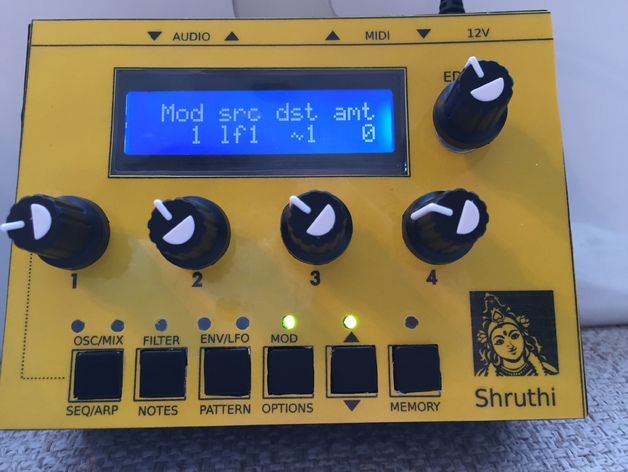
Simple Mutable Insruments Shruthi-1 case
thingiverse
This is an extremely straightforward DIY project for the Mutable Instruments Shruthi-1 synthesizer. Inspired by item:284637, it offers a significantly simpler and quicker solution, requiring just about 3 hours to complete. This particular design comes with a pre-designed front panel layout that can be easily printed on paper, laminated, and then glued to the front. More detailed information regarding this DIY enclosure project is provided online at http://diycrap.blogspot.no/2015/02/building-enclosure-for-mutable.html. **Instructions:** 1. Print out all three parts required for this design. 2. Securely fasten the shruthi PCBs to the bottom part using M3 standoffs. 3. The back panel is secured by the jack mounts. 4. Attach the front panel overlay printed on nice paper, then laminate it and finally glue it to the front panel. 5. Secure the potentiometers to the front panel in their respective places. 6. As you can see, this project can't get any simpler. A user-friendly OpenSCAD file is provided for easy modification. If needed, changing the size of openings for the buttons and other elements is straightforward. By all means, powering the Shruthi synthesizer ideally requires a 9V DC power source; note that the panel design mentions it works on 12V too.
With this file you will be able to print Simple Mutable Insruments Shruthi-1 case with your 3D printer. Click on the button and save the file on your computer to work, edit or customize your design. You can also find more 3D designs for printers on Simple Mutable Insruments Shruthi-1 case.
