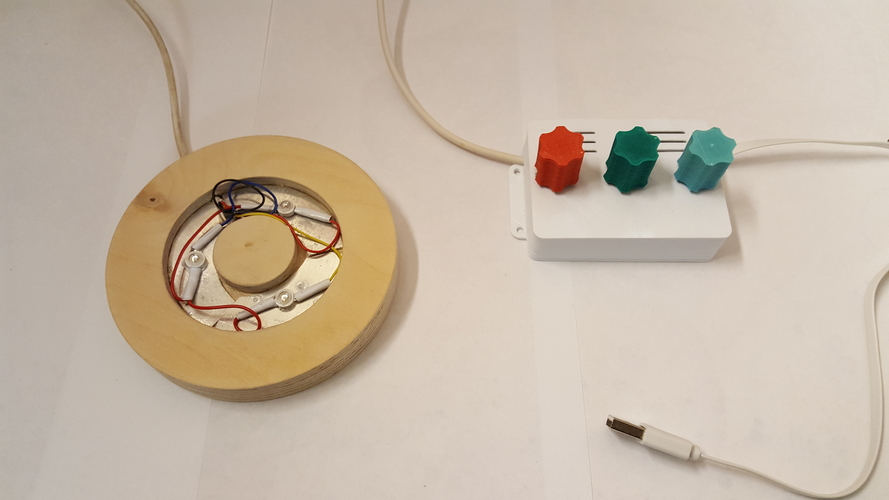
Simple LED driver
pinshape
This model serves as a means of controlling and adjusting the brightness of your LED's. By varying the intensity of the light emitted by the LED through different methods, you can achieve various colors and effects. This approach is the core secret behind the lamps I have showcased this year. It's the most straightforward way to design a driver/dimmer, as it doesn't require complex components or assemblies. Essentially, it consists of a simple case with three potentiometers and three transistors (or FETs like the BUZ11) that regulate the voltage. This is an extension of my previous project, the adjustable LED base: https://pinshape.com/items/403... If you already have your LED's and the necessary resistors (as discussed in https://pinshape.com/items/403...), you can easily assemble this driver case using the provided schematic. Due to its simplicity, I opted not to create a PCB; instead, I soldered the components directly onto the potentiometers themselves. The transistor is only required to handle the current and is more cost-effective than purchasing a 5W potentiometer. The 15K resistor acts as a limiter, enabling the potentiometer to function within a better range. If the available range doesn't meet your needs because the LED reaches its maximum brightness when the potentiometer shaft is only at 50%, you can replace this resistor with a 50K potentiometer for fine-tuning. To assemble the driver, you'll need a case to hold the components together. I kept it simple by designing two different types of baseplates: one with additional mounting options and another with an integrated cable tie. The latter has slots for cable ties instead. In the photos, the white case is the one with the built-in cable ties. I also created a knob that fits the potentiometers used in this project; you can see its dimensions in the photo. This driver operates on a USB charger but can also be powered by a 12V adapter using an LM7805. However, keep in mind that the 12V solution generates significant heat waste (due to the LM7805, 100nF & 33nF capacitor). Therefore, I recommend using a cheap 2.1A USB charger instead. The primary goal of this driver is to be inexpensive. If you already have three 50K potentiometers, use them! If not, consider alternative transistors like the BUZZ11 or IRFZ44N to keep costs low. The more parts you need to purchase, the pricier it will become. Perhaps I'll develop a PWM-driven driver in the future if people request it.
With this file you will be able to print Simple LED driver with your 3D printer. Click on the button and save the file on your computer to work, edit or customize your design. You can also find more 3D designs for printers on Simple LED driver.
