Simple Collapsible Kappa Enclosure
prusaprinters
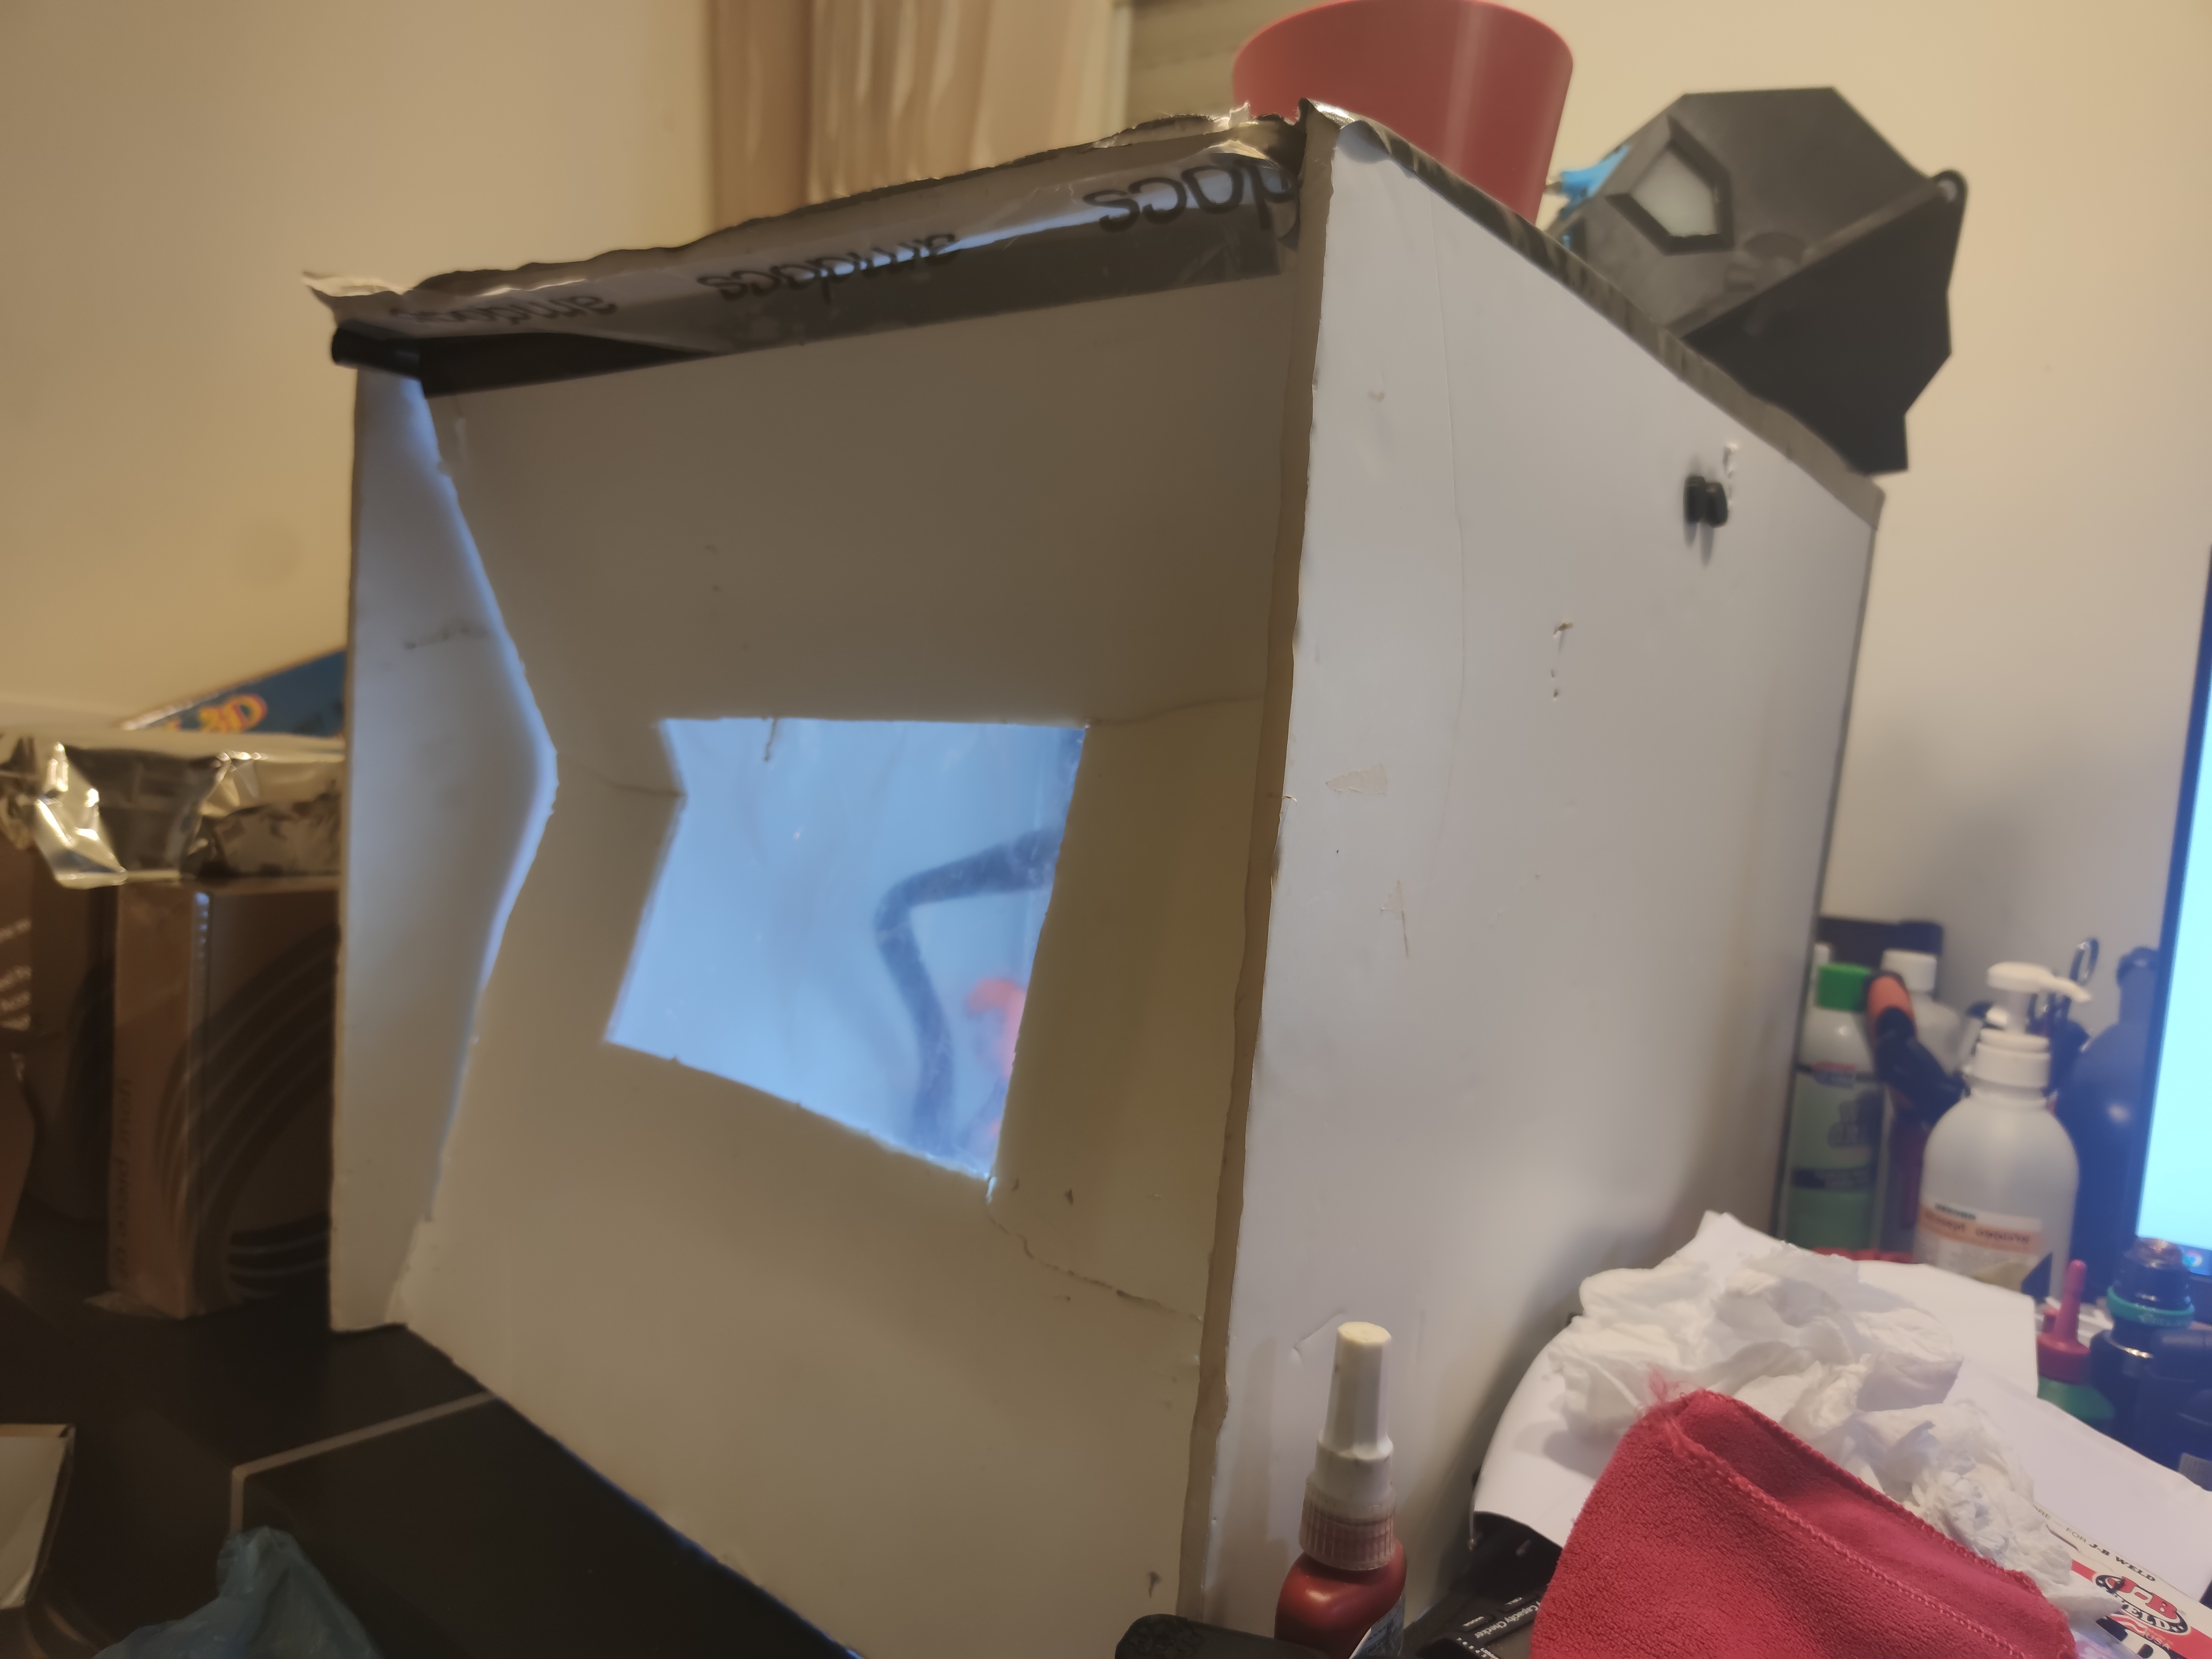
<p>If you are like me, printing PETG/PLA for most of the time, but from time to time need to print ABS/ASA/any other filament demanding enclosure, but don’t have the space/time/ability to build the IKEA Lack one – you will find this little project useful. I designed a very simple connectors in order to assemble Kappa boards into an enclosure and tested it for 2 weeks while printing ABS/ABS+ and ASA as well without any troubles.</p><p>If your printer and slicer profile are calibrated well you won’t need any supports. Otherwise consider add supports on the 2 rear corners (from build plate only)</p><p>Use the front corners in front, rear corners in the rear and the top holders from inside the enclosure on both walls. They are made to keep the top from falling down. Place them from inside and make the 2 holes for the bolts in a way, so the top plate will ay on the small “roof” of the holder.</p><p>If you want to join the rear bottom corners as well - print another set of the 2 front corners and simply rotate them.</p><p>I Used 3 50X70X10 Kappa boards for left, top and right walls and 2 52X50X10 Kappa boards for the back and front walls. Cut a hole in the front wall and use a transparent thick nylon if you want to make a “window” in order to see what is going on.</p><p>Use a simple duck tape or any other wide masking tape to glue the front wall as a door.</p><p>I hope it helps to somebody.</p><p>(the front door on the photo was broken by my cat, that jumped on top of the enclosure before i've had the chance to take a more decent photo)</p>
With this file you will be able to print Simple Collapsible Kappa Enclosure with your 3D printer. Click on the button and save the file on your computer to work, edit or customize your design. You can also find more 3D designs for printers on Simple Collapsible Kappa Enclosure.
