Simple CNC Rooter
thingiverse
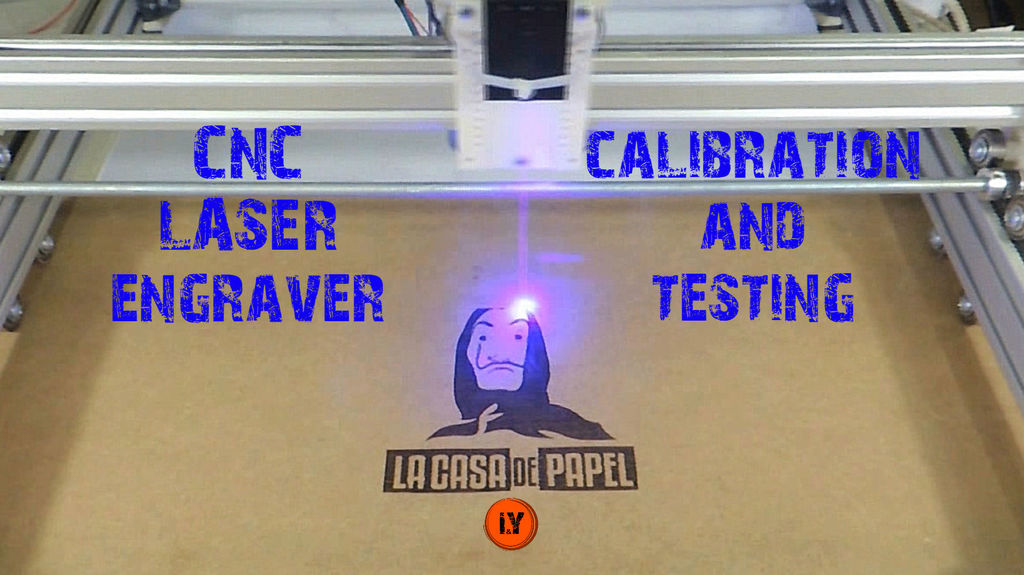
As a IZLE ve YAP team, we have previously published the electronic and mechanical components of our cnc laser project. Now it's time to calibrate and test the system. In this video, we attempt to demonstrate how to make the calibration adjustments on the CNC laser that we introduced earlier. Firstly, we set up the calibration settings. Next, using the LaserGRBL program, we created two sample drawings. The characters "LA CASA DE PAPEL" served as a test image. For more information about our project, please refer to the following video links: ARDUINO CNC LASER ENRGAVER PART 1 - https://www.youtube.com/watch?v=umj0Z68Nmdo ARDUINO CNC LASER ENRGAVER PART 2: ELECTRONIC COMPONENTS - https://www.youtube.com/watch?v=HscUYo4QBhk ARDUINO CNC LASER ENRGAVER PART 3: CALIBRATION AND TESTING - https://www.youtube.com/watch?v=lJ5L0iDJmcs
With this file you will be able to print Simple CNC Rooter with your 3D printer. Click on the button and save the file on your computer to work, edit or customize your design. You can also find more 3D designs for printers on Simple CNC Rooter.