Simple Buttons
prusaprinters
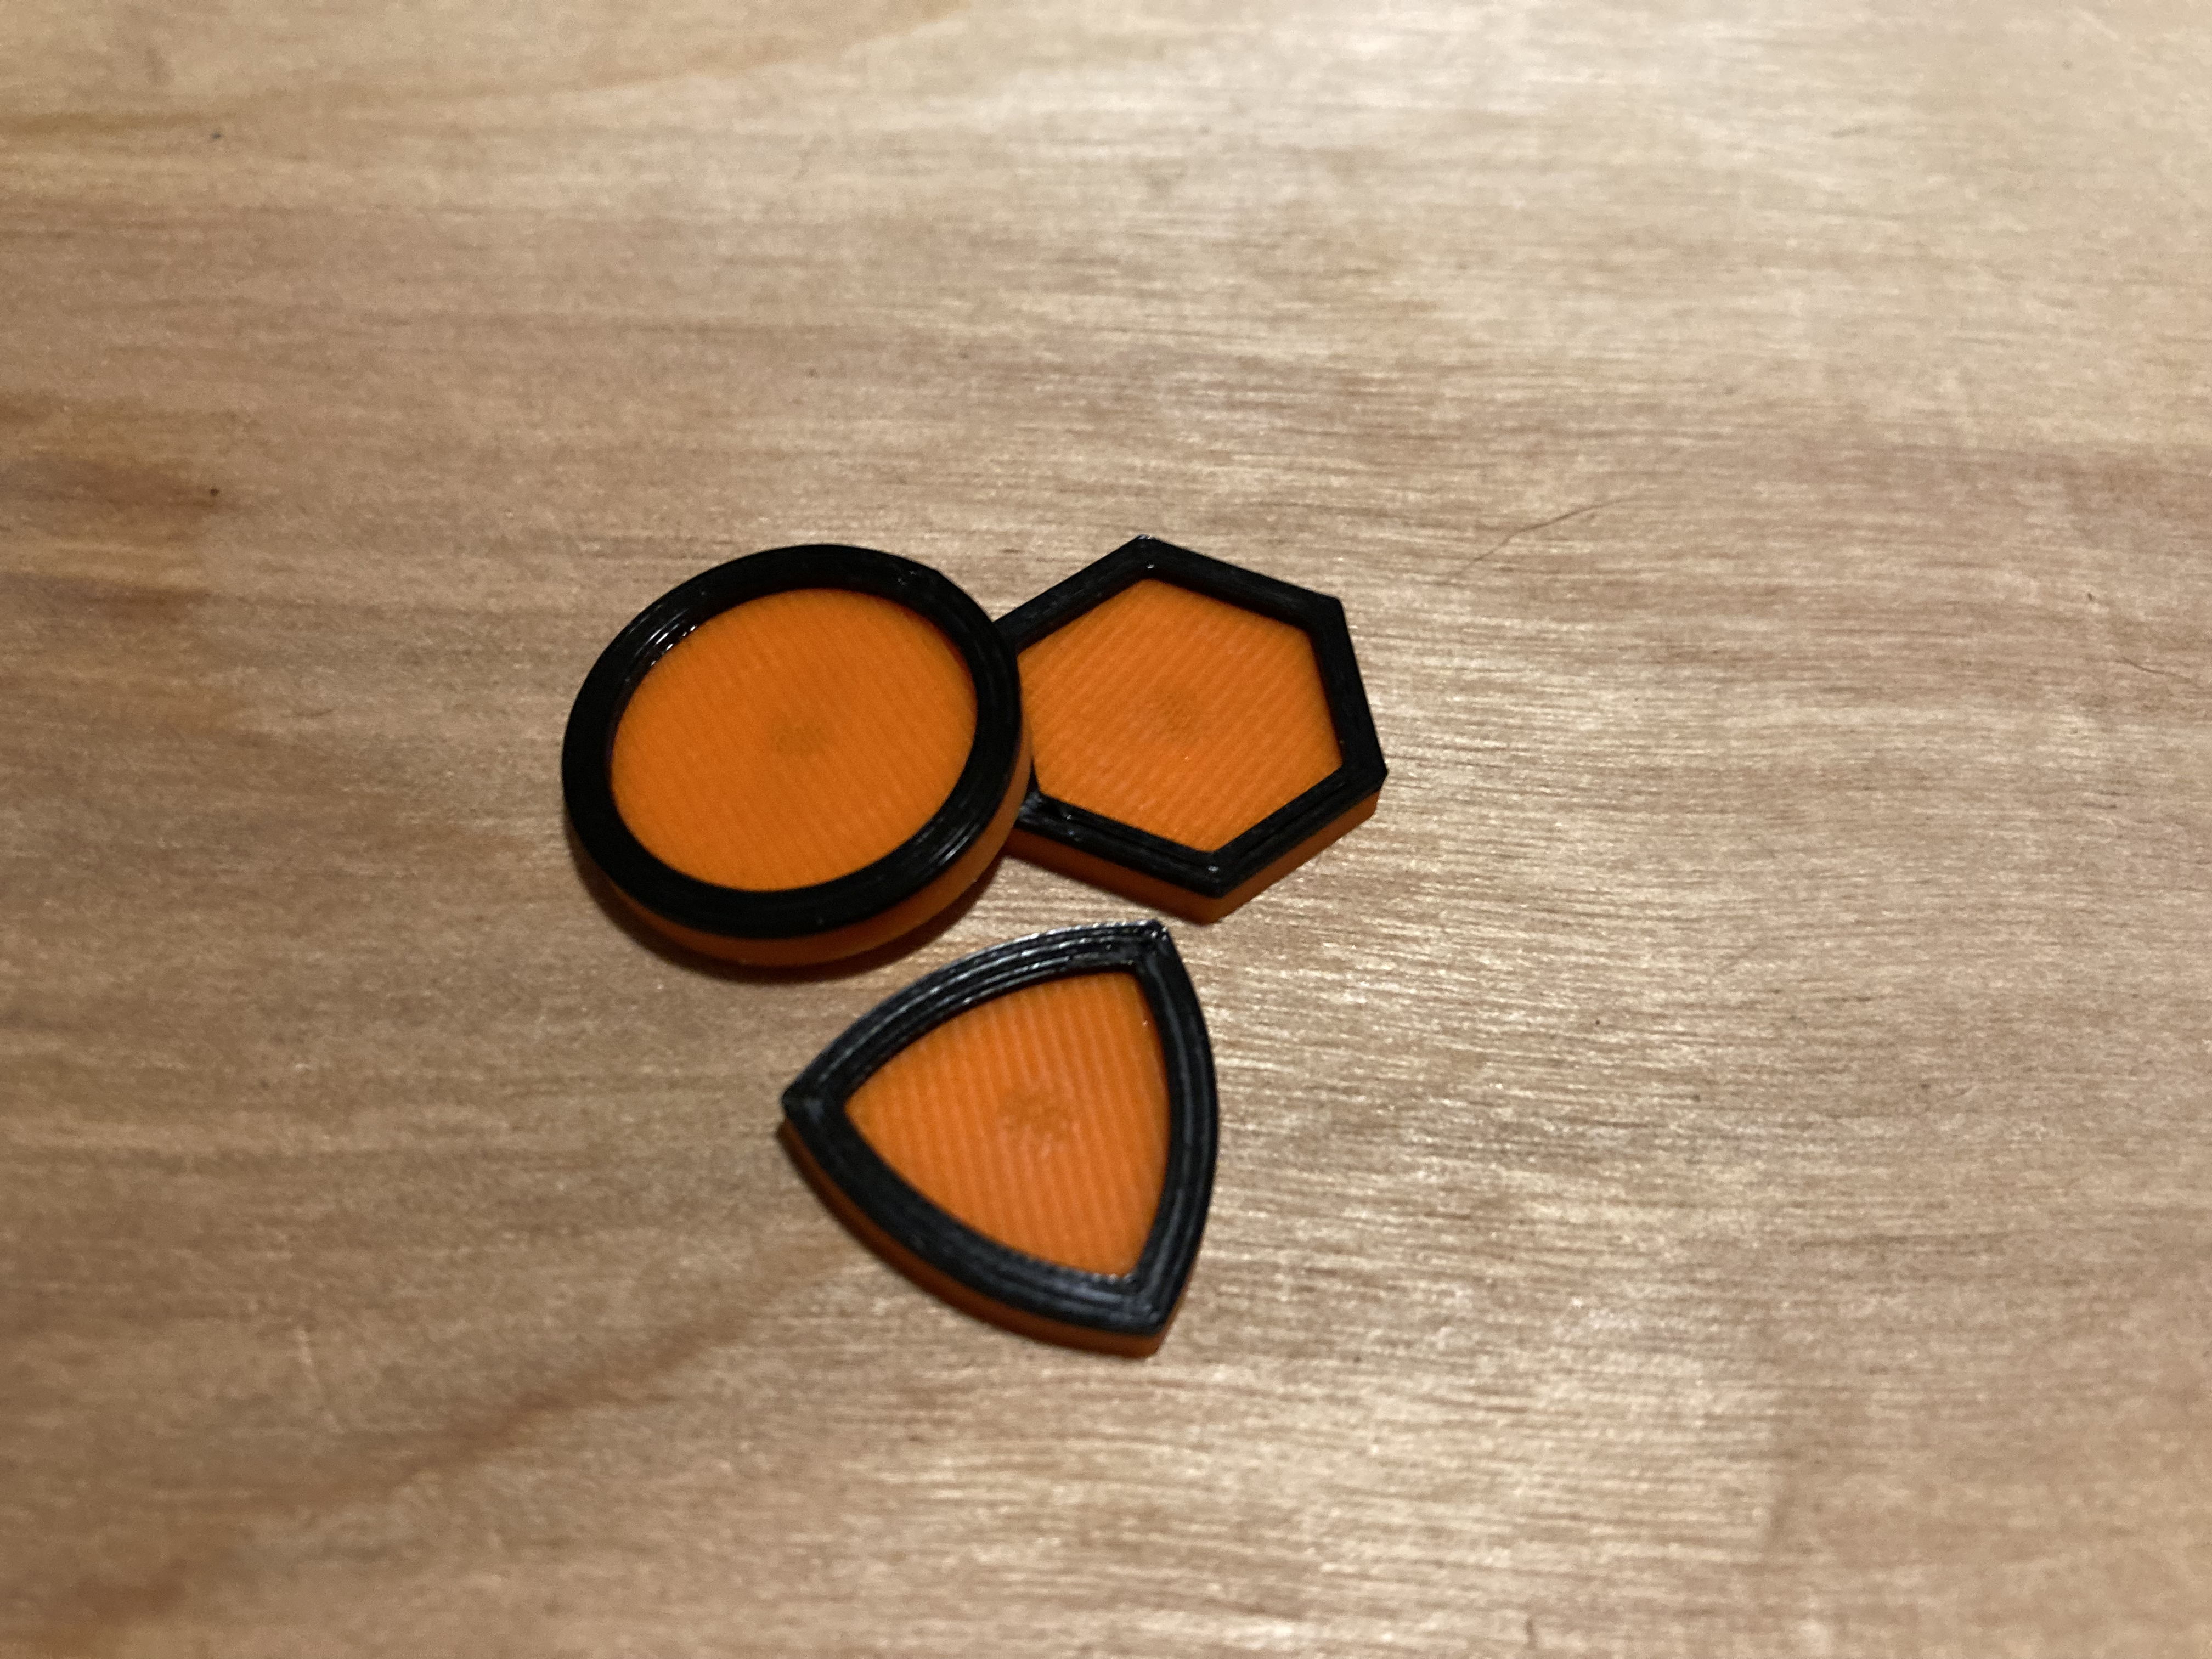
<p>The first button is a simple circle which has been given a small rim to make it have really cool color changes.</p><p>The next button is s hexagon with a nice rim just like the circle button. </p><p>The Third Button is a Reuleaux triangle which is a solid of constant width. A solid of constant width is essentially a non circular/spherical shape that can roll like a ball or wheel. If you are fan on Mazda RX7's you will know exactly what I mean! This button has a nice rim for color changes and a clean front. Here is another Reuleaux triangle model! <a href="https://www.prusaprinters.org/prints/52263-solids-of-constant-width/comments">https://www.prusaprinters.org/prints/52263-solids-of-constant-width/comments</a> </p><p>All three of the buttons use a special string retention curve to allow for a perfectly clean top!</p><p><img src="https://media.prusaprinters.org/media/prints/121772/rich_content/20cc74c1-f3db-4859-a13e-964f3f60fb89/button-src.png#%7B%22uuid%22%3A%225ece27b3-acb4-4639-b16d-1da7c4221b43%22%2C%22w%22%3A1259%2C%22h%22%3A601%7D"></p><p>Print these buttons with the border facing up at .15mm layer height. Each button is 3mm high and about 20mm in diameter.</p><p><strong>INSTRUCTIONS:</strong></p><p> </p><ol><li>Select the Button you want to use. In this Case I am showing the Hexagon pattern button that you can find on my page.</li><li>Punch 2 holes in the cloth you are attaching this to that are the same distance apart as the ones on your button. Regardless of the button chosen it should be about 1cm apart. <strong>KEEP ORIENTATION IN MIND!!! </strong>You need to make sure if the hole your button goes into is horizontal that your button holes are <i>also </i>horizontal.</li><li>Take the needle and thread the string through the hole. I did not find the need to tie a knot but you may.</li><li>Sew the button by looping the thread between the four holes. Keep the string tag ends on the same side of the cloth so you can tie them. </li><li>When you satisfied that you have enough loops, simply do an overhand knot (or two… or three :-]) to secure it. </li><li>CONGRATULATIONS!!! YOU HAVE INSTALLED YOUR BUTTON!!! Please post a make if you like this model!</li></ol><p><br> </p>
With this file you will be able to print Simple Buttons with your 3D printer. Click on the button and save the file on your computer to work, edit or customize your design. You can also find more 3D designs for printers on Simple Buttons.
