SImple Box Construction
pinshape
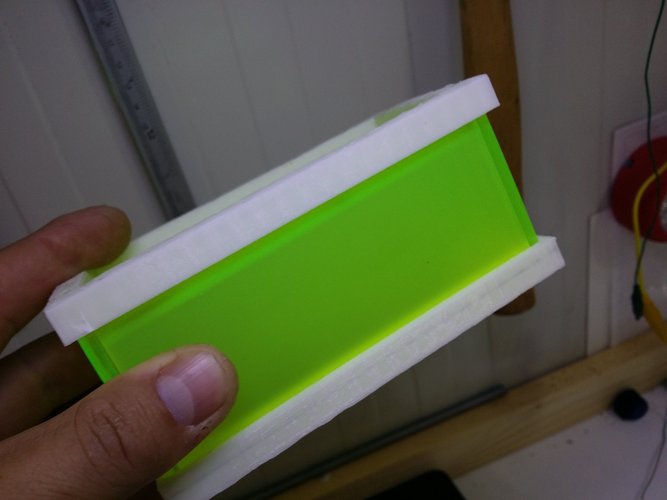
I'll simply print it, cutting the acrylic into 4mm pieces and assembling them together. This straightforward concept is surprisingly useful, and you can customize it to your liking using Tinkercad's flexibility. When creating the top cover, I found that adding a 0.1mm overhang made it a snug fit without any additional support or screws needed – just cut and plug it into place. For cutting and engraving the acrylic, I relied on my trusty CO2 laser cutter with a 40 Watt beam.
Download Model from pinshape
With this file you will be able to print SImple Box Construction with your 3D printer. Click on the button and save the file on your computer to work, edit or customize your design. You can also find more 3D designs for printers on SImple Box Construction.