Silicone damper feet - Vibration damper
thingiverse
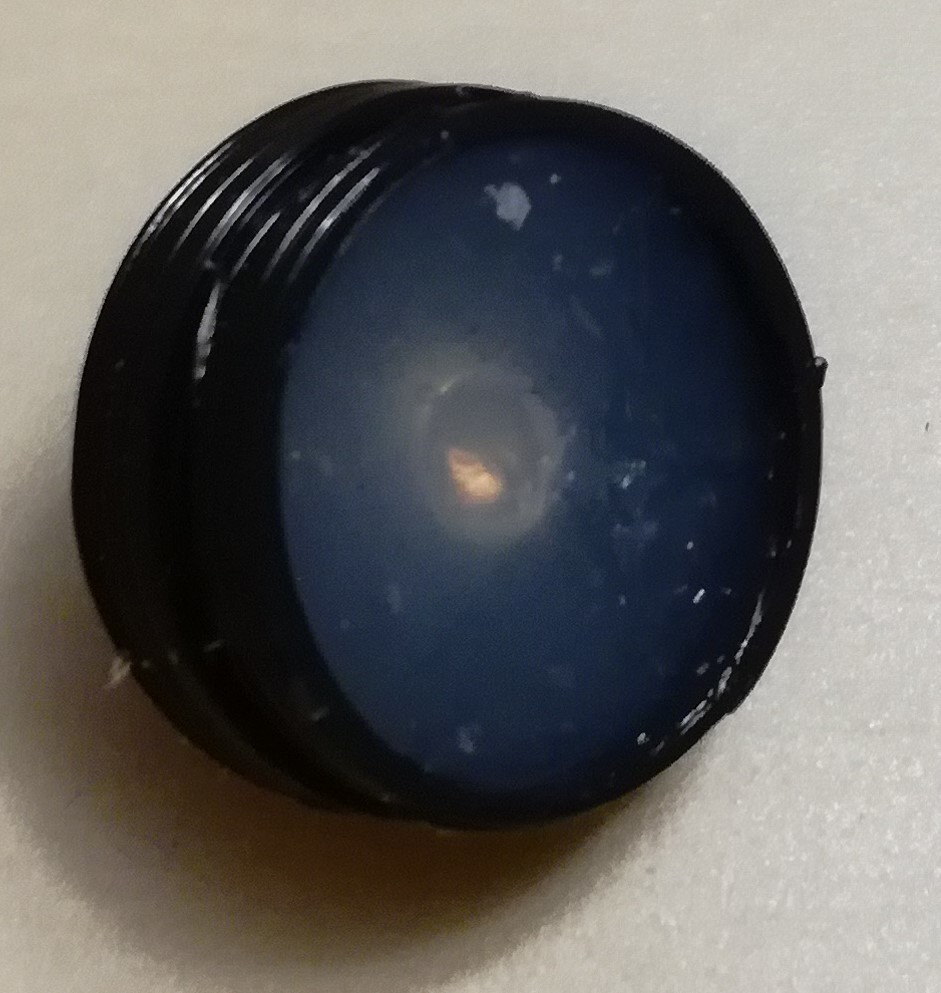
1) Print without any additional support. 2) After printing, secure the screw and tighten the nut firmly. 3) Fill the damper's interior with silicone-based sealant (Aquarium glue), then use a spatula or knife to create an even surface on the glue. 4) Allow the glue to set completely for at least 24 hours. 5) Carefully peel away the thin upper part of the damper, exposing the glue beneath. Tip: Apply a small amount of oil to the internal surface of the thin part before pouring the glue to aid in detachment. I have experimented with various materials under my printer to reduce vibration transfer and noise. The ideal material should be soft enough to dampen high-frequency vibrations but firm enough not to be slippery. For me, silicone-based aquarium glue proved to be the most convenient solution. The damper's purpose is two-fold: it shapes the glue until it solidifies and provides a means of connecting it to the printer. Feel free to request modified versions.
With this file you will be able to print Silicone damper feet - Vibration damper with your 3D printer. Click on the button and save the file on your computer to work, edit or customize your design. You can also find more 3D designs for printers on Silicone damper feet - Vibration damper .
