Sigma Aura Bike Lights Improved Mount
prusaprinters
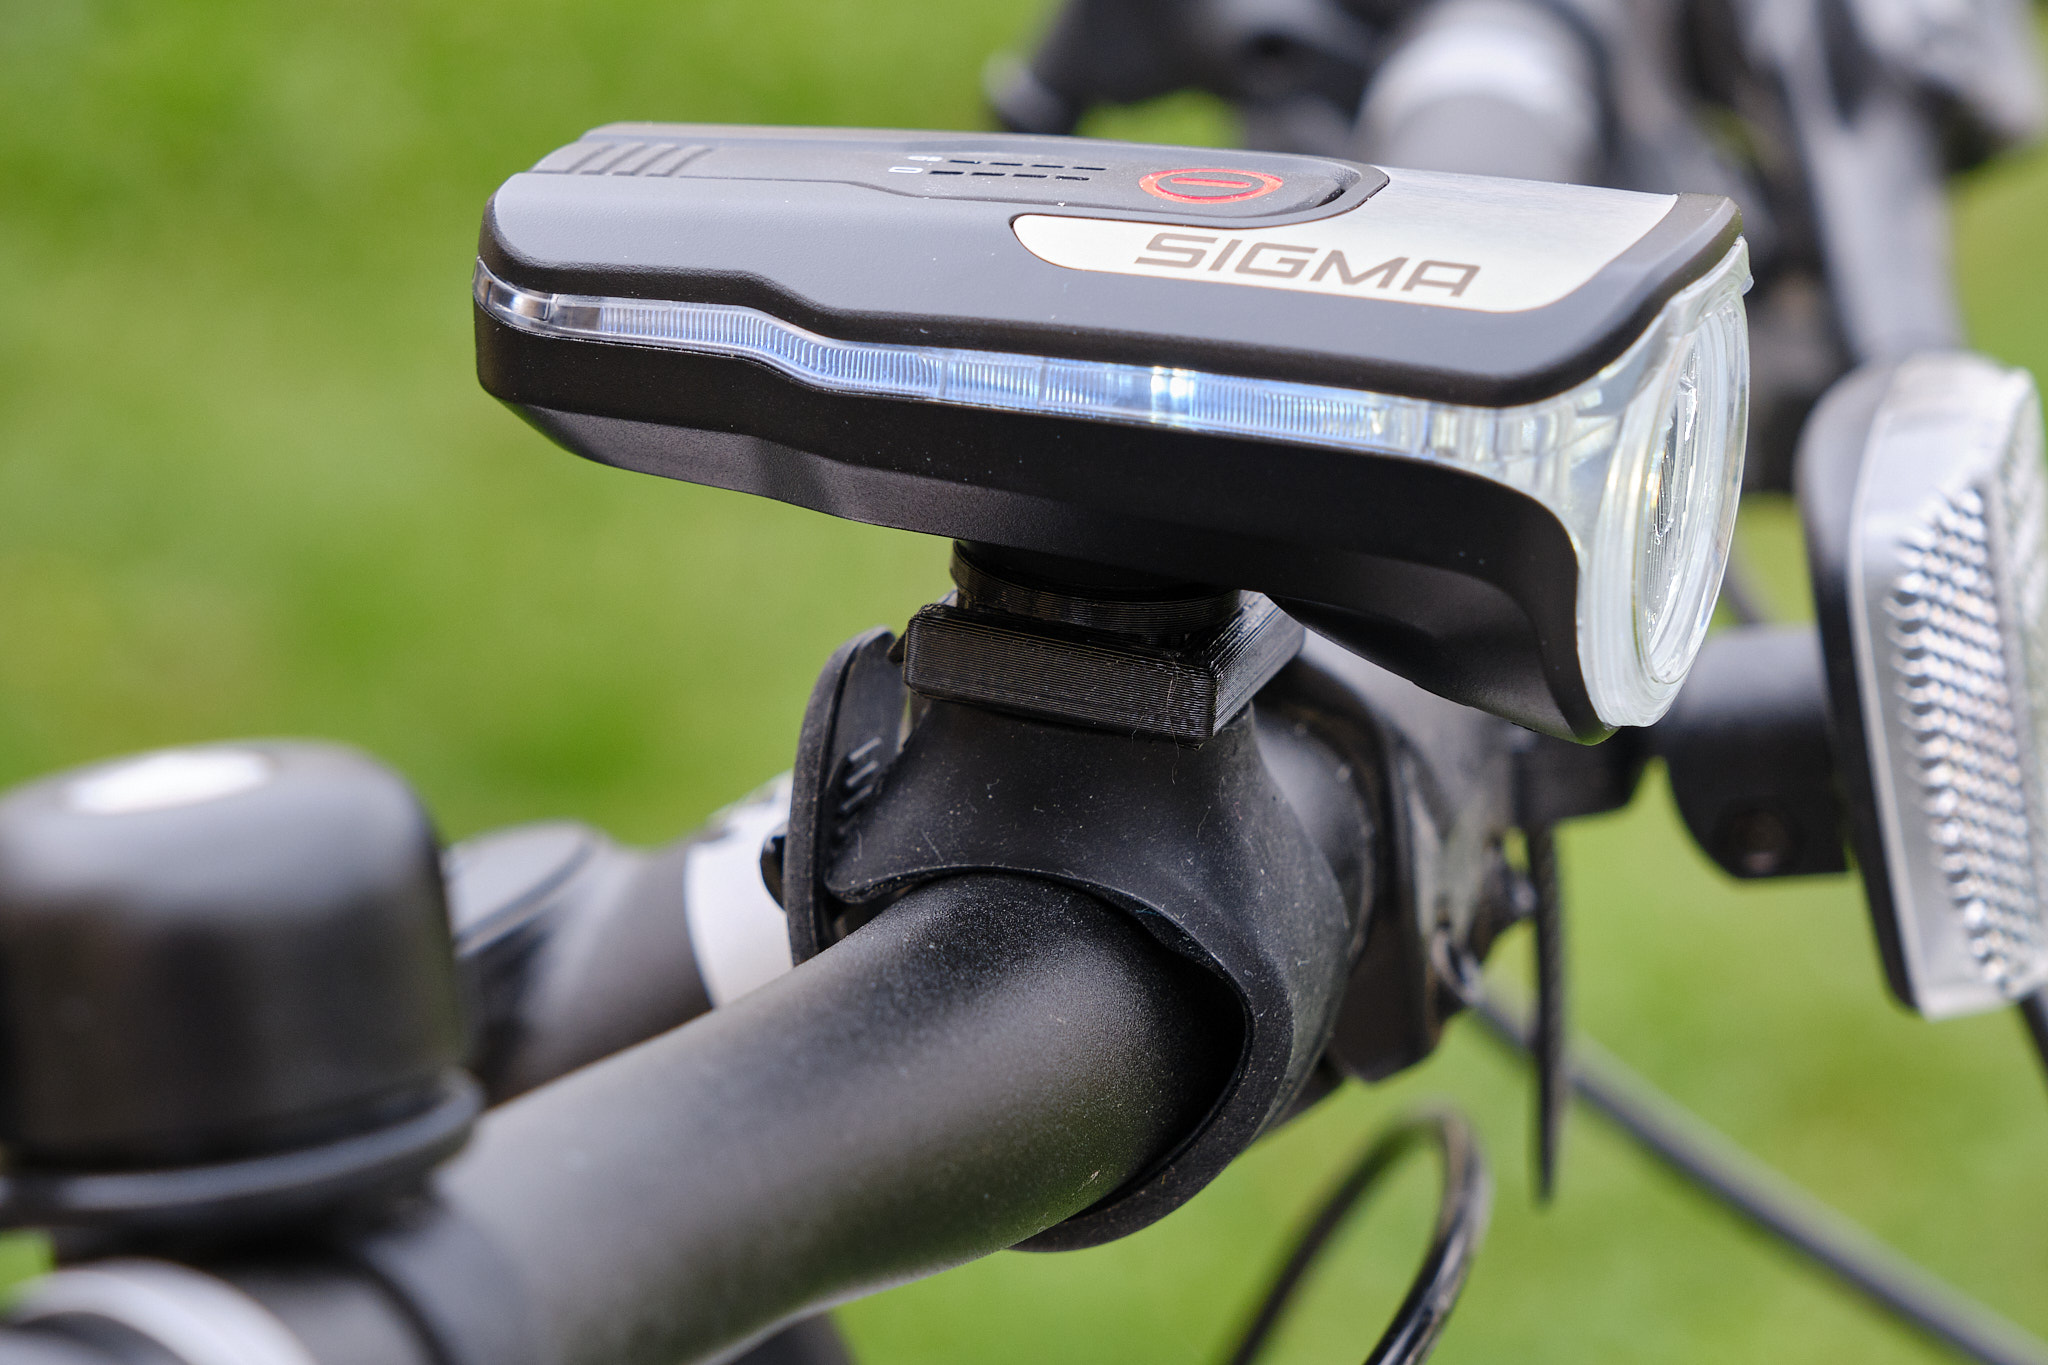
<p>Ever been annoyed by the mount that came with your nice and bright Sigma Aura bicycle lights? You just cannot detach the light from the mount, instead you need to remove the whole mount. When you attach the mount, you have to align the light again, sigh…</p><p>Don't despair - there is a solution! This model consists of two adapter parts: One part attaches to your lamp, the other to the original mount. The mount can now stay fixed on your bike. The two adapters provide a new and easy to use sliding mechanism to quickly attach and release your lights. Best of all: You can print the whole thing in 30 minutes.</p><p><i>Note: I have tested this mount with the Sigma Aura 80 USB lights bought in 2022 and Sigma Auro 60 USB lights bought in 2021. I cannot guarantee the adapters to fit other Sigma Aura lights or future revisions. If you try it out please let me know whether your version or revision is supported.</i></p><h3>Parts</h3><p>The print consists of two parts:</p><ul><li><strong>Lamp adapter:</strong> attaches to your light</li><li><strong>Mount adapter:</strong> attaches to the original mount on your handlebar</li></ul><h3>Installation</h3><h5>Needed materials:</h5><ul><li>original Sigma Aura mount</li><li>M3 x 10 mm screw</li><li>M3 nut</li></ul><figure class="image"><img src="https://media.printables.com/media/prints/241042/rich_content/b0cf04a7-cd49-4697-b1cd-42e13fb0eb7a/light-mount01b.jpg#%7B%22uuid%22%3A%22963a67f1-dac9-49e0-94bb-3fc2fd5b368c%22%2C%22w%22%3A2048%2C%22h%22%3A1365%7D"></figure><h5>Instructions:</h5><ol><li>Remove the original mount from the lights.</li><li>Attach the lamp adapter to the lamp in your desired angle using the M3 screw. The screwhead should sink into the lamp adapter.</li><li>Put the M3 nut into the hexagonal hole of the mount adapter.</li><li>Attach the original mount to the mount adapter by screwing the original screw into the M3 nut. Choose an angle to your liking.</li><li>You're done! Now you can slide your lamp in and out of the mount, which can stay fixed to your bike.</li></ol><figure class="table"><table><tbody><tr><td><figure class="image"><img src="https://media.printables.com/media/prints/241042/rich_content/d279ac93-644e-40d9-8e42-29dd5df7908f/light-mount02.jpg#%7B%22uuid%22%3A%226662f859-3d66-48ff-8216-2e7a8b460ca1%22%2C%22w%22%3A2048%2C%22h%22%3A1365%7D"></figure></td><td><figure class="image"><img src="https://media.printables.com/media/prints/241042/rich_content/26163c02-d2a6-486d-ad26-0f902b63f056/light-mount03.jpg#%7B%22uuid%22%3A%224f1f6660-2db7-4c9d-88e9-4d7ded5d238b%22%2C%22w%22%3A2048%2C%22h%22%3A1365%7D"></figure></td><td><figure class="image"><img src="https://media.printables.com/media/prints/241042/rich_content/742ab0a4-0d60-474c-b38e-4c552ae371be/light-mount04.jpg#%7B%22uuid%22%3A%22c311e536-db36-446d-baf4-0b389cd974a7%22%2C%22w%22%3A2048%2C%22h%22%3A1365%7D"></figure></td></tr></tbody></table></figure><h3>Print tips</h3><p>This should probably not be your first 3d print ever, because you need to know your way around the slicer settings for getting tolerances and support structures right. On the other hand, it might be good for trial-and-error, because it is a really quick print.</p><ul><li>You need a good handle on your printing tolerances because the two adapters need to slide into each other, held in place by a snapping lock.</li><li><strong>Material: </strong>In order to provide flexibility to the snapping mechanism I strongly recommend printing in PETG. PETG is also better suited for outdoor items.<br>My test prints were done in PLA which kind of works, but the sliding and snapping mechanisms might wear out quickly. Give it a try if you don't mind.</li><li><strong>Infill and walls:</strong> The parts should be sturdy, thus I recommend thick walls (6 lines) and dense infill (70 %) that provides strength in all directions (e.g. <i>Cubic </i>pattern).</li><li><strong>Supports: </strong>This model has some overhangs: You can print the lamp adapter without supports, but I recommend supports for the mount adapter. You only need supports that touch the buildplate and I got good results with Cura's <i>Zig Zag </i>support pattern. A support density of 15 % should provide enough support for overhangs.</li><li><strong>Special settings:</strong> Some horizontal layers are sliced unevenly by Cura, so I recommend to set the slicing tolerance to <i>exclusive</i>, which should give nice and even horizontal surfaces.</li><li>The orientation of the STL files is already the recommended printing orientation, so you don't need to rotate the models.</li><li><strong>Print time:</strong> 13 min for the lamp adapter, 19 min for the mount adapter</li></ul><h4>Cura settings overview</h4><p>These are my recommended settings for Cura. Please adapt to your needs and/or to your slicer software.</p><figure class="table"><table><thead><tr><th>Setting</th><th>Value</th></tr></thead><tbody><tr><td>Wall line count</td><td>6</td></tr><tr><td>Infill density</td><td>70 %</td></tr><tr><td>Infill pattern</td><td>Cubic</td></tr><tr><td>Support placement (mount adapter only)</td><td>touching buildplate</td></tr><tr><td>Support density (mount adapter only)</td><td>15 %</td></tr><tr><td>Support pattern (mount adapter only)</td><td>Zig Zag</td></tr><tr><td>Slicing tolerance</td><td>exclusive</td></tr></tbody></table></figure><h3>Design goals</h3><ul><li>quick and easy attachment and release without need for realignment</li><li>reuse original mount for Sigma Aura 80 USB light</li><li>survive rough trails on the mountain bike</li><li>small thickness of the adapter pieces</li><li>keep the angle alignment mechanism</li></ul>
With this file you will be able to print Sigma Aura Bike Lights Improved Mount with your 3D printer. Click on the button and save the file on your computer to work, edit or customize your design. You can also find more 3D designs for printers on Sigma Aura Bike Lights Improved Mount.