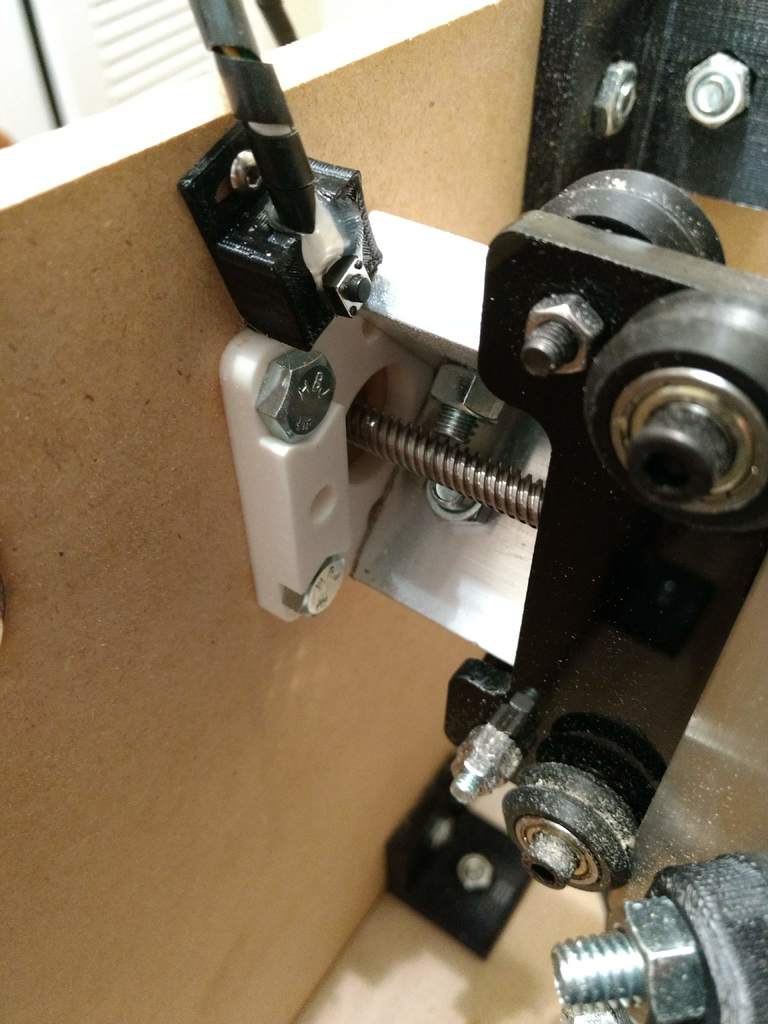
Sienci Limit Switch Holder
thingiverse
Limit or End Stop Switch Holder for Sienci Mill One. There are two models available, one with horizontal adjustments and another with vertical adjustments. You may want to have two of each or four of one model. To secure the wires and switch, it's recommended that you glue or stick them to the holder in some way, such as using hot glue. This design was created because taping the switches down wasn't secure enough, causing them to move after being bumped, and it also didn't provide sufficient offset from the wall. Locate the ideal spot for the gantries to hit the button when fully extended, drill a hole, and bolt it in place. Secure the wires along the enclosure by taping them and connect them to the limit switch pins on the CNC Shield. This holder is designed to accommodate a 1/4" or 6mm push button tactile switch that sticks out just beyond the bolts on the angle stock mount. The bolt hole fits M3 screws. To find the necessary components, search for "6mm 2 pin pcb push button" on Amazon or other sources. For reference, you can follow this tutorial: https://www.tinkercad.com/things/aWEstIAEG35. However, you won't need the PCB sections for X and Y if you solder your wires directly to the pushbutton terminals and offset them from the wall. Remember to use shrink wrap on the connections. Additionally, you can refer to this instructable: https://www.instructables.com/id/Add-Homing-Switches-to-a-Sienci-Mill-One-CNC/.
With this file you will be able to print Sienci Limit Switch Holder with your 3D printer. Click on the button and save the file on your computer to work, edit or customize your design. You can also find more 3D designs for printers on Sienci Limit Switch Holder.
