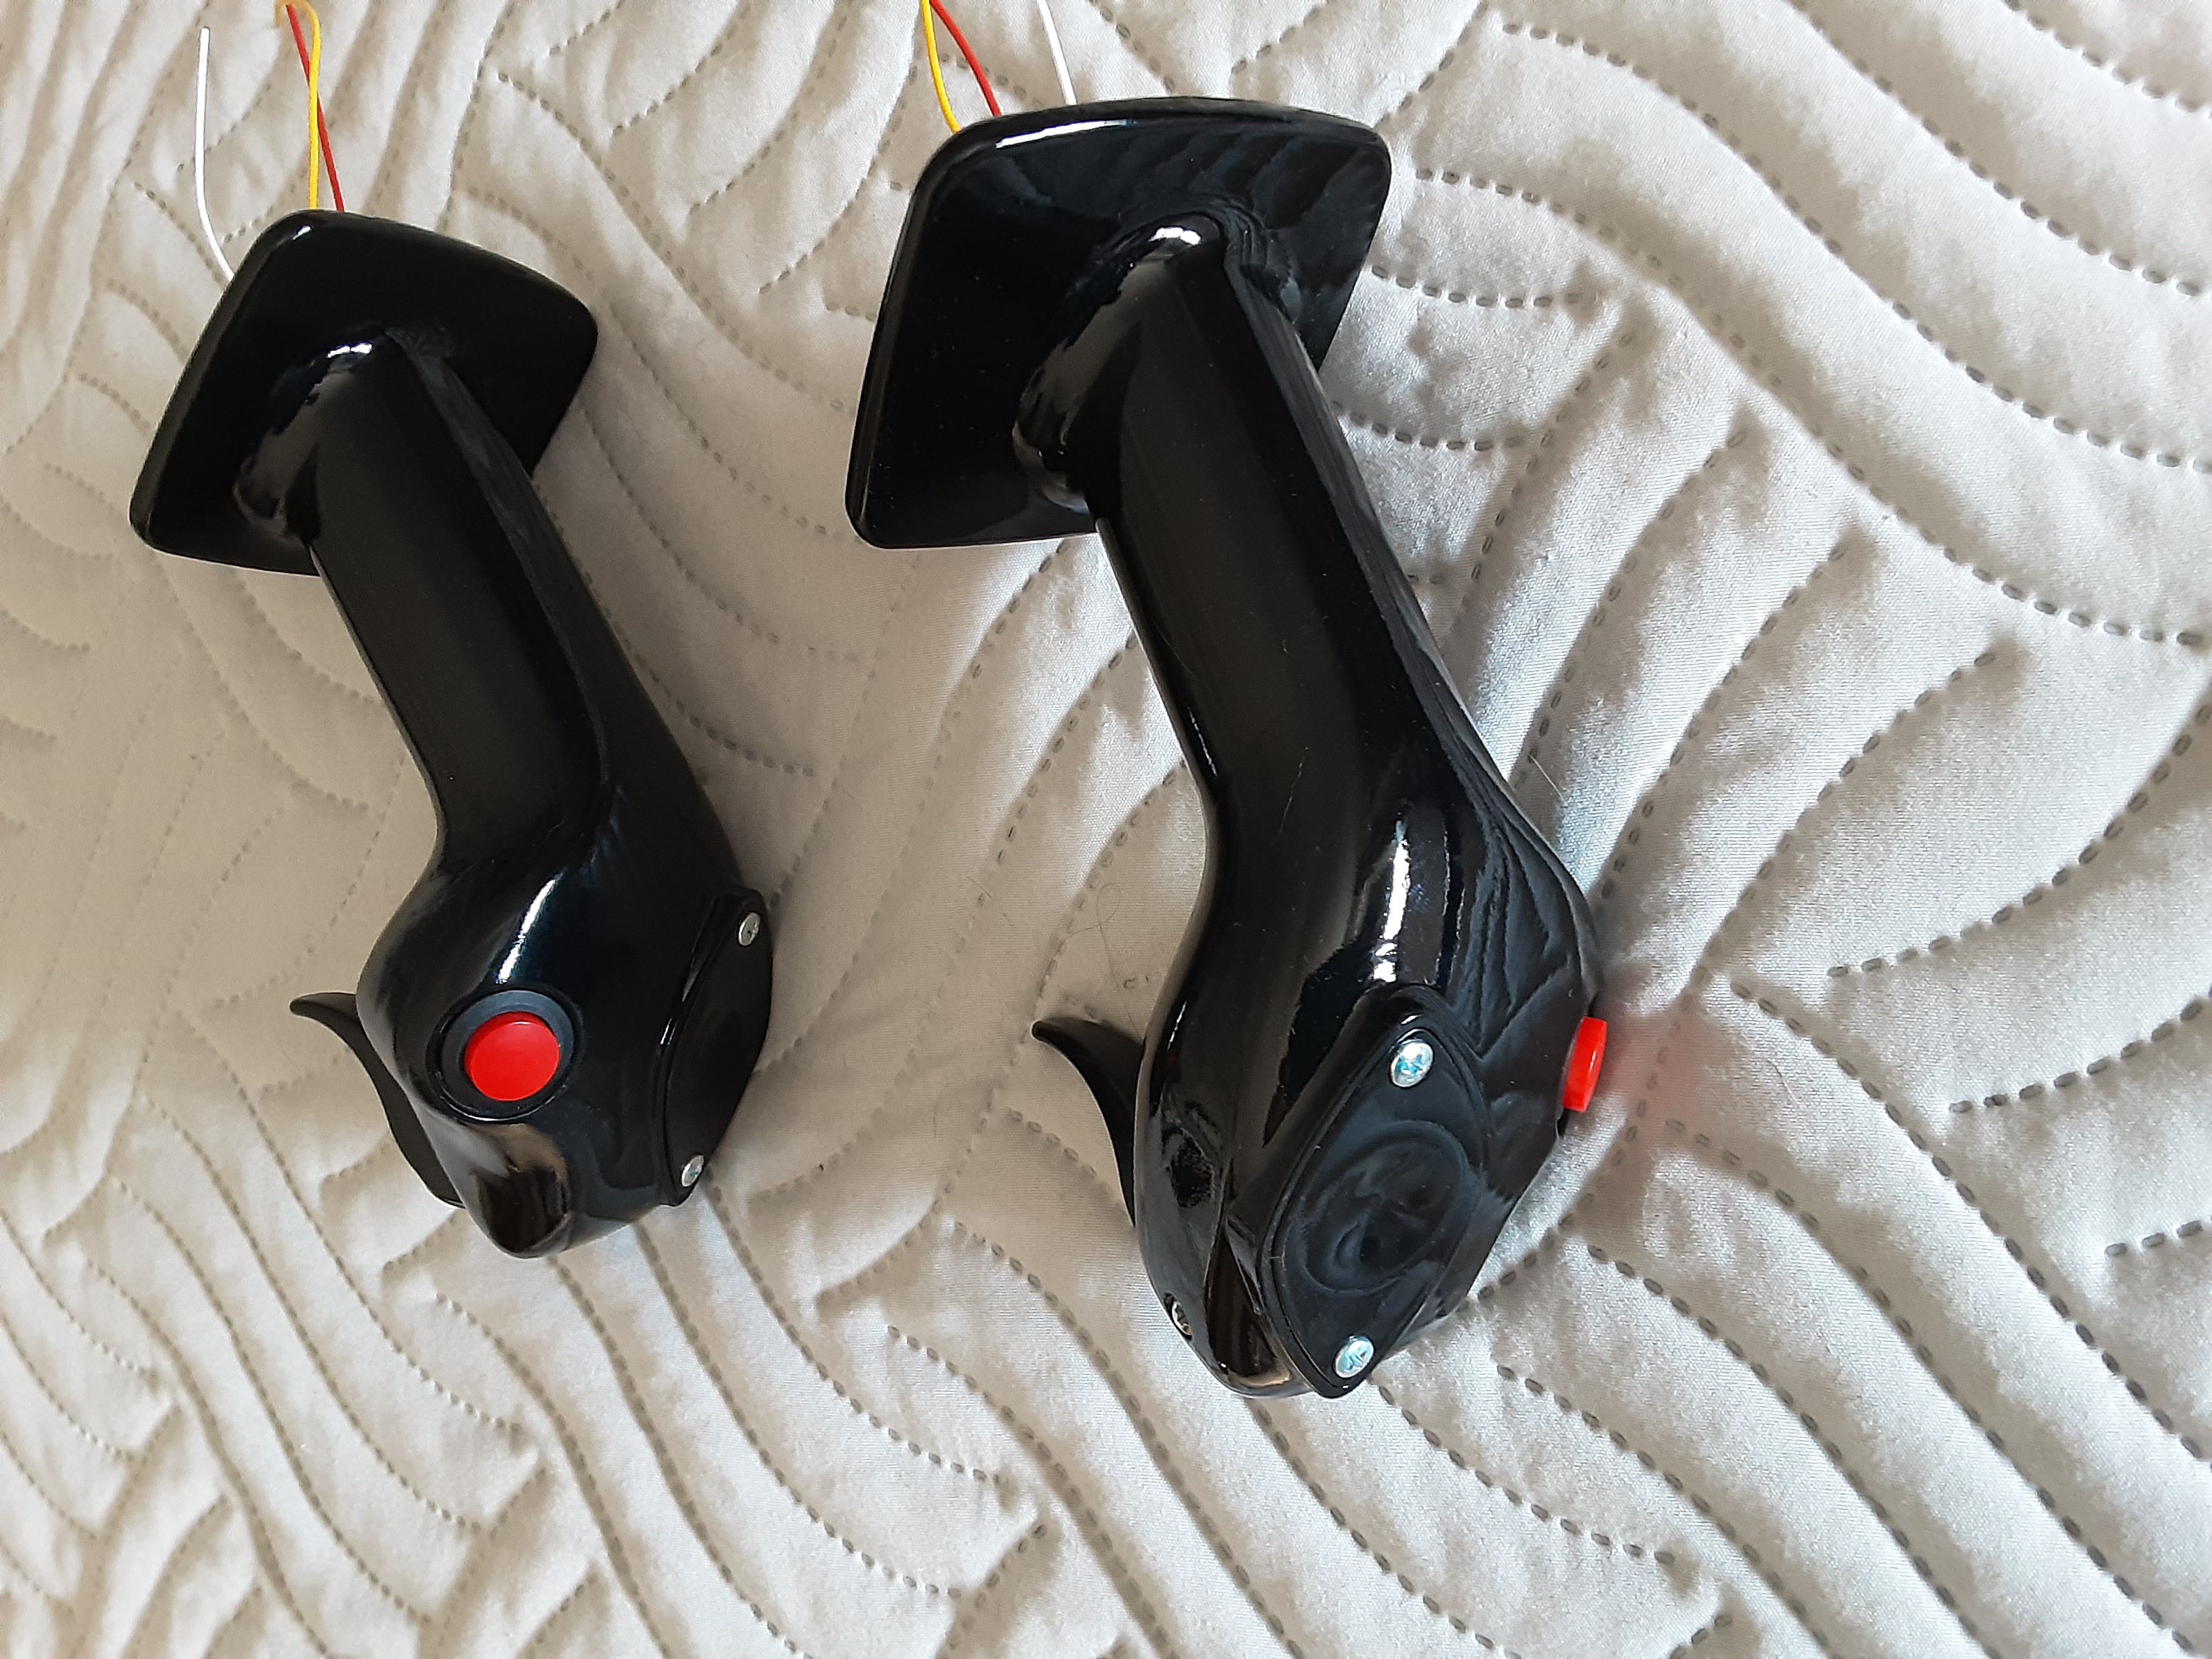
Sidestick Grip for Virpil Thrustmaster VKB Joysticks
prusaprinters
<h3><strong>Like to support my work. Comment for improvement.</strong></h3><p>I want a joystick grip that looks cool and feels like it's the real deal. Voilà</p><p>This joystick grip has been inspired by the original sidestick, which is installed in Airbus airliners.<br>Based on <a href="https://grabcad.com/library/sidestick-in-a320-style-1">this original model</a> with the agreement of the the author. Thank you to <a href="https://www.thingiverse.com/crash1983">crash1983</a> for his VKB adaptor.</p><h4><strong>Applicability:</strong></h4><ul><li>Compatible with Virpil, Thrustmaster and VKB NXT base. Untested on VKB, I do not own one. Please share your results.</li><li>Otherwise works on a custom rig with a 12mm diameter rod.</li></ul><h4><strong>Materials:</strong></h4><ul><li>Three M3x10mm bolt+ nut.</li><li>M3x30mm bolt + nut.</li><li>12mm x 7mm x 1mm compression spring (Length x diameter x wire diameter).</li><li>Compression spring (6mm diameter x10mm height x0.5mm wire-diameter).</li><li>Two switches, see pictures. </li></ul><h4><strong>Assembly:</strong></h4><ol><li>Check the picture, they are worth 1000 words.</li><li>Plug the wires either:<ul><li>in an Arduino Leonardo or Pro Micro, load the joystick library and follow the examples in <a href="https://www.arduino.cc/en/Tutorial/BuiltInExamples">Arduino tutorial chapter 1 to 4</a>.</li><li>in the Virpil base at your own risk.<ul><li>In the base, find the red wire on the cable going from the circuit board to the grip connector. Note its position on the socket. This is the VCC. It's on the right side in my base. See picture.</li><li>On the circuit board and directly next to this socket, you'll find a similar free socket marked ("AUX").</li><li>Plug a male JST PH 5-pin connector (1€ on Ebay) in this free AUX socket.</li><li>Connect one pin of each switch to the VCC wire from the “AUX” connector.</li><li>Connect the other pin of a switch to the free axis pin (marked "pot1"). You may want to wire a small resistance between the switch and the pin.</li><li>Do the same with the other switch and (“pot2”)</li><li>When the wiring is done and the grip is connected, open the Virpil's configuration's tool, define 2 new axis (double click on a free axis), calibrate them and use the "axis to button" function. That's it. Just take your time, it's very easy.</li></ul></li></ul></li></ol><h3><strong>Known Issues and Planned improvements:</strong></h3><ul><li>The thread of the connector is inverted.</li><li>To print the First Officer's sidestick, the Captain cover and trigger must be mirrored.</li></ul><h3><strong>Disclaimer:</strong></h3><ul><li>Plastic isn't as resilient as the metal of the grip.<br>If you can make the adaptor out of metal: do. Otherwise consider resin. If it's not an option, don't be cheap on the plastic. Use PLA or better, go 100% infill and print with an angle (potential crack to filament layer). Adapt the joystick response curves so you don't yank your stick like a mad man. Then it'll be fine.</li></ul>
With this file you will be able to print Sidestick Grip for Virpil Thrustmaster VKB Joysticks with your 3D printer. Click on the button and save the file on your computer to work, edit or customize your design. You can also find more 3D designs for printers on Sidestick Grip for Virpil Thrustmaster VKB Joysticks.
