Shoulder or Helmet mount for DIY GPS
prusaprinters
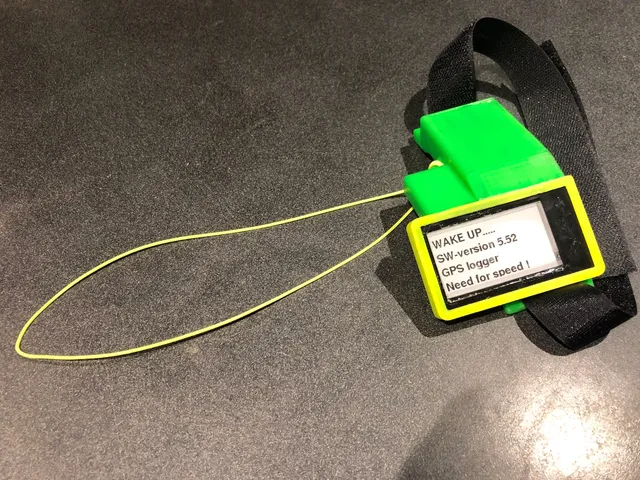
A shoulder or helmet case for Jan Heynen's DIY GPS. Links to detailed instructions and the main discussion thread on how to build the electronics part at end of this description.Note, this is NOT waterproof as is, it relies on filling the case with potting epoxy to make water proof.Note, this was my prototype and I pushed the tolerance a bit too tight which didn't allow for the epoxy to fill properly between the screen and the polycarbonate face. You can see the result in the photos, it still is waterproof but doesn't look as good. The design posted here includes spacers to keep a 0.5mm gap between the screen and face to allow the epoxy to flow. This design attempts to reduce the soldering as much as possible by directly using an unmodified wireless charge mat with USB connection. It also allows you to move the wireless charge mat around to optimise charging so no excess heat. Place the charge coil upside down on top to watch and maximise the battery voltage when charging.For shoulder mount 25mm velcro and or elastic fit nicely. For helmet mount I used rubber bands and it fit between my existing Gopro mounts I use for 360 camera. For the spacers, probably best to put a tiny bit of glue to hold them in place whist gluing on the face and filling with epoxy so they don't wander. The BN220 is placed antenna up with the connector facing the display (unlike the boom mount which has the connector facing left)Prior to loading the electronics, best to spray outside with a clear coat. I use Rustoleum 2x clear but probably can use any clear coat. This fills the gaps in the 3D print and stops the epoxy oozing out whilst it cures. Don't spray the inside as tolerances are tight.For the face I used 3mm Polycarbonate. I glued it on with Dichloromethane which welds the two plastics together. I upgraded to abrasion resistant Polycarbonate and it doesn't bond well so need to sand a small perimeter on the polycarbonate where it meets the 3D plastic to get a good bond. Failing to do this the epoxy will leak everywhere or worse the face may fall off with use.The case is filled using the two 4mm holes which fit a standard syringe. You probably need to drill the holes out as they will ovalise during printing. You use 2 syringes, one without a plunger to act as a sort of reservoir and stop the epoxy going everywhere once full and the other you squirt the epoxy in. I used flexible potting epoxy as it was the cheapest on Ebay and guaranteed clear with no bubbles. It takes approximately 25ml of epoxy to fill.Once the epoxy cured, file, Dremel/file the polycarbonate flush with the body then glue the trim and cover on. I printed in PETG at 0.3mm layer height for the main body, battery plug and cover. If printed in the orientation shown no supports are needed. Printed the spacers and trim at 0.1mm layer height.I haven't had a chance to test on water yet as no wind. The GPS is approved for GPS Speed surfing https://www.gps-speedsurfing.com/default.aspx?mnu=item&item=gpsotherIt most likely can be approved for GPSTC but this is on a case by case basis. Send message using ‘contact’ on GPS Team Challenge website. http://gpsteamchallenge.com.au/comment/contactMain thread discussing this GPShttps://www.seabreeze.com.au/forums/Windsurfing/Gps/Another-DIY-GPS-logger-approach?page=1Source codegithub.com/RP6conrad/ESP-GPS-LoggerManuals : docs.google.com/document/d/1j86kj3bNMID3sHCRT7QTYyrL7IHeQnGPec1LajsDfB4/edit?usp=sharingdocs.google.com/document/d/1XJD6BV1Xay4nXo0cDuo_IOtxC_f1LyG7DE7X6KGlAB0/edit?usp=sharing
With this file you will be able to print Shoulder or Helmet mount for DIY GPS with your 3D printer. Click on the button and save the file on your computer to work, edit or customize your design. You can also find more 3D designs for printers on Shoulder or Helmet mount for DIY GPS.