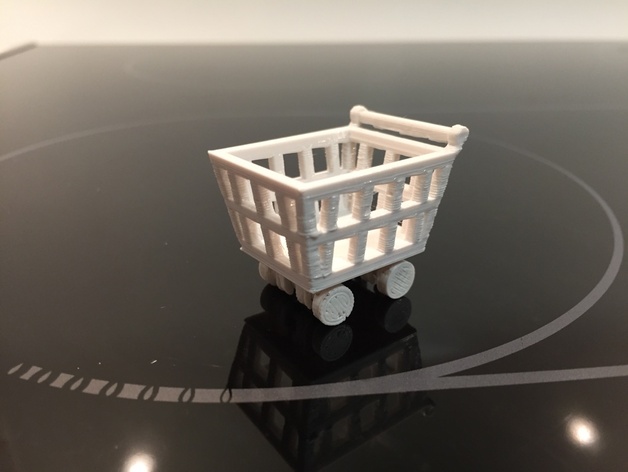
Shopping cart
thingiverse
My kid asked me to make a simple shopping cart, so I built one. The wheels move more smoothly on soft surfaces than they do on hard ones. It's easy to put together; all you need to print are four wheel supports and two wheels. First, attach the wheel supports to the cart with some glue - check out the bottom view image to make sure you're gluing them in the right spot. I used cyanoacrylate (super glue) for this part. Next, snap the wheel onto the support; it takes a bit of effort but once it's on, the wheel should roll freely. Print Settings Printer Brand: CEL Printer: Robox Rafts: No Supports: No Resolution: 0.2 mm Infill: 30% Notes: Don't use supports - I tried that once and they were incredibly hard to remove, so I redesigned the cart to not need them. Post-Printing When you've printed the main body, you can take out the little three supports under the handle. I built those into the design to avoid huge supports just for the handle.
With this file you will be able to print Shopping cart with your 3D printer. Click on the button and save the file on your computer to work, edit or customize your design. You can also find more 3D designs for printers on Shopping cart.
