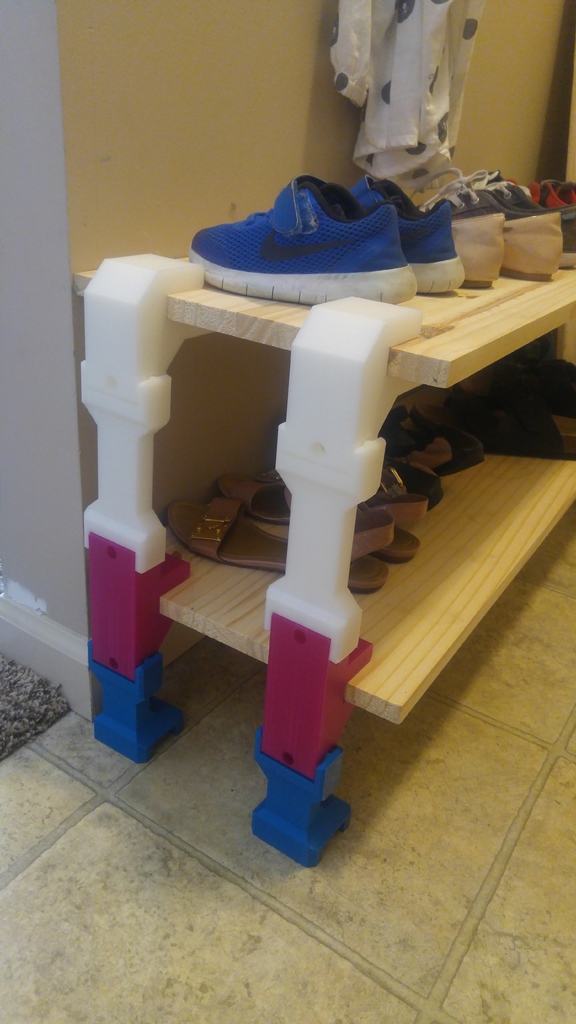
Shoe rack
thingiverse
Building Your Own Shoe Rack from Scratch To construct a shoe rack with two rows, you will need four of each type of part: bracket and topbracket. These parts do not require supports, but feet and spacers must be reinforced with additional support throughout. In total, you will need 16 printed components to complete the project. If you wish to add an extra row, simply print four more spacers and brackets. The assembly process requires a few key tools: #8 x 3/4" wood screws, 1/4-20 x 1.25" bolts, and nuts. For optimal results, use 1-inch thick boards for the rack. Edge-glued pine boards from Menards are an excellent choice (https://bit.ly/2lJbnhg). However, please note that this print is not recommended for most users due to its lengthy printing time and significant filament requirements. The bracket sizes used in this design are oversized, making them unnecessary for typical shoe storage. You may find it more cost-effective to purchase a pre-made rack from Walmart or Ikea instead of investing in the necessary materials and time required for this project. After completing the print, I was pleased to find that all the parts fit together seamlessly without any issues. I still need to finish printing the feet, but overall, the design has been successful so far.
With this file you will be able to print Shoe rack with your 3D printer. Click on the button and save the file on your computer to work, edit or customize your design. You can also find more 3D designs for printers on Shoe rack.
