Shiva Sclupture
thingiverse
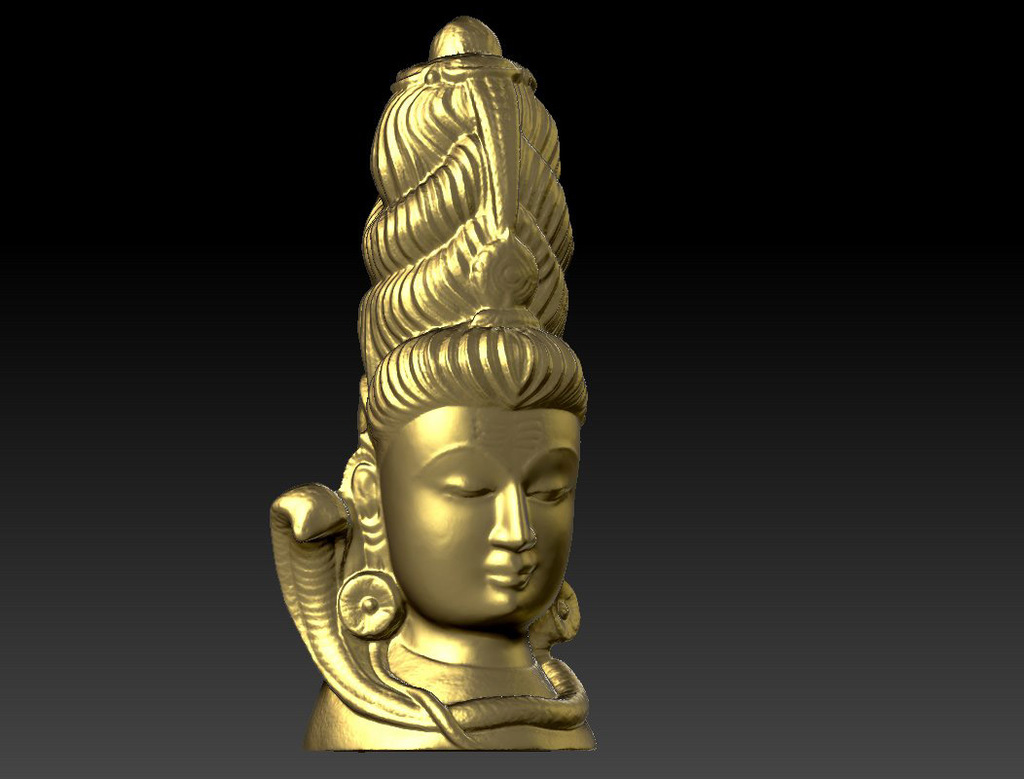
This replica Shiva was created using photogrammetry, a process where photographs are converted into three-dimensional models. I took seventy-five images of my friend's stone statue from various angles, utilizing a simple turntable and proper lighting to minimize distortion on the black background. To enhance details, I applied light-colored face paint with a brush stroke effect, making it easy to wash off afterwards. The photos were then imported into 3D Zephyr for processing, generating a point cloud with high precision settings. Next, an OBJ mesh was created and exported to ZBrush for refinement and cleanup. Simplify 3D was used to slice the model before transferring it to the Anycubic Kossel Delta printer. A fast computer and robust graphics card are necessary for this process. Creating a precise 3D model involves many details and choices that require careful consideration, including experimenting with different settings and improving the workflow until satisfactory results are achieved. 3D Zephyr serves as a good starting point, offering a free version capable of processing up to fifty photographs. The "Shiva 1 final no lines.obj" file does not include any forehead details, whereas the original statue features these distinctive markings. I applied gold acrylic paint to the finished 3D print, resulting in an impressive and eye-catching finish that complements the model's intricate design.
With this file you will be able to print Shiva Sclupture with your 3D printer. Click on the button and save the file on your computer to work, edit or customize your design. You can also find more 3D designs for printers on Shiva Sclupture.