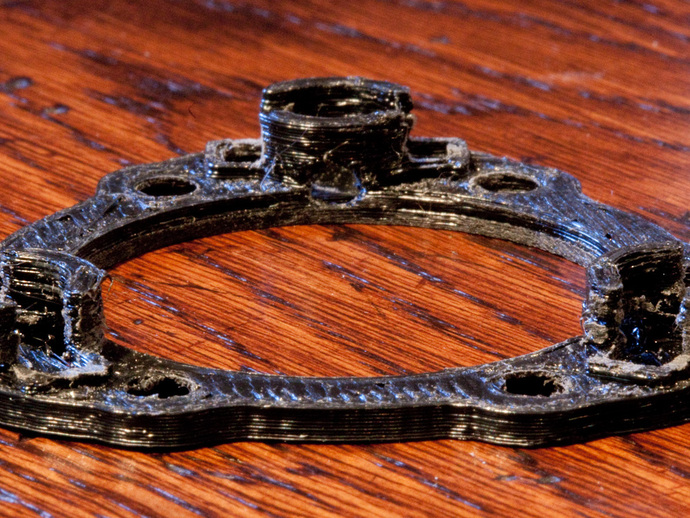
shielded rostock LED ring
thingiverse
Shortly after installing jasonatepaint's Rostock LED light ring, I fell in love with the concept. The 1-watt LEDs and resistor he recommended worked perfectly. However, the lights were so bright that I saw spots. To solve this issue, I created small light shields using tape around each LED. I then modified his design by making it slightly thinner and adding light shields to prevent blinding glare. This recessed lighting greatly enhanced my printing experience. In June 2014, I added another STL model without a backing, which was simpler than the original since everything went in from the back, eliminating the need for support or tape. After using it for nine months, I preferred this version over the previous one. Printing the light shields with support took only five minutes to clean. Following jasonatepaint's instructions, I connected three 1-watt LEDs in series with a 33-ohm 1/4-watt resistor on the positive side to a switch and the 12V power supply of my Rostock MAX v2. A potentiometer for brightness adjustment could be considered, but with the shielding, the brightness was no longer overwhelming. To install the LEDs, tape off the two slits in each light shield. The shields also have a small hole pointing towards the nozzle, which can be left open or taped if desired. The light ring and shields are designed to fit the Rostock MAX effector plate and the newer Seemecnc flatter nozzle due to their appropriate mounting holes and dimensions.
With this file you will be able to print shielded rostock LED ring with your 3D printer. Click on the button and save the file on your computer to work, edit or customize your design. You can also find more 3D designs for printers on shielded rostock LED ring.
