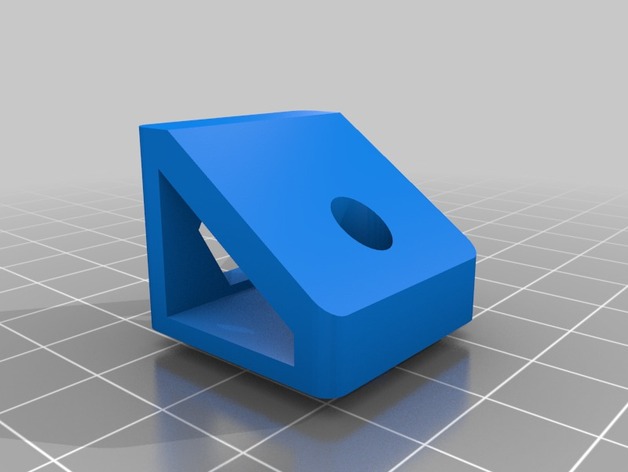
Shendrones Shrieker Runcam Mount
thingiverse
I wanted to capture smoother video with the shrieker because it's incredibly exhilarating to soar through the air. I experimented with various methods for attaching an HD camera, and this latest version is my most successful attempt yet. It utilizes a nylon screw and nut to secure the two parts together tightly. In contrast, my previous design was essentially identical but relied on a velcro strip to keep everything in place. Download both files to access the complete instructions. The top component should be inserted into the front hole and camera board mount hole - I personally choose not to use this feature since it's only slightly tilted at 15 degrees. Next, insert the nylon nut into the lower part of the mount and ensure it sits flush with the surrounding surface. Now, screw the nylon screw through the top part and into the lower part until it clicks into place, securely holding everything together. The top component should remain stationary and not move at all; if it does, you may need to carefully file away some excess plastic to achieve a snug fit. Once installed, I've found it helpful to add a strip of velcro to the top of the mount, which keeps the camera firmly in place using a battery strap.
With this file you will be able to print Shendrones Shrieker Runcam Mount with your 3D printer. Click on the button and save the file on your computer to work, edit or customize your design. You can also find more 3D designs for printers on Shendrones Shrieker Runcam Mount.
