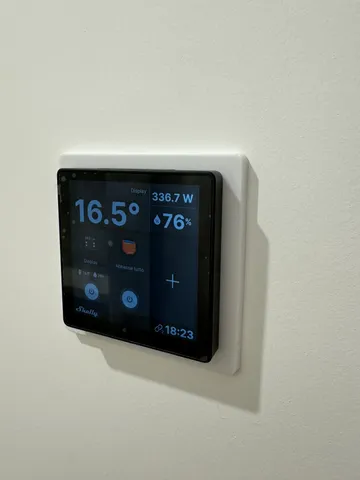
Shelly Wall Display 503 derivation box adapter
prusaprinters
step 1:screw component 1 onto the 503 junction box with its original screws step 2:place component 2 on top of component 1, place the base of the shelly wall display inside the round hole, and screw everything together with two M3x10 button-head screws step 3:snap-in shelly wall display! step 4:post your installation!
Download Model from prusaprinters
With this file you will be able to print Shelly Wall Display 503 derivation box adapter with your 3D printer. Click on the button and save the file on your computer to work, edit or customize your design. You can also find more 3D designs for printers on Shelly Wall Display 503 derivation box adapter.
