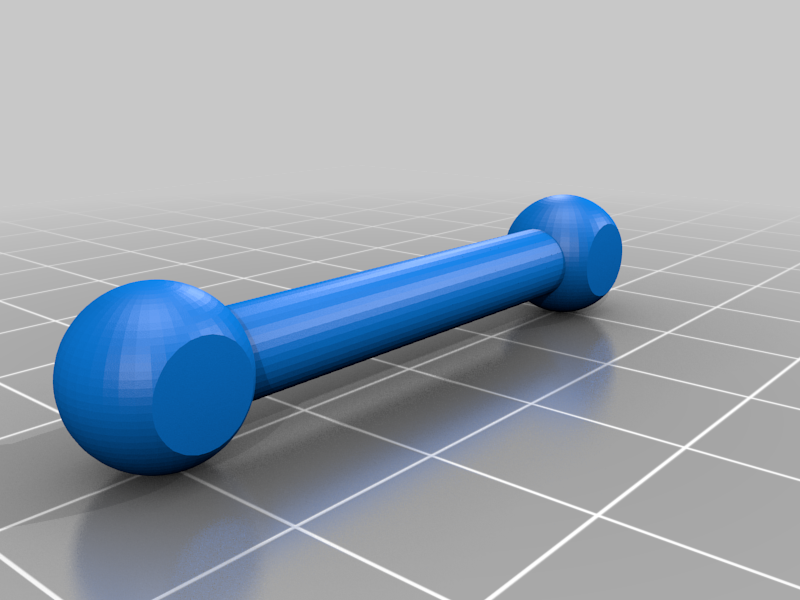
Sharper image monster rockslide
thingiverse
Human: Link Arm Kit for Sharper Image Monster Rockslide. Front Left Link Arm (or Rear Right Arm) Snap the Front Left Link Arm off of its mounting bracket with a firm twist of your hands. Next, snap it into place on the opposite side of the Rockslide's body, directly above or below the Rear Right Link Arm. To secure the arm in place, slide the small plastic clip that comes attached to it over the pin protruding from the Rockslide's body. Front Right Link Arm (or Rear Left Arm) The Front Right Link Arm is identical to its counterpart on the opposite side of the Rockslide's body. Attach it to the mounting bracket by snapping it firmly into place, then twist it counterclockwise until it clicks securely onto the pin protruding from the Rockslide's body. Center Link Arm (Front & Rear) Place the Center Link Arm onto its corresponding pins protruding from both sides of the Rockslide's body. Twist it gently but firmly clockwise until you hear a click, signifying that the arm is securely attached in place. I designed these pieces for my children's toys that they broke in a few minutes
With this file you will be able to print Sharper image monster rockslide with your 3D printer. Click on the button and save the file on your computer to work, edit or customize your design. You can also find more 3D designs for printers on Sharper image monster rockslide.
