Shapeoko 3 Limit Switch Mounts
thingiverse
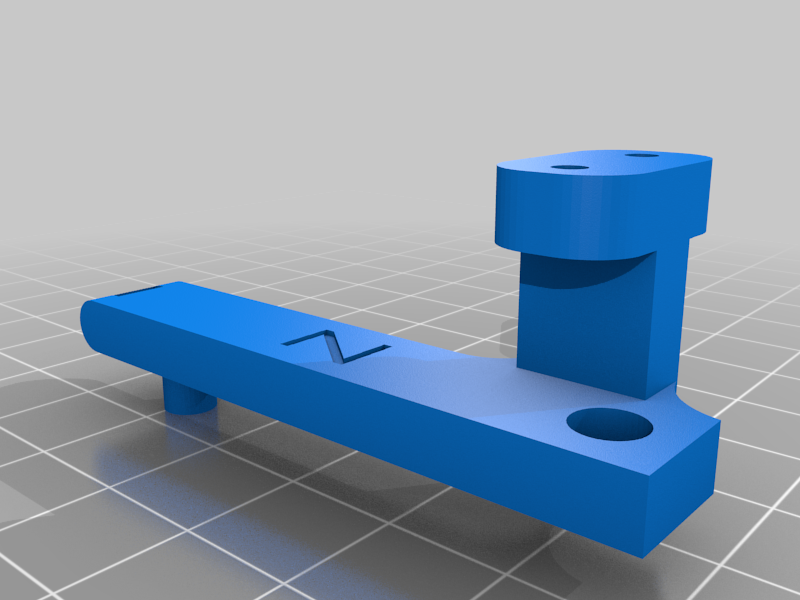
My battle-hardened Shapeoko 3 (#603) came with limit switches, but they needed some help. To get them working properly, I had to add 3D printed tabs to the ends of the X and Y axis. There were other options available on Thingiverse, but I chose a more minimalist approach. A full set of these mounts takes about 2 hours to print. Each mount requires one M5 screw and nut to secure it in place. The 3D printed post in a second screw hole keeps everything from rotating out of position. To get started, you'll need to print three different mounts: a Z-Axis mount, an X-Axis mount, and a mirrored version of the X-Axis. You can do this in your slicer or use the mirrored version that comes with the Fusion 360 file. Don't forget to print two Y-Axis mounts as well. When you're ready to install the Z-Axis mount, remove one silver spacer from the backplate. I'm using standard micro switches with roller ends, but you can easily make some adjustments to use non-roller variants if you prefer. If not, just bend the switch arms a bit and you're good to go.
With this file you will be able to print Shapeoko 3 Limit Switch Mounts with your 3D printer. Click on the button and save the file on your computer to work, edit or customize your design. You can also find more 3D designs for printers on Shapeoko 3 Limit Switch Mounts.
