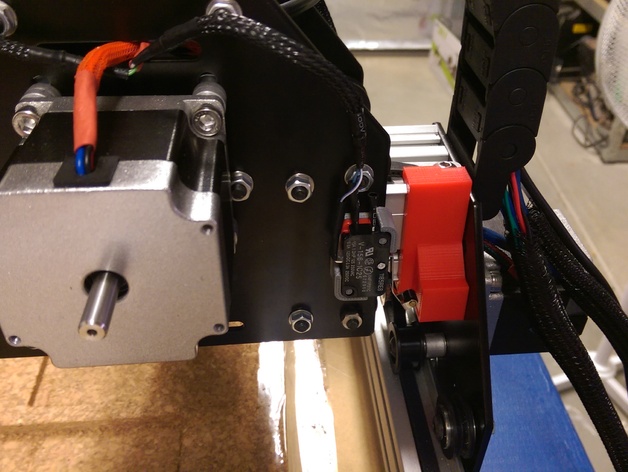
Shapeoko 2 Endstop Buffers
thingiverse
Use these parts to bridge gaps in limit switches: * Limit Switch Brackets: Attach one side of this part to your limit switch and screw the other end to the M6 mounting holes on your ShapeOko frame. Repeat on the opposite end with another bracket. * 4mm Limit Screw and Washers: Tighten by hand until snug, then insert M5 driver key into screw and use a wrench for fine-tightening. *M3 Brass spacers and nylon locknuts for alignment and vibration dampening: Install limit switch brackets and insert nylon washers in both limit switch screws for a firm, yet gentle hold to reduce wear on parts. Then attach ShapeOko 2 parts using nylon locking nuts with brass inserts at corners for a precise and stable fit. M3 Brass spacers prevent uneven force from being applied across entire width of ShapeOko frame during movement by maintaining consistent alignment through every layer in every direction; reducing damage from shifting parts over time due vibrations that accumulate during each pass across any part's boundary
With this file you will be able to print Shapeoko 2 Endstop Buffers with your 3D printer. Click on the button and save the file on your computer to work, edit or customize your design. You can also find more 3D designs for printers on Shapeoko 2 Endstop Buffers.
