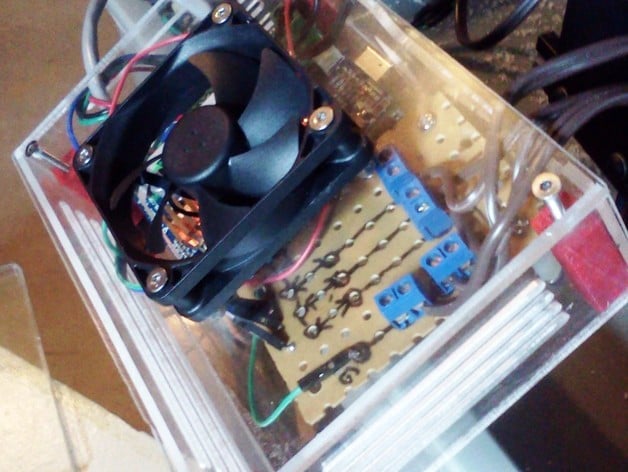
Shapeoko 2 Electronics Enclosure
thingiverse
This enclosure accommodates the fan, Arduino UNO, GShield, and a board for wiring limit switches. Note the hole positions on your switch board to avoid misalignment like mine. The corner anchors are 3D printed; however, you may prefer using Ø3mm brass standoffs for easier access. Accessing the reset buttons is challenging, so improvements might be made. It's mounted to the Shapeoko Plate with a modified acrylic bracket secured by Ø5mm screws and Weld-On adhesive. Ensure dry fitting before applying Weld-On. A video demonstrates the stock Shapeoko 2's unreliability and potential dangers, prompting discontinuation of use until a TinyG stepper motor controller is obtained. The GRBLShield generates excessive electrical noise, causing unexpected plunges and breaking engraving bits. Homing commands are unsafe due to lack of hard limits protection. If obtaining a Shapeoko, consider the mechanical kit with NEMA 23 motors and TinyG for better performance.
With this file you will be able to print Shapeoko 2 Electronics Enclosure with your 3D printer. Click on the button and save the file on your computer to work, edit or customize your design. You can also find more 3D designs for printers on Shapeoko 2 Electronics Enclosure.
