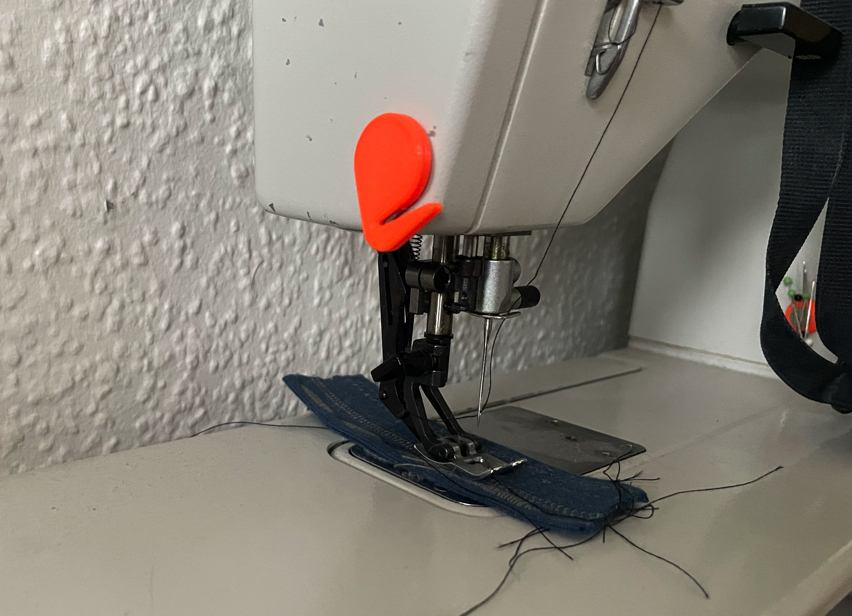
Sewing machine thread cutter add-on
prusaprinters
<p>You'll need: one break-of segment of a 9mm, 30° utility knife blade and some strong double sided tape or better: adhesive foam pads. These work perfectly.</p><p>The blade segment is captured in the print, so you'll need to add a print pause in your preferred slicer one layer prior to the bridging bit, where the cavity gets closed of.</p><p>When the pause is there, don't take the print plate of the printer, or it will cool down and the print will loose its bed-adhesion (I've done that mistake…). Simply lean into your printer while it is paused and place the blade segment in the recess. Make sure to slide the pointy end as far forward in the recess as possible.</p><p>I also added one small dab of CA-glue under the blade segment just to stop it from potentially moving about in there. Then continue printing and when done use adhesive tape or something similar to add it to your sewing machine or wherever you might use it. :)</p>
With this file you will be able to print Sewing machine thread cutter add-on with your 3D printer. Click on the button and save the file on your computer to work, edit or customize your design. You can also find more 3D designs for printers on Sewing machine thread cutter add-on.
