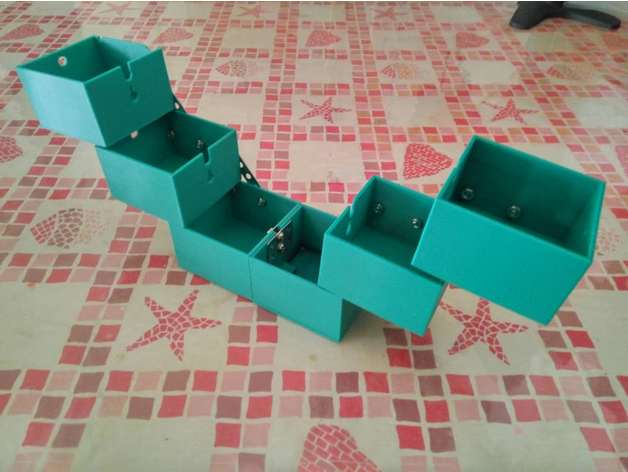
Sewing box from Lockable Present Ornament
thingiverse
I made many lockable present ornaments, most of which were wrapped at the beginning. Were they a waste? No, I was looking for ways to reuse them in their remaining life cycle, perhaps as pencil holders. After some searching, I stumbled upon a sewing box design by NicApicella. These small steel plates originated from my daughter's assembly toy, thanks to her creativity! I didn't create the assembly instructions; instead, I simply drilled holes directly into each box. Therefore, no design map is available for sharing. My straightforward steps are as follows: 1. For the right three boxes, locate the center of the central box and drill a hole there. 2. Mount the longest steel plate on it, then drill two more holes in the other two boxes to match this one. The angle isn't crucial; just ensure there's enough space inside for the nuts before drilling them in place. 3. Next, attach these short plates, keeping them parallel to the longest one so that the boxes remain straight.
With this file you will be able to print Sewing box from Lockable Present Ornament with your 3D printer. Click on the button and save the file on your computer to work, edit or customize your design. You can also find more 3D designs for printers on Sewing box from Lockable Present Ornament.
