Settlers storage box (laser-cutter & 3d printing)
thingiverse
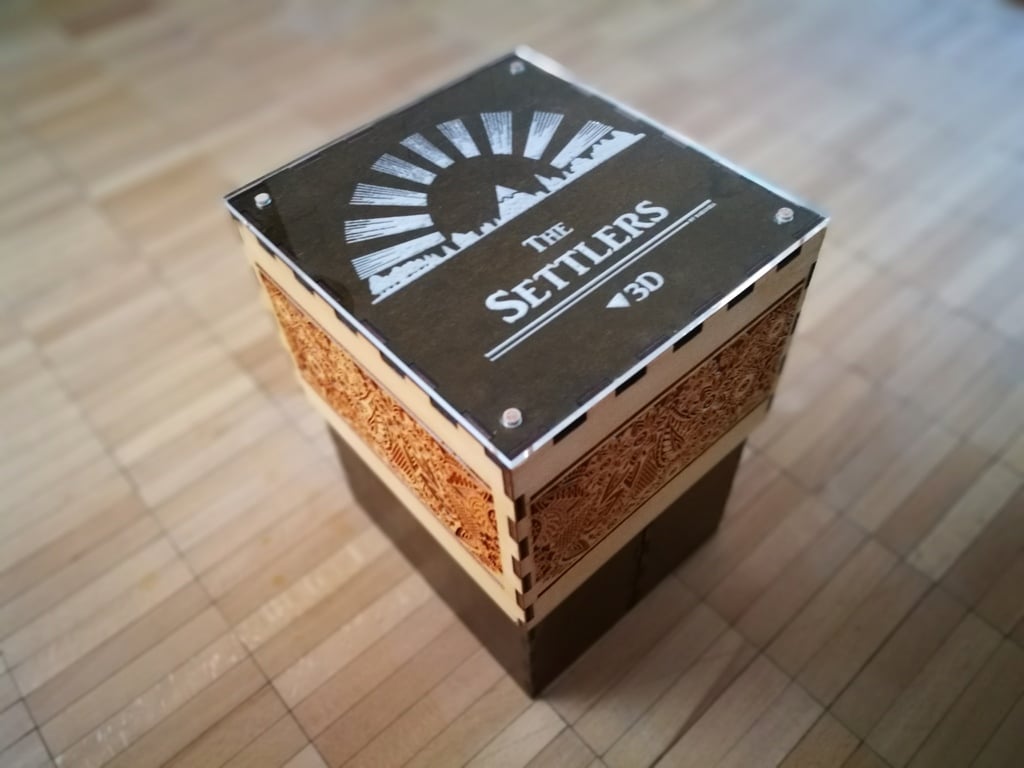
After creating my new settlers version 2.0 (https://www.thingiverse.com/thing:2525047), I wanted to design a storage box for those tiles that would look less industrial than my fully 3D-printed one (https://www.thingiverse.com/thing:1482713). As our town has an excellent fab lab (https://www.fablabs.io/labs/map) with various tools, I decided to create a new box using a laser cutter, and this is the result - I'm quite pleased with it. Before starting this project, make sure to use materials like wood and acrylic-glass with a 5 mm thickness! I used Inkscape (freeware) to create those models and convert them into a format for the lasercutter. You can open the attached .svgz-files using this program. There are also some 3D-printed parts included in the design. These are the parts you need to print: 1 x storage card holder 1 x storage card holder – badge (to be glued together with the storage card holder) 1 x set of storage player parts 1 x storage center part (single- or multicolored) 2 x storage core parts (one piece or two split ones) For the lasercutter, you'll need the following parts to cut / engrave with a material thickness of 5 mm: 1 x top plexiglass: Use acrylic-glass, cut the outer parts and engrave the writing and picture 1 x top-part: Cut the outer parts and engrave the flower-ornaments 1 x middle-part: Cut the outer- and inner-parts 2 x bottom-parts: Cut the outer- and inner-parts ASSEMBLING: Here's a short description of how I assembled those parts: * Sand all the parts after cutting them with the laser-cutter * Apply a layer of wood stain to all parts, except the sides with flower-ornaments and acrylic-glass (of course), and let everything dry * Sand all the parts (not too much pressure, just to make them smooth) * Use glue to put all the parts together by applying the glue on the "outer-spikes" of each part. Make sure you insert the two 3D-printed parts (storage core) inside the wooden bottom-parts before closing them in with the front-pieces! * Apply three layers of clear coat to all the wooden parts and let them dry * For the top-part, you'll need some extra 6 mm round wood. Cut four parts with a length of 1 cm. Then turn around the engraved acrylic-glass and place it on top of the wooden top-part. Then insert the round wood-parts in the four holes by adding some glue. Don't hesitate to ask me questions about how to build this box if the description isn't clear enough. I'd like to thank Kurt, who helped me build this project by teaching me how to use a laser cutter and generate models.
With this file you will be able to print Settlers storage box (laser-cutter & 3d printing) with your 3D printer. Click on the button and save the file on your computer to work, edit or customize your design. You can also find more 3D designs for printers on Settlers storage box (laser-cutter & 3d printing).
