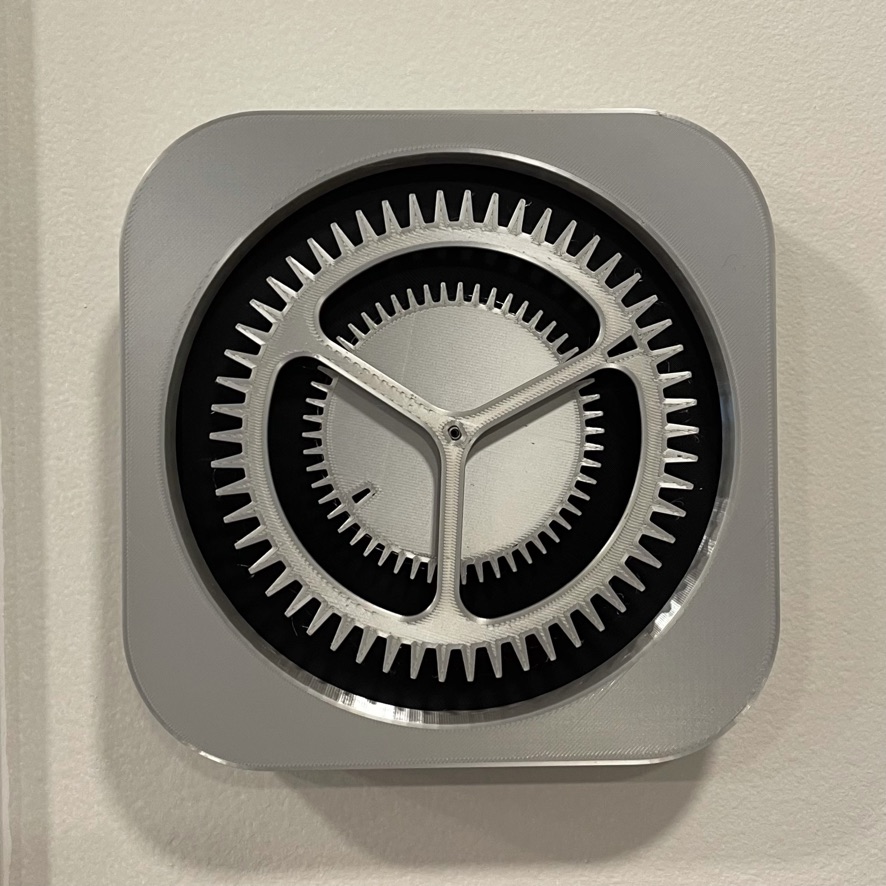
Settings Clock
prusaprinters
<p>Settings Clock was inspired and remixed from <a href="https://www.prusaprinters.org/prints/15836-extruder-visualizer">Extruder Visualizer</a> by <a href="https://www.prusaprinters.org/social/25831-gerrypb">GerryPB</a>. </p><p>The wall clock mechanism was<a href="https://www.amazon.com/gp/product/B08SQX8P7Q"> this one</a> from Amazon. Everything is sized to simple snap together, and clock mechanism comes threaded so you should be able to simple screw it into the backplate with minimal force.</p><p>Basic assembly:</p><figure class="image image_resized image-style-align-center" style="width:34.18%;"><img src="https://media.prusaprinters.org/media/prints/70399/rich_content/db38d262-cb43-4d41-80f4-0dd7bea55b94/exploaded_view.png#%7B%22uuid%22%3A%22e818b4cf-6d97-48b4-b4f0-e132ab8ff7d8%22%2C%22w%22%3A756%2C%22h%22%3A876%7D"/></figure><p>There is probably loads of room for optimization here, a lot of the walls are fairly thick and could be much less so. </p><p> </p><p>I printed with <a href="https://www.amazon.com/HATCHBOX-3D-Filament-Dimensional-Accuracy/dp/B00J0ECR5I">Hatchbox Black </a>and <a href="https://www.amazon.com/gp/product/B07HXTSVCH">Hatchbox Silk Silver</a> PLA at .1 mm at 5% infill on a Mini+.</p>
With this file you will be able to print Settings Clock with your 3D printer. Click on the button and save the file on your computer to work, edit or customize your design. You can also find more 3D designs for printers on Settings Clock.
