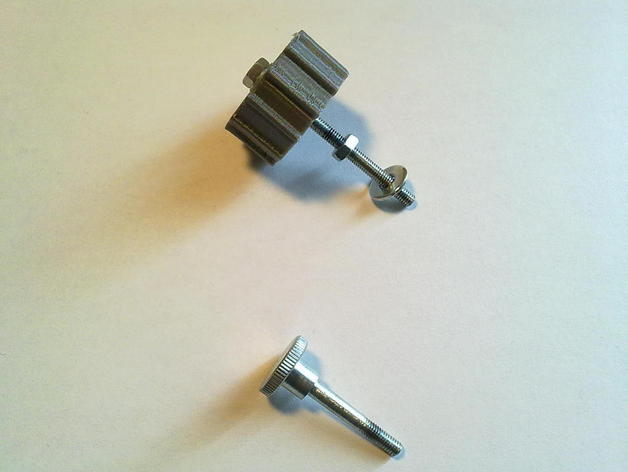
SerraFilo - Ultimaker extruder filament holder
thingiverse
Ultimaker Extruder Filament Holder Replacement Directions My Ultimaker extruder's filament holder had a bad attitude - it loosened during long printing sessions. So, I replaced it with a new one featuring a lock nut. After testing it with 2-4 hour printing processes, it performed flawlessly. Here are the steps to create this replacement part: Gather these materials: 1x Print SerraFilo.stl knob 1x 40 mm M3 threaded rod 2x M3 nuts 1x flat washer 1x hexagonal spacer, M3 thread, 12mm across flats Firstly, print the STL file and insert the hex spacer (it may require gentle force). Next, secure the knob with an M3 bolt. When mounting on your Ultimaker, measure the distance (as shown in the image) using a digital caliper and lock the nut (no excessive force needed). This replacement should prove useful, GC.
With this file you will be able to print SerraFilo - Ultimaker extruder filament holder with your 3D printer. Click on the button and save the file on your computer to work, edit or customize your design. You can also find more 3D designs for printers on SerraFilo - Ultimaker extruder filament holder.
