 thingiverse
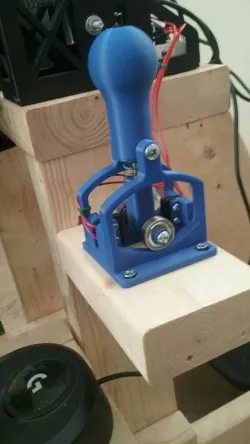
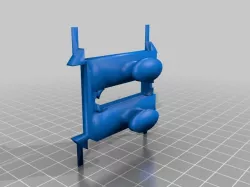
Sequential Shifter
Parts Needed:
Printed:
1x Shift Knob
1x Btm Support
1x Front Mount
1x Back Mount
2x Side Mounts
2x Bearing Adapters
Non-Printed:
1x Zero Delay USB encoder
1x 10-24 x 2.5" machine screw
1x 10-24 x 2" machine screw
1x 10-24 x 1.5" machine screw
9x 10-24 nuts
2x 608 skateboard bearings
1x compression spring (I think I used a #28? Raid your hardware store and use what they have)
2x limit switches
4x screws (attach limit switches to the shifter)
4x #10 countersunk head wood screws (for mounting to your wheelstand, use whatever works for your setup)
Assembly:
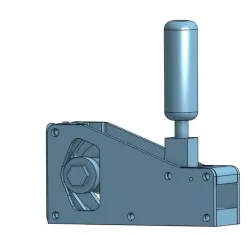
Put the 10-24 x 1.5" bolt through the shift knob hole (the one that runs the length of the knob) and tighten a nut on the bottom side. Cut down the compression spring to around 15mm total length and place it on the bolt. Capture a nut in the hex shaped hole of the Btm support and screw the btm support onto the knob assembly until the spring begins to compress.
(Note: you may have to cut down the 1.5" machine screw in order to get enough travel, I used a 2" screw that I cut for this. Also, you may get less play in the final assembly if you put a 2nd machine screw in the Btm support hex bore such that it is just on the threads when the spring begins to compress)
Once the shift knob assembly is complete, insert both of the bearing adapters into the bore of each bearing used. Place these onto the 10-24 x 3" machine screw and feed the screw through the crosswise hole of the btm support with enough nuts to ensure that the position of the bearings can be captured.
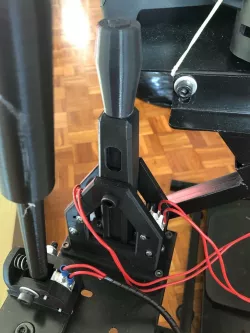
Take the combined assembly of the shift knob and bearing rod and use the 10-24 x 2" to attach the shift knob to the side mounts. Use a nut to secure this assembly. Set the final preload of the spring by turning the btm support such that the bearings just contact the side mounts at the bearing rest position in the center.
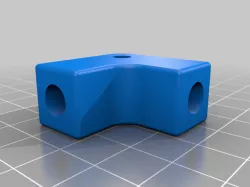
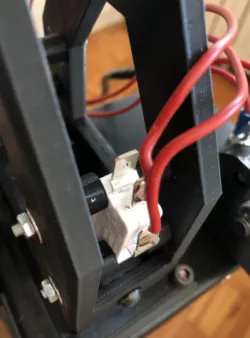
Prepare the front and back mounts by placing a limit switch (w/ lever removed) on each and secure using small screws. Perform a dry fit with the rest of the assembly to ensure that the btm support contacts the limit switches. Once this is verified, glue the front and back mounts to the side mounts to complete the assembly.
Direct link to the original creator's page
Also Available On
More from banjomasterpet
Similar Models

Model Specifications
Frequently Asked Questions
How do I download Sequential Shifter?
Click the "View on thingiverse" button above to visit the original model page on thingiverse. You can download the STL file directly from the creator's page for free.
What 3D printer can I use for this model?
This STL file is compatible with most FDM 3D printers (Creality Ender 3, Prusa MK3S+, Bambu Lab, etc.) and resin printers (Elegoo, Anycubic). Check the original page for recommended print settings and materials.
Is this 3D model free to download?
Yes, this model is available as a free download on thingiverse. Some creators accept tips or donations.
Can I modify this STL file?
Most STL files can be modified using free software like Blender, TinkerCAD, or Meshmixer. Check the license on the original thingiverse page to see if modifications are permitted by the creator.