Self Watering Printer Concrete Mold/Printable
thingiverse
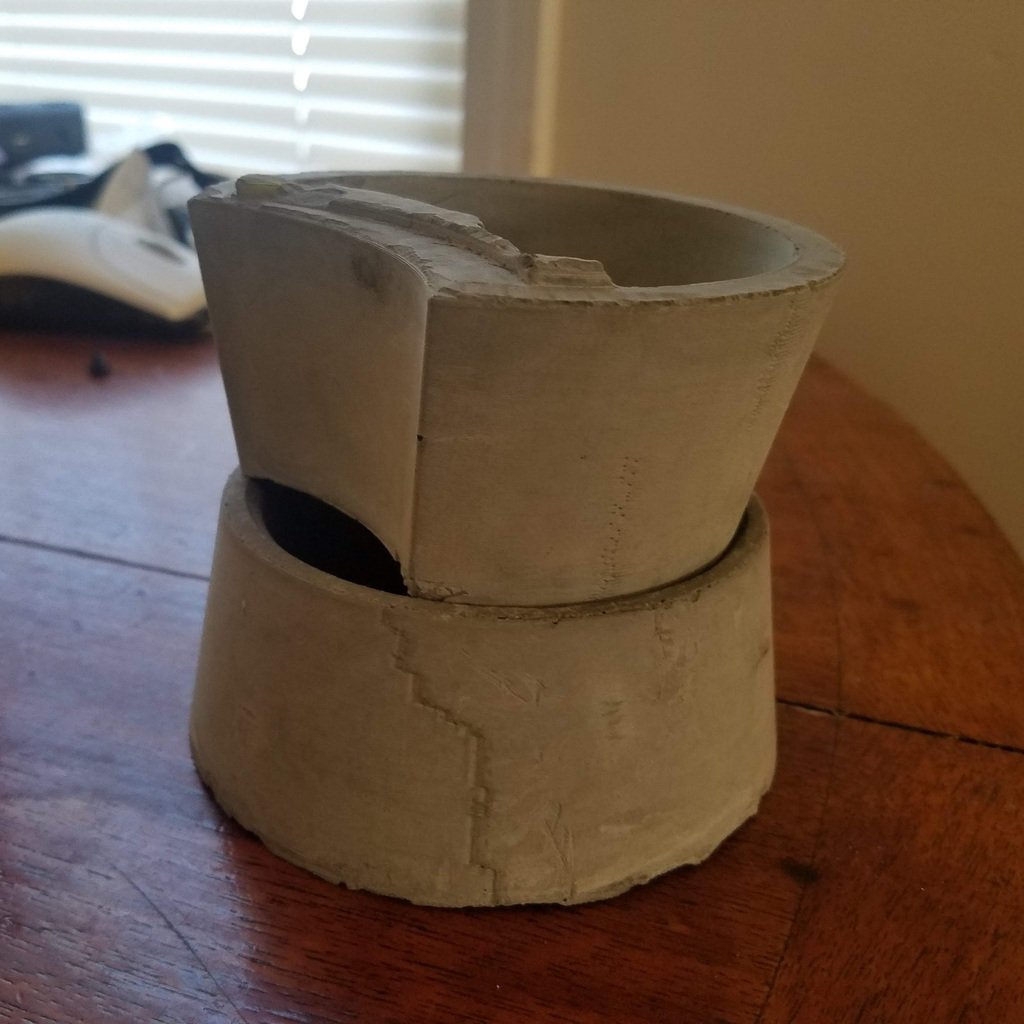
Attached are all files necessary to create your own self-watering planter for small plants. Simply place one piece of cotton rope in a U shape, with both ends secured in the upper container. Fill the upper chamber with soil and your plant, then fill the lower compartment with water. To cast concrete using these files, they're ready to be sliced as is. The only two parts that require specific slicing are the inner pieces on both objects. Print them with the larger faces facing up, using spiral vase mode. A smaller layer height will yield better results. This way, when the mold is complete, you can easily remove the inner pieces. All other components can be printed with 2 walls on each side, 4 top and bottom, and a 15% infill. Once assembled, tape up the plates to both the inner and outer pieces. Pour in concrete and split the mold once the concrete has finished curing. Drill two holes, similar to those found at the top positive, measuring 8-10mm in diameter. Instead of using cotton rope, you can substitute it with shoe laces and measure down the hole by about a millimeter.
With this file you will be able to print Self Watering Printer Concrete Mold/Printable with your 3D printer. Click on the button and save the file on your computer to work, edit or customize your design. You can also find more 3D designs for printers on Self Watering Printer Concrete Mold/Printable.