Self-watering planter water level indicator
prusaprinters
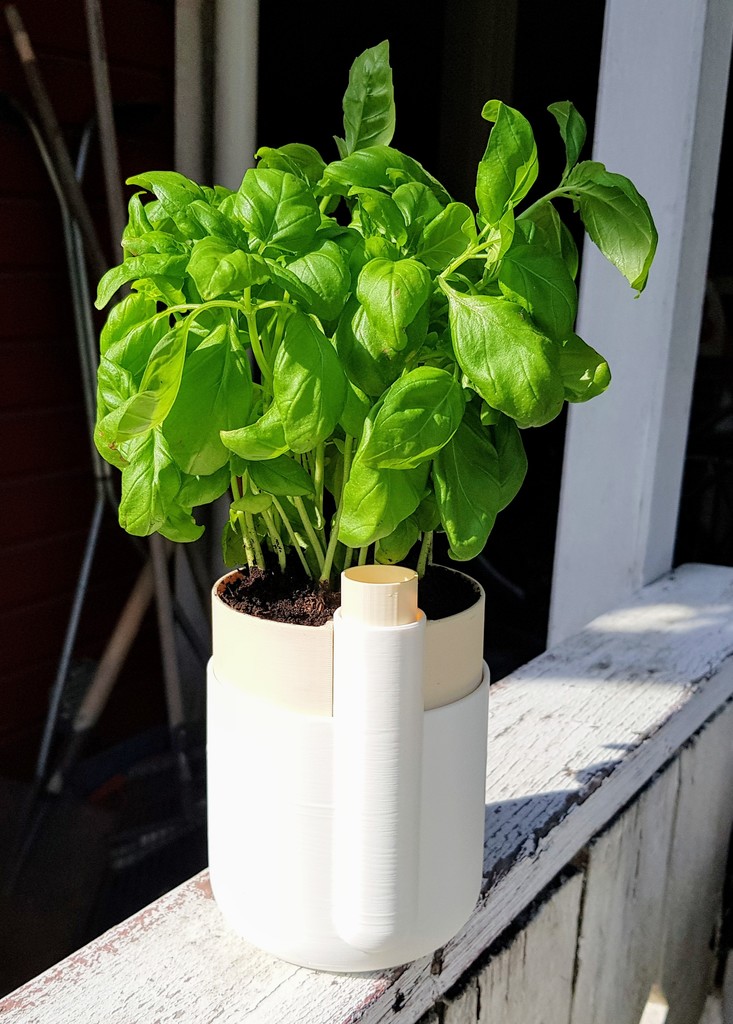
<p>This is a water level indicator for the <a href="https://www.thingiverse.com/thing:903411">self-watering planter</a> from <a href="https://parallelgoods.co/">Parallel Goods</a>.</p> <p>The principle of operation is that a floater inside the reservoir pushes an indicator ring out of the reservoir refill tube when water is added. Once this indicator has sunk below the rim of the refill tube, it is time to refill the pot!</p> <p>Refill can be done through the indicator ring.</p> <p>Update 2019-05-18:</p> <p>The indicator, stabilizer and floater have been updated to decrease risk of friction.</p> <p>A tool has been added which is useful when adjusting the orientation of the stabilizer inside the refill tube.</p> <h3>Print Settings</h3> <p><strong>Printer Brand:</strong></p> <p>Prusa</p> <p class="detail-setting printer"><strong>Printer: </strong> <div><p>I3 MK3S</p></div> <p><strong>Rafts:</strong></p> <p>No</p> <p class="detail-setting supports"><strong>Supports: </strong> <div><p>No</p></div> <p><strong>Resolution:</strong></p> <p>0.2 mm</p> <p class="detail-setting infill"><strong>Infill: </strong> <div><p>100%</p></div> <p><strong>Filament:</strong> Prusa PLA Ivory/Beige</p> <p><br/> <p class="detail-setting notes"><strong>Notes: </strong></p> </p><div><p>There are two <em>important</em> exceptions to the printer settings above:</p> 1. In order to be water proof and to produce a lift force corresponding to the dimensions of the parts, the floater (donut shaped part) should be printed with the following settings: <pre><code>* 3 perimeters * 6 top and 4 bottom layers (** this has been updated from 5 top and bottom layers) * 15 mm/s solid infill/top solid infill speed </code></pre> <ol start="2"> <li>The root-shield (funnel shaped part) needs a raft to stick to the bed.</li> </ol> <h3>Post-Printing</h3> <p><strong>Assembly</strong></p> <p>I found the following assembly steps to work:</p> <ol> <li>Insert the stabilizer into the refill tube of the reservoir. Slot for pin should be turned upwards.</li> <li>Use a screwdriver to slide it down to the ridge of the refill tube.</li> <li>Rotate the stabilizer to be tangential to the rim of the reservoir (e.g. by using the orientation tool).</li> <li>Put the floater into the reservoir.</li> <li>Using a flashlight, align the pin slot of the floater such that it can be seen through the pin slot of the stabilizer.</li> <li>Insert the pin into the indicator.</li> <li>Slide the pin down the refill tube and through the stabilizer pin slot, and carefully aim for the pin slot of the floater.</li> <li>Push the indicator such that it slides into the floater pin slot. It should then be flush with or slightly lower (1 mm) than the refill tube rim.</li> <li>Insert the root-shield into the reservoir.</li> <li>Pour some water into the reservoir and make sure that the indicator rises out of the refill tube. If it doesn't, try shaking the assembly a bit such that the parts align themselves.</li> </ol> </div></p></p></p> Category: Household Supplies
With this file you will be able to print Self-watering planter water level indicator with your 3D printer. Click on the button and save the file on your computer to work, edit or customize your design. You can also find more 3D designs for printers on Self-watering planter water level indicator.