Self-watering coaster
prusaprinters
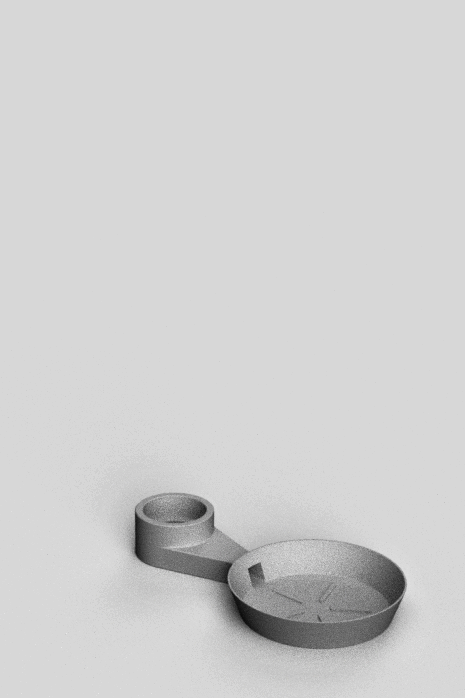
<p>You know, when you go on hollidays, you have to find someone who will take care about your flowers. I thought about how to deal with it by myself. First idea was to download self-watering coaster, but every planter or bottle is different and bottles have different thread. I wanted something universal - doesn't matter what planter or bottle you have. So I decided to design my own universal, parametric coaster. When I finished, I saw ugly bottle next to my carnivorous flower. So I designed cover for the bottle in shape of castle tower - and that's my story.</p><h3>Step 1:</h3><p>Download Fusion 360 .f3d file, add your dimensions and print which size of coaster you need. I used 80mm planter and 1L milk bottle.</p><figure class="image"><img src="https://media.prusaprinters.org/media/prints/65570/rich_content/40645515-5deb-48d4-a0b1-a3b82f0ed393/dsc_0789.jpg#%7B%22uuid%22%3A%227cdd2fbb-690b-473b-b08c-975f42264570%22%2C%22w%22%3A1200%2C%22h%22%3A800%7D"></figure><p>Attached .stl, .3mf and .gcode files were generated with these parameters - they can be changed in Fusion 360:</p><figure class="image"><img src="https://media.prusaprinters.org/media/prints/65570/rich_content/1492a4df-415d-460b-97af-e4f710121e1e/self-watering_coaster-v11_input.jpg#%7B%22uuid%22%3A%22aaa85353-b65a-466b-8af3-a90f3630767f%22%2C%22w%22%3A1202%2C%22h%22%3A484%7D"></figure><h3>Step 2:</h3><p>Make hole in cap. Optional, but recommended for stability - glue cap into coaster.</p><figure class="image"><img src="https://media.prusaprinters.org/media/prints/65570/rich_content/f847eae3-60c6-45cf-9aff-5d0921141374/dsc_0793.jpg#%7B%22uuid%22%3A%22fe0471cb-2a2f-49d0-98ec-09d26e9a0ca8%22%2C%22w%22%3A1200%2C%22h%22%3A800%7D"></figure><h3>Step 3:</h3><p>Fill bottle and screw cap with coaster. Water will fill coaster to “Water_level” dimension. Add planter with flower.</p><figure class="image"><img src="https://media.prusaprinters.org/media/prints/65570/rich_content/c06ae77d-4714-45a8-b411-9b59f8f14b21/dsc_0796.jpg#%7B%22uuid%22%3A%224536eb74-b6f2-4874-9cb8-2de45c17240a%22%2C%22w%22%3A800%2C%22h%22%3A1200%7D"></figure><h3>Step 4:</h3><p>Bottle cover consists of 3 parts - Tower_1, Tower_2 and Tower_top. You can glue these parts together, or just put them on each other.</p><figure class="image"><img src="https://media.prusaprinters.org/media/prints/65570/rich_content/7b14a97e-3205-4824-a829-2503bad713b9/dsc_0797_2.jpg#%7B%22uuid%22%3A%22cf501e83-5bd2-47ea-aa81-2cab92e15baa%22%2C%22w%22%3A800%2C%22h%22%3A787%7D"></figure><h3>Step 5:</h3><figure class="image image-style-align-right image_resized" style="width:50%;"><img src="https://media.prusaprinters.org/media/prints/65570/rich_content/0fb2a715-d288-4ab4-ad74-bbd11884f60a/dsc_0806.jpg#%7B%22uuid%22%3A%225ea325fa-f30c-4f22-a37e-62692bdfd441%22%2C%22w%22%3A800%2C%22h%22%3A1200%7D"></figure><p>Done! Through windows, you can watch water levell in the bottle. For this flower (pinguicula tina) is 1L bottle enough for (at least) one month. Of course, depends on temperature and light.</p><p> </p>
With this file you will be able to print Self-watering coaster with your 3D printer. Click on the button and save the file on your computer to work, edit or customize your design. You can also find more 3D designs for printers on Self-watering coaster.