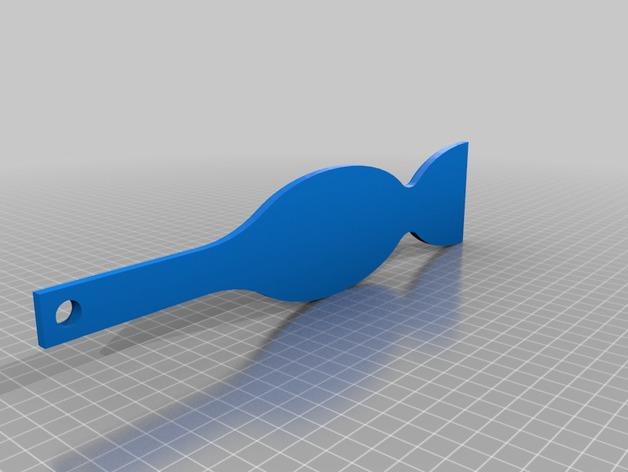
Self-Tie Bowtie Pattern
thingiverse
This is a Step-by-Step Guide to Creating Your Own Self-Tie Bow Tie with the Double V Bowties Method. To start, take one end of your silk necktie and fold it in half lengthwise. This will create a crease in the fabric that you'll use as a guide later on. Holding the folded edge between your thumb and index finger, use your other hand to grab the left side of the tie and pull it across the center crease. As you do this, make sure the left side is even with the right side and that both ends are symmetrical. Once you've got a good grip on the left side, gently tug it down towards the floor while keeping your thumb in place to hold the folded edge steady. Continue pulling down until the tie forms a V shape at the center crease. Now, take the right side of the tie and pull it across the center crease just like you did with the left side. Make sure both sides are even and that the ends are symmetrical before tugging down towards the floor while keeping your thumb in place to hold the folded edge steady. As you continue pulling down, the tie should start to take shape and form a V at the center crease. Once you've got the desired shape, adjust the tie as needed by gently tugging on either side. Finally, slide the bowtie over your head so that it's centered in front of your shirt collar. Adjust the fit as needed before securing with a pin or clip. Double V Bowties' self-tie method makes creating a perfect bow tie every time easy and convenient. With practice, you'll be able to master this technique and add a touch of elegance to any outfit.
With this file you will be able to print Self-Tie Bowtie Pattern with your 3D printer. Click on the button and save the file on your computer to work, edit or customize your design. You can also find more 3D designs for printers on Self-Tie Bowtie Pattern.
