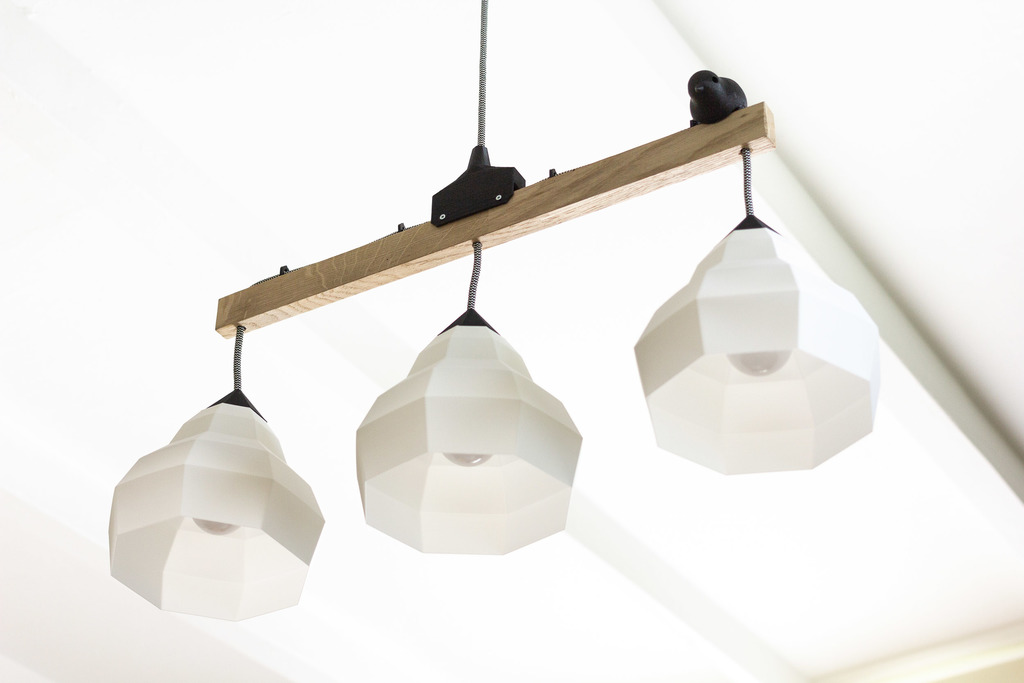
SEKOND LIGHT IKEA HACK
thingiverse
I'm excited to share with you my latest DIY project featuring the amazing IKEA SEKOND. I've managed to repurpose this versatile piece of furniture into a stunning LED light installation. For Part 1, I used a 0.6mm nozzle and set the layer height to 0.25mm. I opted for Vase mode, which allowed me to create a smooth, rounded shape that perfectly complements the delicate glow of the LED lights. I chose PLA as my printing material of choice, not only because it's easy to work with but also because it produces a beautiful, high-gloss finish. Moving on to Part 2, I decided to experiment with a slightly different approach. Again, I used a 0.6mm nozzle and set the layer height to 0.25mm, but this time I opted for 15% infill instead of Vase mode. The result was a part that's not only incredibly detailed but also surprisingly durable. One thing to note is that I had to get creative when it came to creating the hole in Part 1. Since my 3D printer isn't equipped with a built-in drill bit, I resorted to using a Dremel rotary tool to carefully carve out the hole. It was a bit of a challenge, but the end result was well worth the extra effort. Overall, I'm thrilled with how this project turned out. The combination of IKEA SEKOND and LED lights has created a truly unique and eye-catching piece that's sure to be the talk of the town.
With this file you will be able to print SEKOND LIGHT IKEA HACK with your 3D printer. Click on the button and save the file on your computer to work, edit or customize your design. You can also find more 3D designs for printers on SEKOND LIGHT IKEA HACK.
