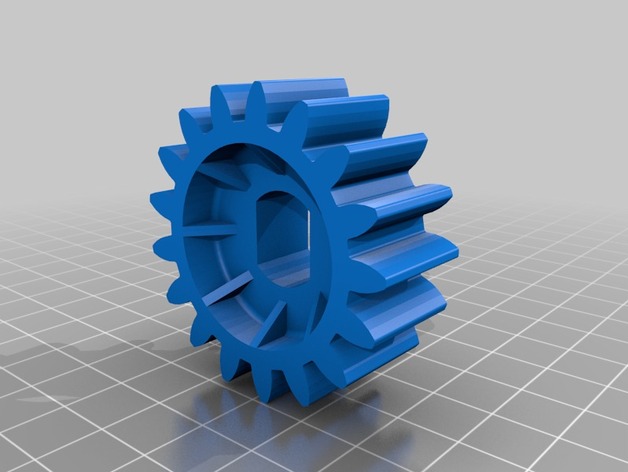
Segway gear (with SoldWorks source file)
thingiverse
Replacing a Broken Gear on a Segway: A DIY Guide Warning: This is an experimental project aimed at creating a functional replacement for a damaged gear on a Segway, using measurements and characteristics derived from the broken component. If you encounter any issues or inconsistencies, kindly provide your feedback to aid in refinement. To begin, carefully disassemble the Segway's affected assembly and extract precise dimensions of the original gear. Measure the teeth count, pitch diameter, and root diameter accurately. Next, fabricate a new gear with identical specifications, taking into account material selection and machining tolerances. A precision lathe or CNC machine is recommended for optimal results. Upon completion of the replacement gear, reassemble the Segway's affected assembly and perform thorough testing to ensure proper function and alignment. Monitor the device's performance and make any necessary adjustments to achieve seamless integration with the rest of the system. Please note that this project involves experimentation and may not yield optimal results. Your feedback is crucial in refining the design and ensuring a successful replacement process.
With this file you will be able to print Segway gear (with SoldWorks source file) with your 3D printer. Click on the button and save the file on your computer to work, edit or customize your design. You can also find more 3D designs for printers on Segway gear (with SoldWorks source file).
