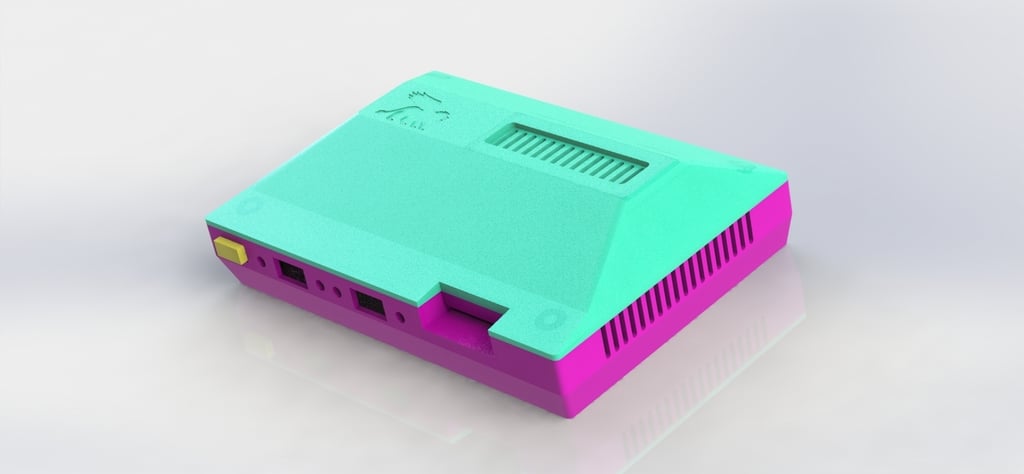
Sega Master System Retro Raspberry Pi Console Case
thingiverse
This is a replica of a Sega Master System for all you retro gamers out there! 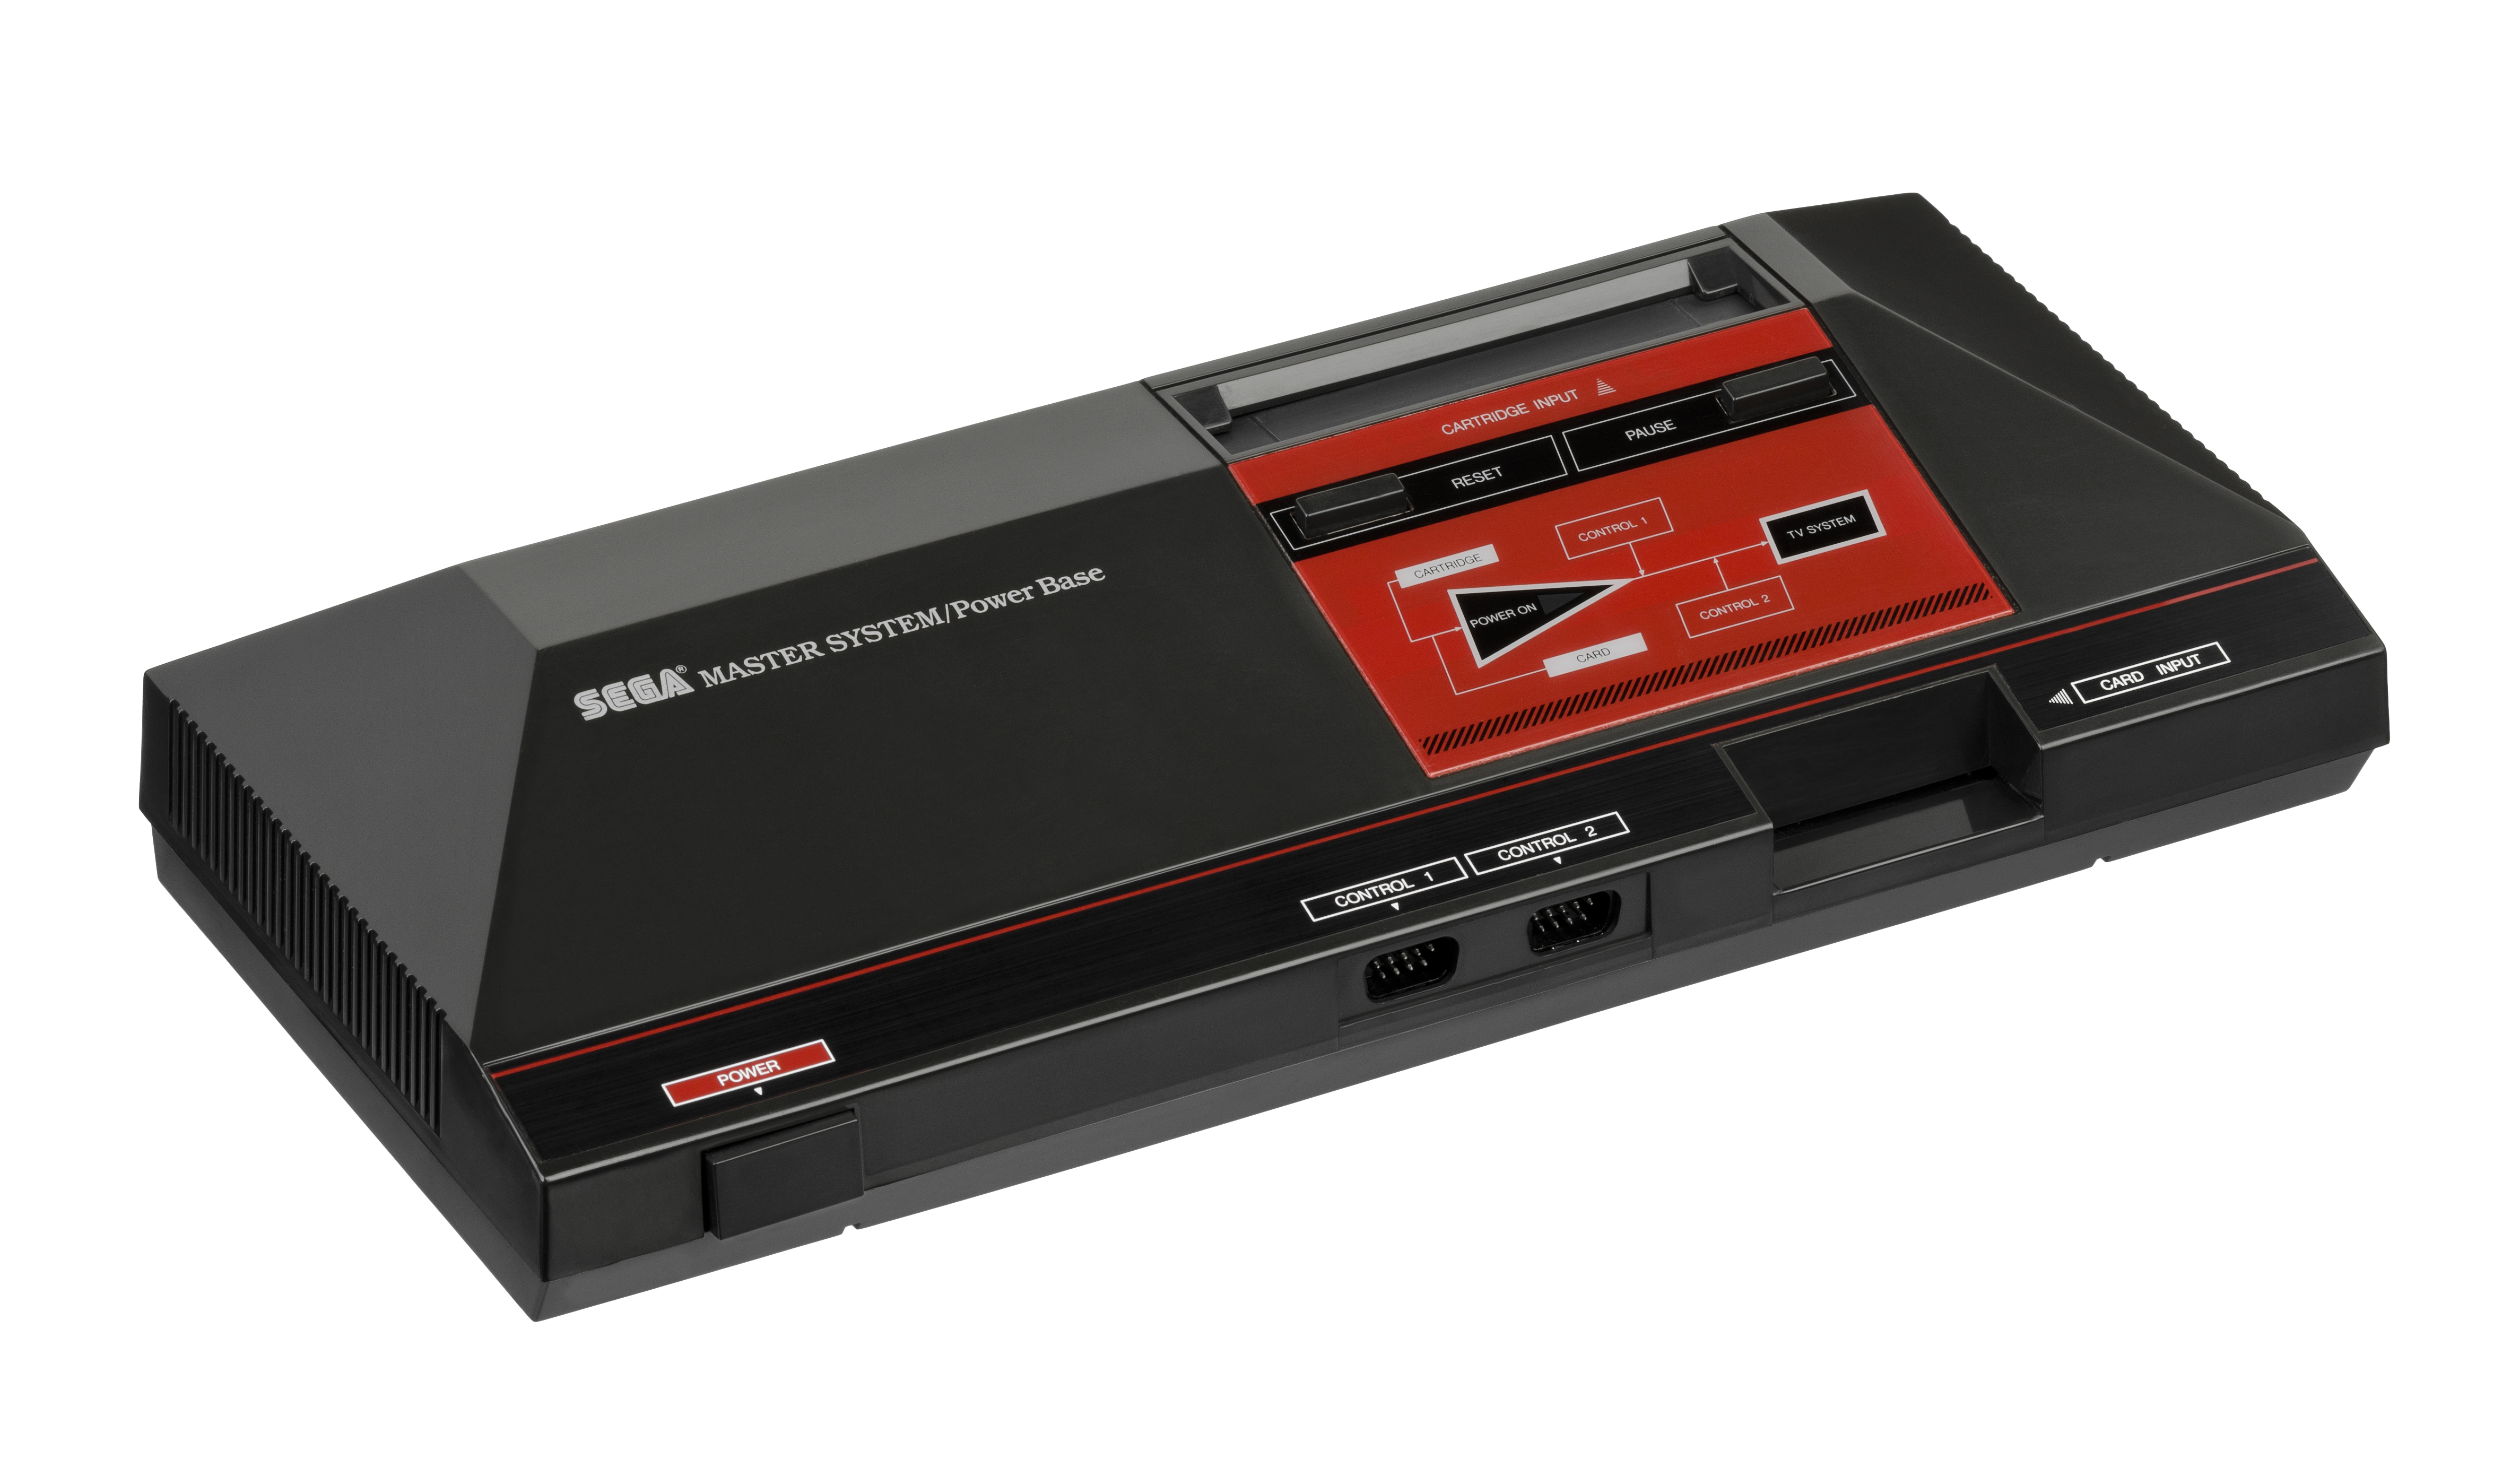 This build uses several key components: - Raspberry Pi or similar - SD Card Extension https://www.amazon.com/Gplink-Extension-Adapter-Flexible-Extender/dp/B06X3Y4BBB/ - 40mm fan, 10mm thick - DC jack https://www.amazon.com/Conwork-10-Pack-Mount-Connector-Socket/dp/B01L6GU858 - Single USB panel mount https://www.amazon.com/d/USB-Cables/30cmPanel-Mount-USB-Cable/B002M8RVKA - 3.5x10mm self-threading screws for the lid - Pushbutton https://www.amazon.com/DIYhz-20Pcs-Latching-Button-Switch/dp/B075LR3P4G The cartridge port has been repurposed as a cool air intake for the fan, while the controller port is now a USB port. Meanwhile, the original card port has been converted into an SD card slot for the Pi inside. To assemble this build, you'll need to remove the SD card adapter from its case and attach it to the base print in the designated space. There are only two parts to print: the lid and the main shell. The lid can be a bit tricky, but printing it upside down with support makes the process much easier. On the other hand, the main shell should not require any support. # I may update this project after I've printed it! #Thanks for watching! Like, share, and enjoy! Updates: 12/8/18 - I forgot to include a switch mount as its own separate part. To make up for this, I moved the Pi slightly to accommodate cables inside.
With this file you will be able to print Sega Master System Retro Raspberry Pi Console Case with your 3D printer. Click on the button and save the file on your computer to work, edit or customize your design. You can also find more 3D designs for printers on Sega Master System Retro Raspberry Pi Console Case.