Seedling Planter
thingiverse
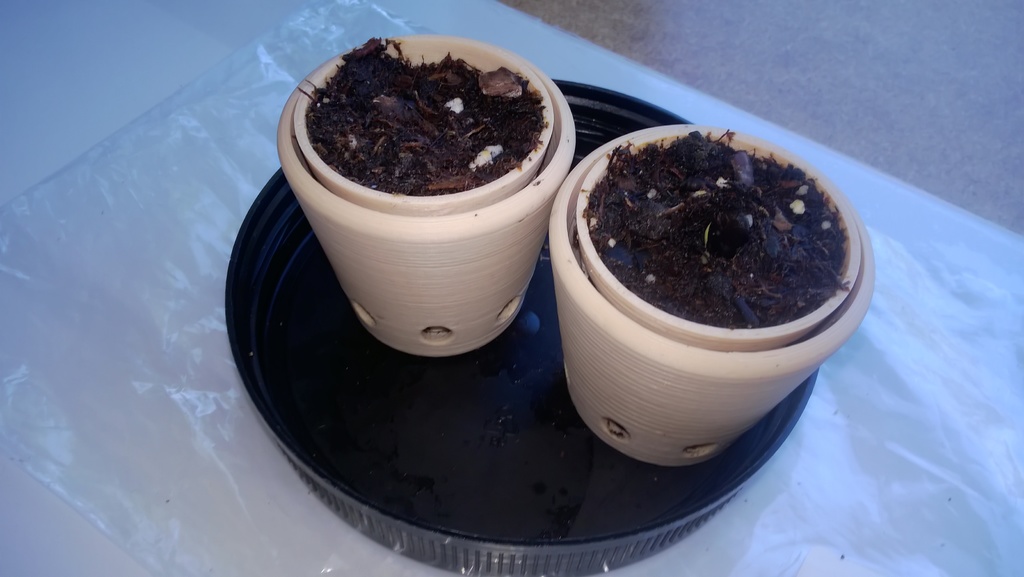
I've been itching to create a reusable planter for starting seedlings for some time now, so I decided to give Fusion 360 a try. The default size on the left is pretty small, and I didn't think it would be very practical, so I tried scaling it up in my slicer. That's where the other two prints come in - I printed them at 200% and 300%. I think 200% works best for smaller seeds, while 300% should work well for things like melons and larger seeds. This planter isn't designed as a long-term solution, but rather as a starting point. The basket is meant to be planted with the seedling, so it's not reusable in that sense. I printed it with PLA, which might or might not hold up over time - only time will tell. I should mention that the tray hasn't been printed yet, so I don't have any suggestions on how to scale it with the other components. However, I did design the holder/planter to be reusable since you can put a new basket into it. It also has some space inside meant to work as a reservoir, although most of this is still untested. I welcome constructive criticism - please let me know if you find anything that needs improvement! You can check out my website for more information and updates on future projects. Here's a link to a time-lapse video of it printing: https://youtu.be/26tUK3d4YPo Please visit my website, which is the hub for everything I'm working on. I'm trying to post regular blogs and videos - https://www.benstechstop.com/ Update 5/20/2018: So far, it's working well. I filled the basket with soil, made a little hole in the middle, and planted a melon seed. After about a week or two, one of them started growing! The next step is to see how it does after planting. However, I think it might have been wise to print and plant it into a 400-500% scaled seedling planter. I'll need to keep an eye on how the roots handle the current basket - the reservoir in the holder gathers some soil at the bottom. At 300%, the planter keeps the soil moist for 2-3 days inside a sunroom with temperatures around 80-85 degrees Fahrenheit during the latter half of the day. A little wind comes through at times, but the planter doesn't dry out that quickly. Printing it with woodfill PLA might have helped with this. Definitely keep in mind that you'll need a tray to catch overflow when watering - I haven't printed one yet since I haven't settled on a planter size. Update 6/1/2018: I've successfully grown two seedlings in the planter. When the leaves are visible, it's pretty much time to plant the seedling. You can see the roots sticking out around the bottom and sides of the basket. I planted the basket and seedling into a larger planter - we'll see how it goes from here. I'm pretty satisfied with the design so far, as it functions just as I had hoped. Please let me know how it works out for you - share your makes and what you decide to grow in the planter. I'm moving it from experimental to "finished."
With this file you will be able to print Seedling Planter with your 3D printer. Click on the button and save the file on your computer to work, edit or customize your design. You can also find more 3D designs for printers on Seedling Planter.
