Seahorse Clock
pinshape
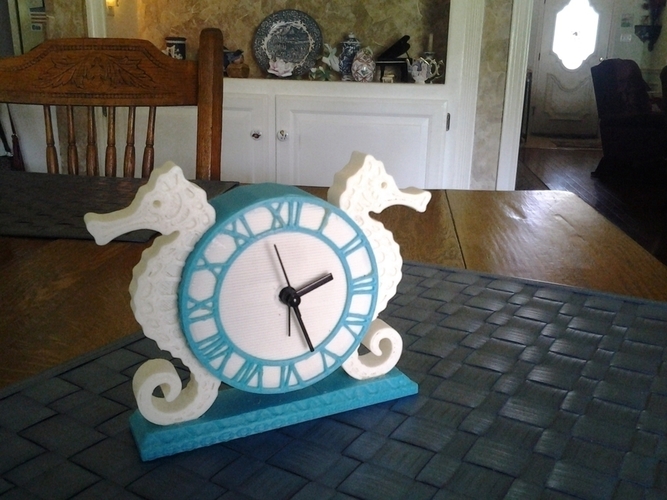
Seahorse Clock Assembly Instructions: Optimizing Print Time and Color Options To assemble the Seahorse Clock, you'll need any single battery clockwork mechanism that fits the opening, which measures 80mm in diameter. The model consists of several separate components that require gluing together after printing. The individual parts include the seahorses, barrel, base, dial, and disk. Notably, the disk is printed upside down and must be flipped over before being glued to the barrel. In contrast, the dial is attached directly to the disk. For accurate alignment, it's essential to glue the seahorses to both the barrel and base simultaneously. Once these components are secure, simply attach the clockwork mechanism to complete the assembly. This approach offers several advantages, including significantly shorter print times for each individual part. Moreover, this method allows for multiple colors on the finished assembly without requiring painting.
With this file you will be able to print Seahorse Clock with your 3D printer. Click on the button and save the file on your computer to work, edit or customize your design. You can also find more 3D designs for printers on Seahorse Clock.