Sea Shack Sunny
sketchfab
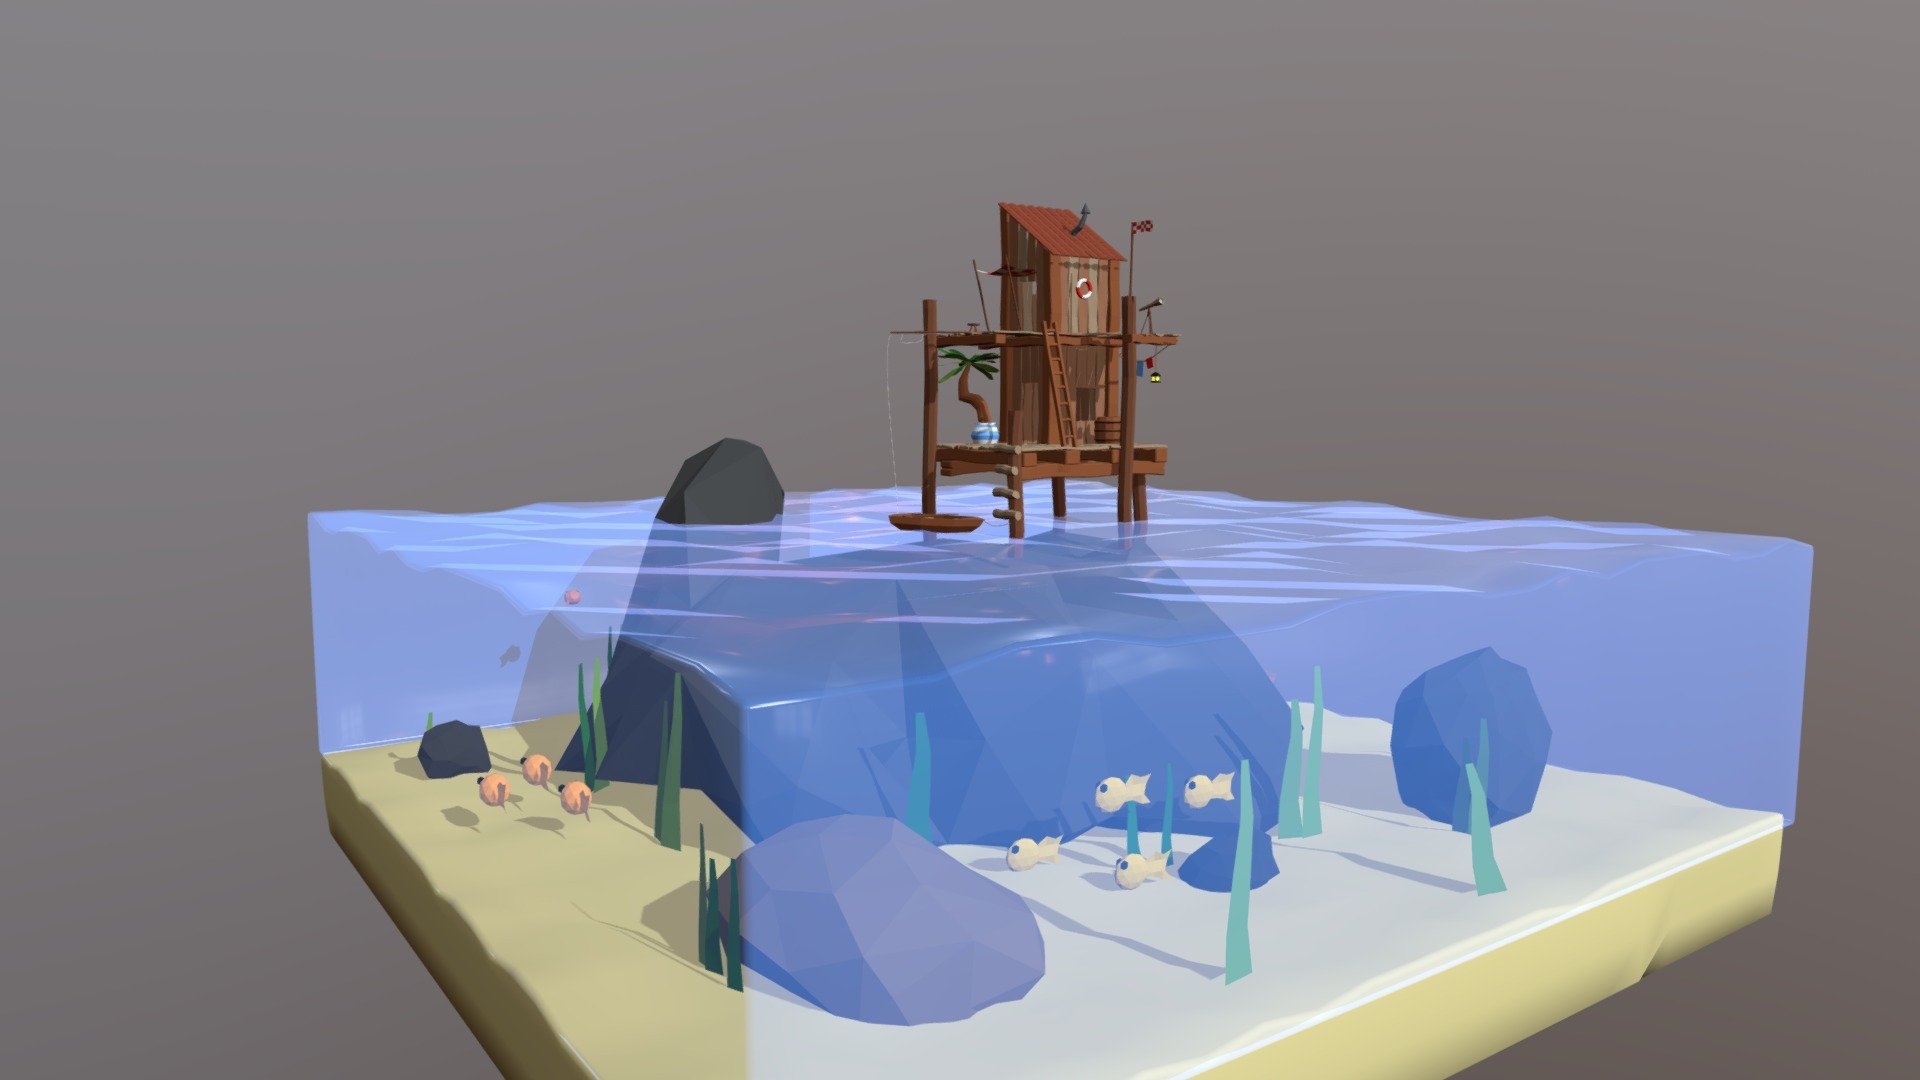
Sea Shack Tutorial by Grant Abbitt Welcome to my Sea Shack tutorial where I'll show you how to build your very own beachside retreat. With a few simple tools and materials, you can create a cozy and functional space that's perfect for relaxing or entertaining. Step 1: Plan Your Shack Before you start building, take some time to plan out your Sea Shack. Consider the size and shape of the structure, as well as any local building codes or regulations. You'll also want to decide on the materials you'll use and how you'll power your shack. Step 2: Prepare the Site Clear the area where you'll be building your Sea Shack, removing any debris or obstacles. Mark out a square or rectangle shape with stakes and twine, depending on the size of your shack. Step 3: Build the Frame Cut four pieces of lumber to the same height, using a circular saw or hand saw. Assemble the frame by nailing the pieces together with galvanized nails. Make sure the corners are secure and the frame is level. Step 4: Add Roofing Material Cut strips of roofing material, such as asphalt shingles or corrugated metal, to fit over the frame. Begin at one end of the shack and work your way down, overlapping each strip by about six inches. Secure the strips with nails or screws. Step 5: Install Doors and Windows Measure and cut out openings for doors and windows, using a jigsaw or handsaw. Assemble the frames and attach them to the shack with hinges and latches. Add glass or acrylic panels to complete the openings. Step 6: Finish the Interior Install flooring, such as plywood or oriented strand board (OSB), and add insulation to keep your Sea Shack cozy. Hang walls, install a ceiling, and finish the interior with paint or stain. Step 7: Power Your Shack Decide on a power source for your Sea Shack, such as solar panels or a generator. Install any necessary electrical components, including wiring and outlets. Step 8: Add Finishing Touches Install any decorative elements, such as lighting or accessories, to give your Sea Shack a personal touch. Finally, add a coat of paint or stain to protect the wood and make it look its best. And that's it! With these steps, you should now have a beautiful and functional Sea Shack to enjoy for years to come. Remember to always follow safety guidelines when building and using your shack, and happy building!
With this file you will be able to print Sea Shack Sunny with your 3D printer. Click on the button and save the file on your computer to work, edit or customize your design. You can also find more 3D designs for printers on Sea Shack Sunny.