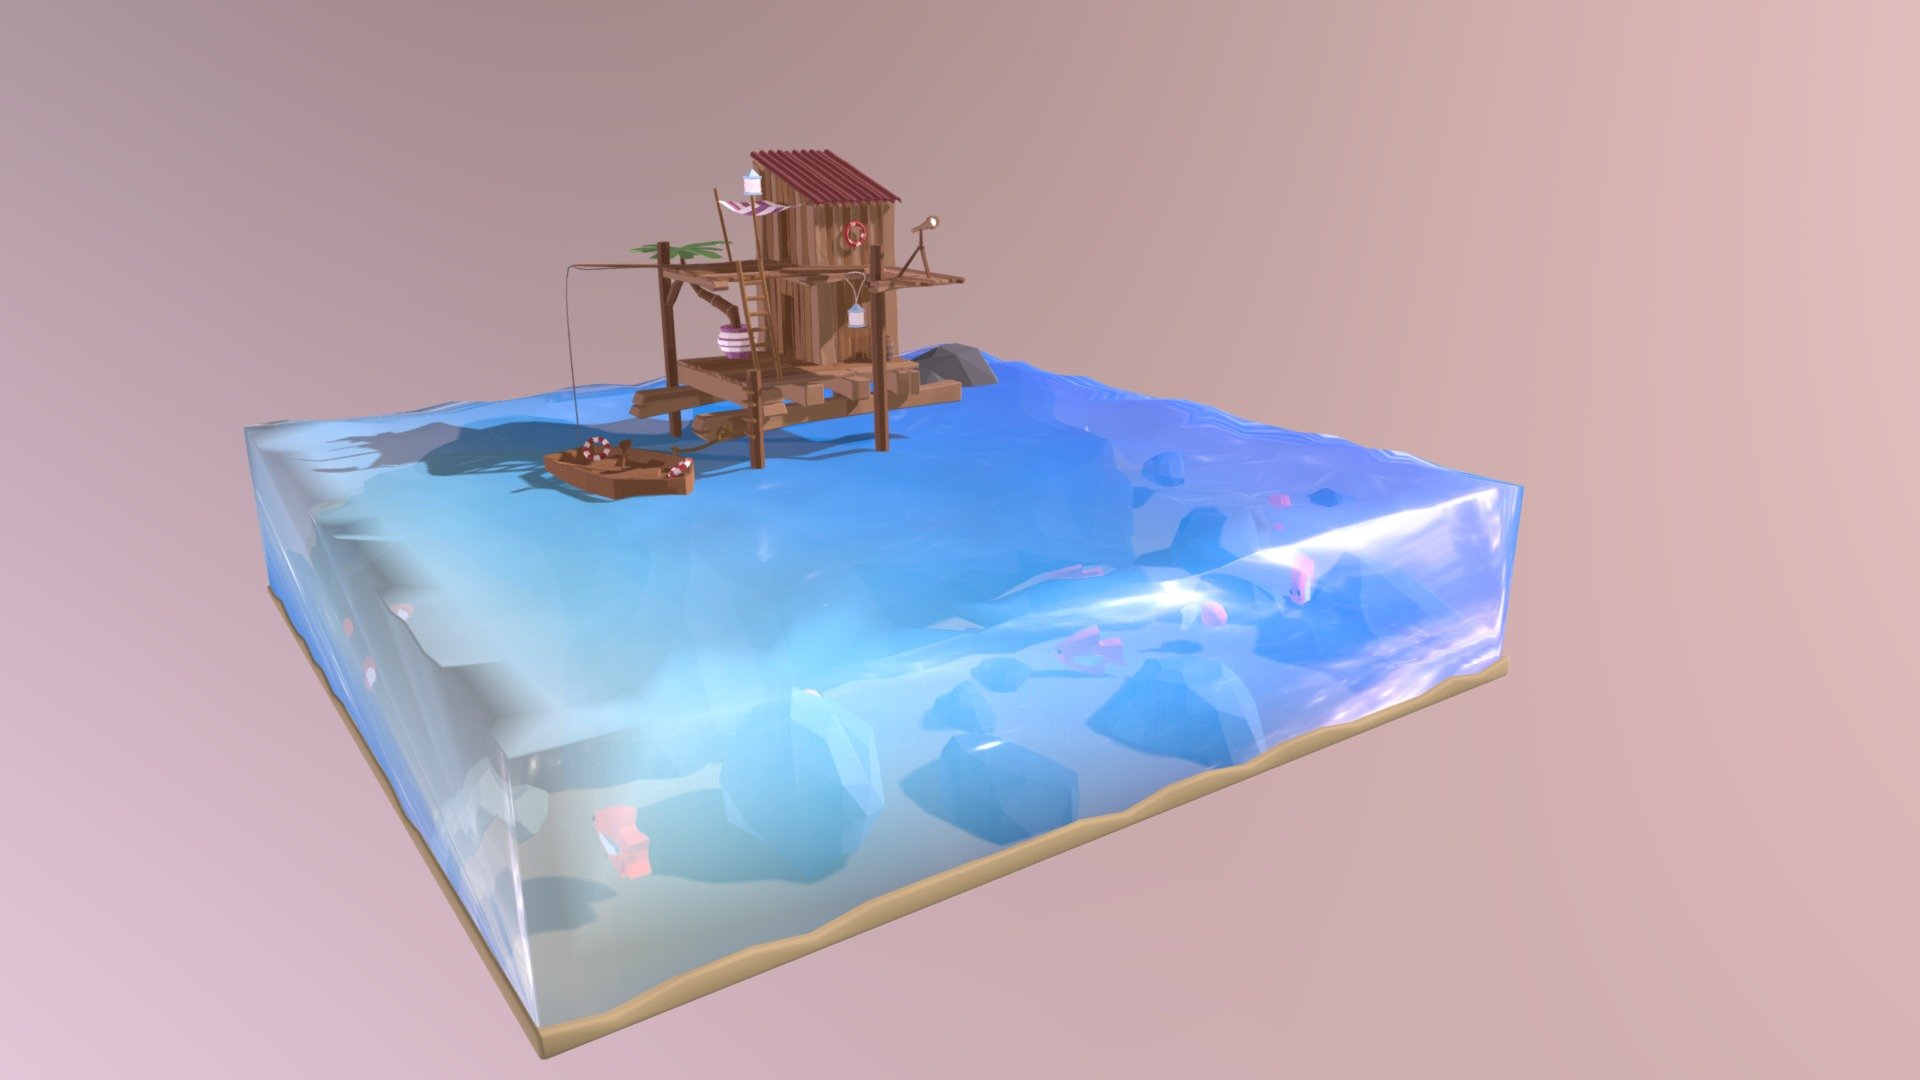
Sea Shack
sketchfab
I'm excited to share with you how I built a cozy sea shack using Blender 2.8. This tutorial will walk you through the process of creating a charming seaside retreat from scratch. First, let's start by setting up our scene in Blender 2.8. I created a new project and set the units to meters, which is perfect for building structures like this shack. Next, I added a plane object to serve as the base of my sea shack. I then selected the plane and went to Object > Geometry > Extrude to give it some depth. Now that we have our base shape, let's add some siding to our sea shack. I created a new material by going to Materials > New and choosing a rough wood texture from the library. I applied this material to my plane object and adjusted the settings until it looked like weathered wood. With our siding in place, let's move on to adding a roof. I created a new plane object and used the same extrusion technique as before to give it some depth. Then, I added a second plane object that would serve as the roof's overhang. To attach these two planes together, I used Blender's physics engine to simulate gravity. Now that our sea shack has a roof, let's add some final details. I created a few new objects to serve as windows and doors, then applied the same wood material to them. I also added some basic lighting to give our scene some ambiance. The last step is to render out our finished image. I used Blender's built-in rendering engine to create a beautiful sea shack that looks like it was plucked straight from the beach. With just a few clicks, you can have your very own sea shack to call home. That's it! Building a sea shack with Blender 2.8 is easier than you think.
With this file you will be able to print Sea Shack with your 3D printer. Click on the button and save the file on your computer to work, edit or customize your design. You can also find more 3D designs for printers on Sea Shack.
