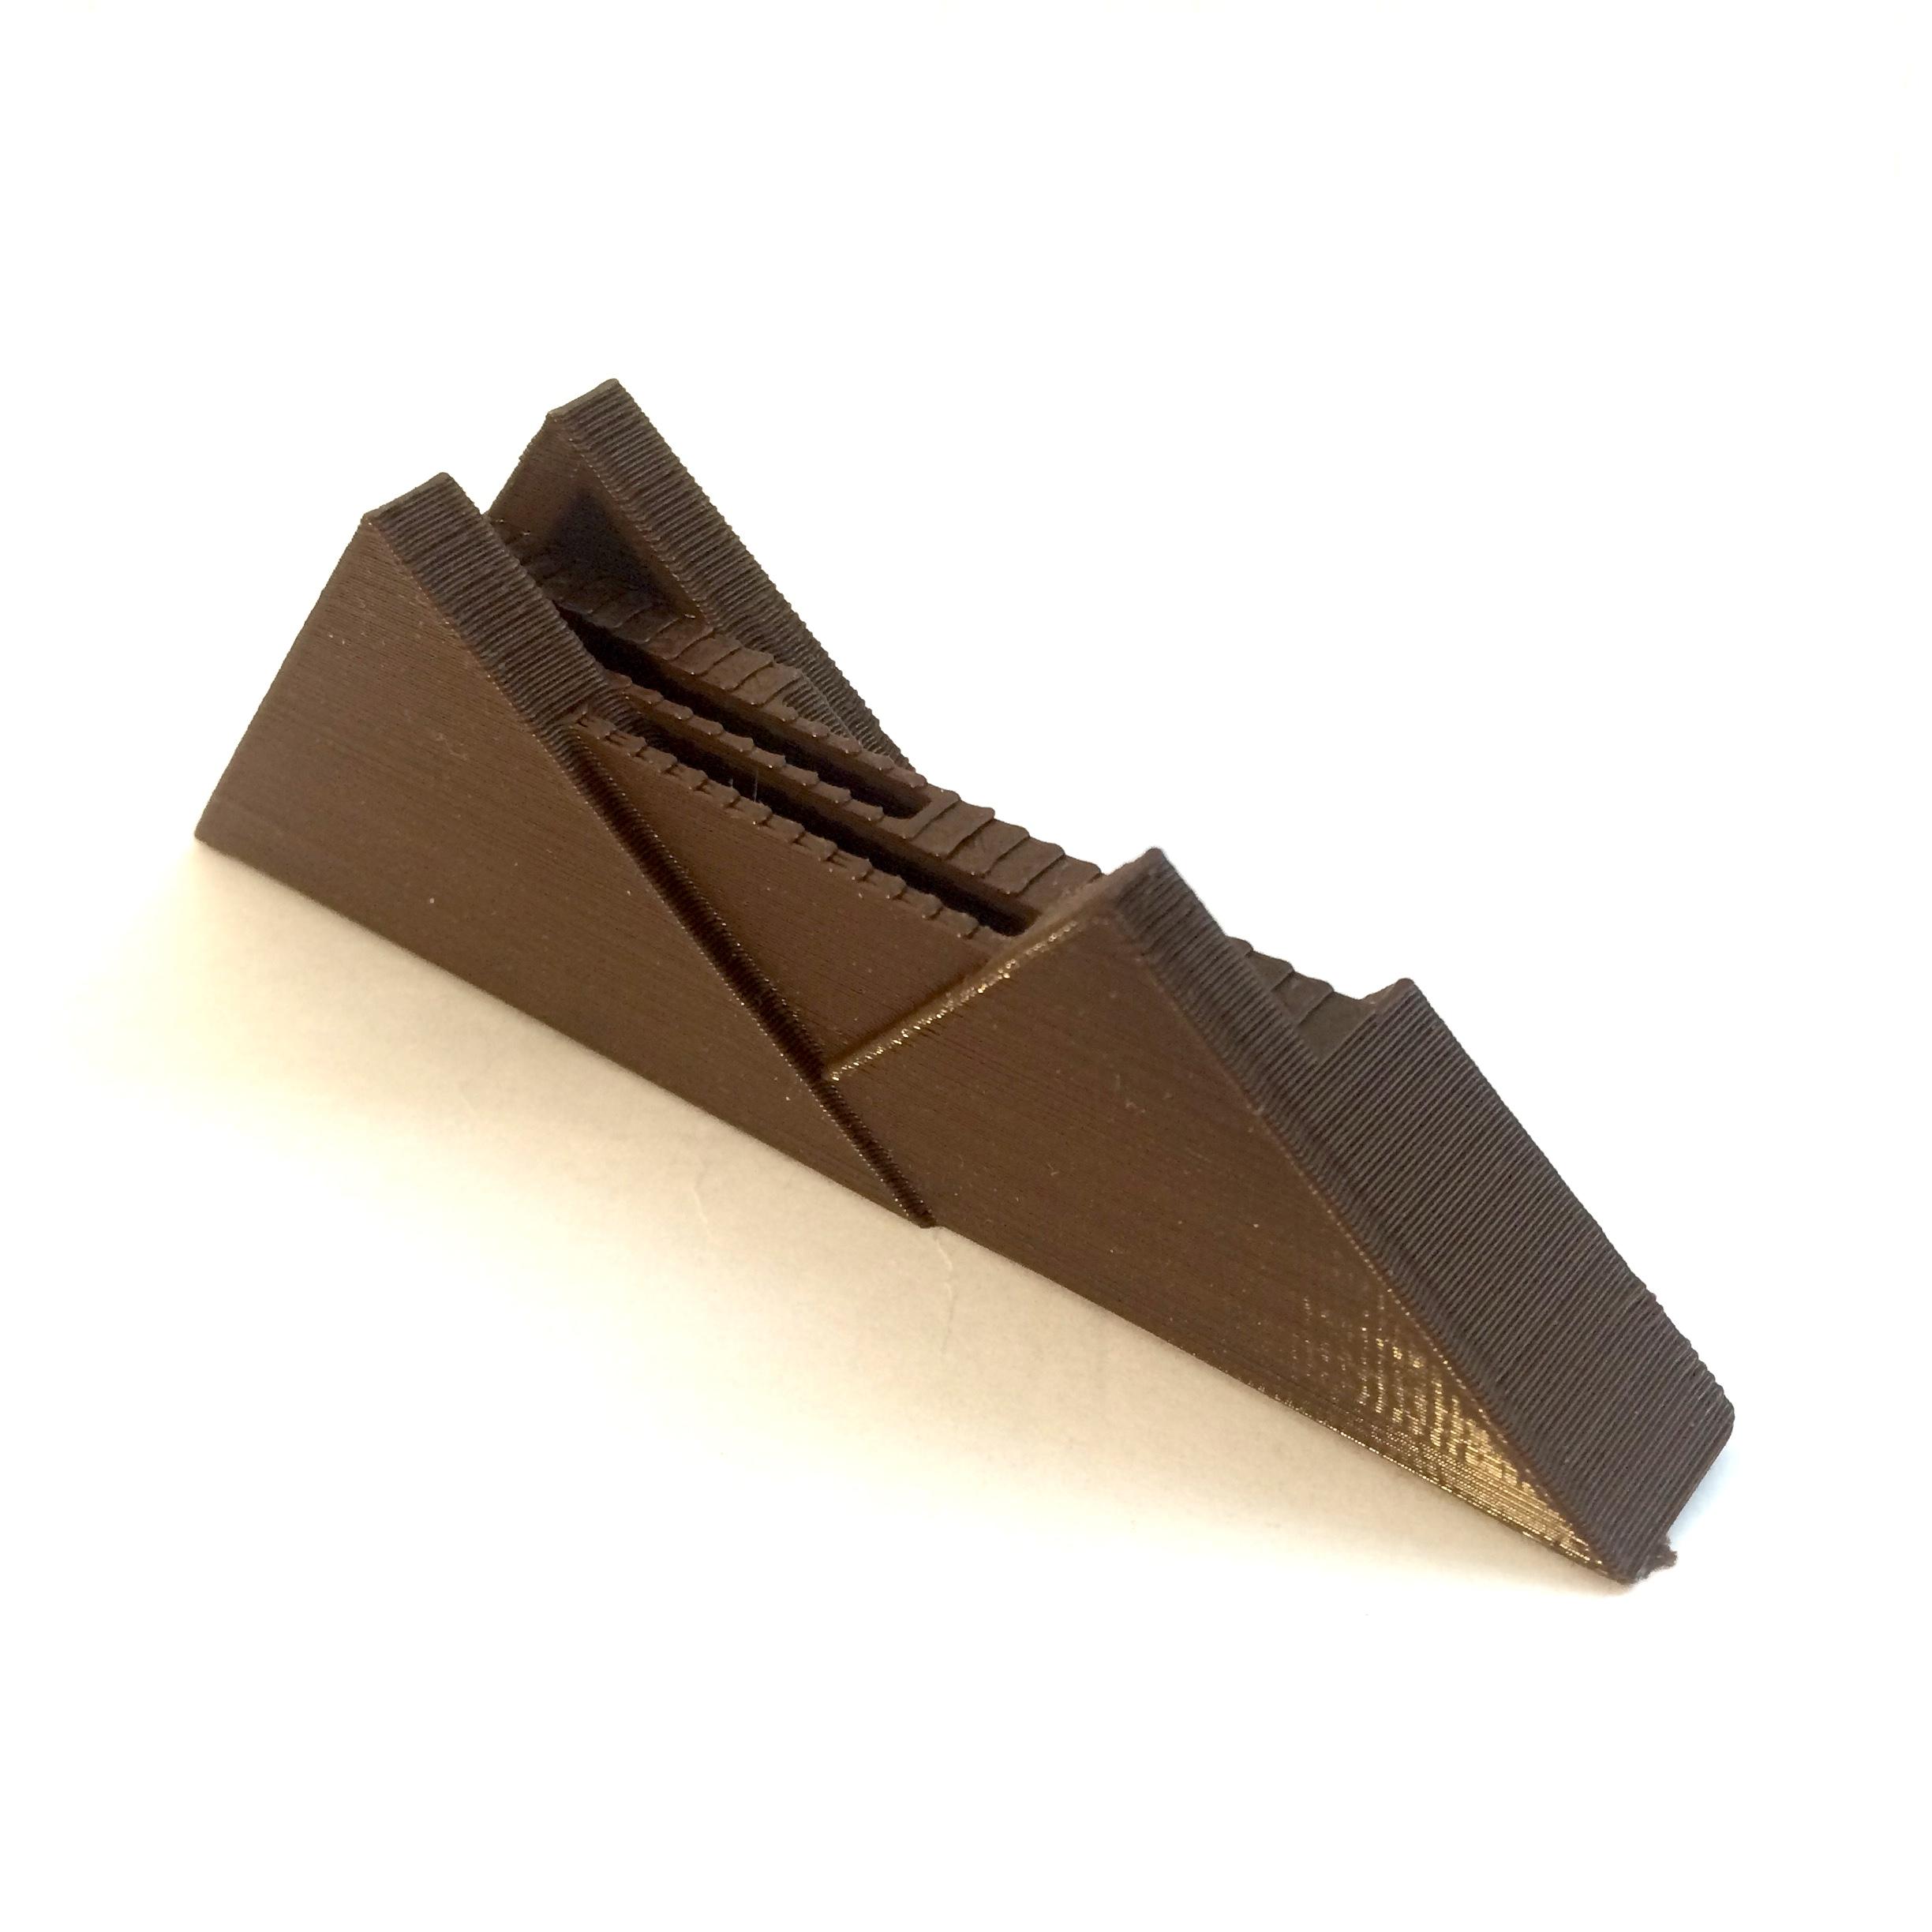
SD card moutain for 3 card
myminifactory
Creating a Remix of an SD Card Mountain with Tinkercad requires some technical expertise but it's definitely achievable with patience and persistence. First, open up your Tinkercad program on your computer and then navigate to the 'New Design' page where you'll need to give your project a unique name that stands out from the rest, such as "SD Card Mountain Remix". Once your design is created, it's time to select the type of 3D object you want to create. Since we're working with SD cards, let's choose the 'Cube' option for this tutorial. Next, go ahead and click on the 'Cube' button located at the top right-hand corner of the screen which will open up a new window where you can customize your cube to resemble an SD card mountain range. To start customizing your cube, first click on the 'Properties' tab which is usually found near the bottom left side of the Tinkercad interface. From here, you'll be able to modify various settings such as shape, size and even color to make it more visually appealing. When selecting the shape, go for something that closely resembles an SD card since this will be our main focus. You can choose from a variety of pre-made shapes or create one from scratch by using the 'Draw' tool. Once you've selected your desired shape, proceed to adjust its size according to how big you want it to be in relation to other objects on your design board. This is also an excellent opportunity to experiment with different colors and patterns if needed. Now that we have our SD card mountain base covered, let's move onto adding some elevation to make it more mountainous in appearance. To achieve this, use the 'Extrude' tool by clicking on the button located at the top right-hand side of the screen which will enable you to create a 3D shape based on a selected object or line. To start extruding your cube into a mountain range, select the 'Cube' option again from the drop-down menu and adjust its size accordingly so that it fits within your design space. Afterward, go ahead and click on the 'Extrude' button located at the bottom right-hand side of the screen to begin creating your SD card mountain remix. As you continue working with Tinkercad, keep in mind that every action you perform affects the overall outcome of your project. Therefore, it's crucial to regularly save your progress by clicking on the 'Save As' option found near the top left corner of the screen so you can go back and make any necessary adjustments. Once satisfied with how your SD card mountain remix is turning out, proceed to export it as an STL file which will be compatible with most 3D printers. This file type allows for precise control over layer height and other printing settings that directly impact print quality. With your STL file prepared and ready to go, you can now transfer it onto a 3D printer using a USB drive or uploading it to the manufacturer's website depending on your specific model of choice.
With this file you will be able to print SD card moutain for 3 card with your 3D printer. Click on the button and save the file on your computer to work, edit or customize your design. You can also find more 3D designs for printers on SD card moutain for 3 card.
