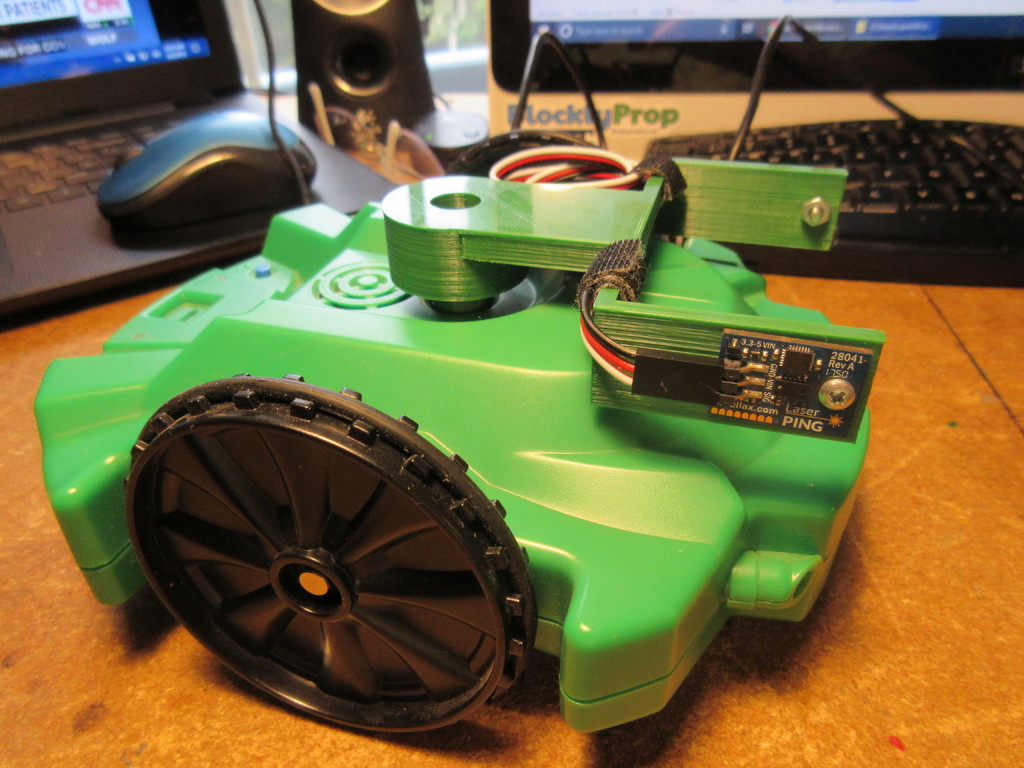
Scribbler 3 Laser Ping Wings
thingiverse
Mounting Parallax Laser Pings on the left and right sides of your Scribbler 3 robot requires some basic hardware modifications and programming skills. To begin, you'll need to purchase or gather two additional laser pinging modules from Parallax. These modules are designed for use with Parallax's BOE Bot platform but can be easily adapted for the Scribbler 3. Next, you will have to acquire a couple of small brackets or clips that can securely fasten the laser pings onto the sides of your robot without obstructing its movement or affecting its balance. Once you have obtained all necessary components, it's time to get hands-on with some DIY work. Using a drill or screwdriver, attach the brackets to the sides of the Scribbler 3 in such a way that they provide adequate support for the laser pings and leave enough clearance between them for smooth movement. After securing the brackets, carefully place each laser ping onto its designated bracket, ensuring they are level and securely fastened. With your Parallax Laser Pings mounted on both sides of the robot, you're now ready to connect them to your Scribbler 3's onboard computer via a USB or serial connection, depending on the specific hardware setup. To program your Scribbler 3 to utilize its new laser pinging capabilities, you'll need to write some custom code. Using a programming language such as Python or Java, create a script that controls the laser pings' behavior and integrates it with other robot functions like movement and sensors. Finally, upload your programmed script to the robot's onboard computer and test its functionality by running it through various scenarios, adjusting settings as needed for optimal performance.
With this file you will be able to print Scribbler 3 Laser Ping Wings with your 3D printer. Click on the button and save the file on your computer to work, edit or customize your design. You can also find more 3D designs for printers on Scribbler 3 Laser Ping Wings.
